3 6 0 5 • 3 60 6 12 4225 1 3 3 R e v C
SPIRAL ADJUSTMENT
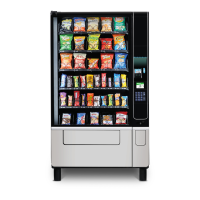
The shape, size and thickness of a product affect how well it is
ejected from the tray. Most products can be vended successfully
when the spiral end is positioned at 7 or 5 o’clock as shown. If
vending problems occur with spiral ends at the standard
positions, adjust the drop-off either by retiming the spiral or
installing a Product Pusher.
EVOKE 6 TRAYS
The Evoke 6 employs a new steel powder coated tray and rail design which is stronger to tolerate the bigger trays and is service
friendly.
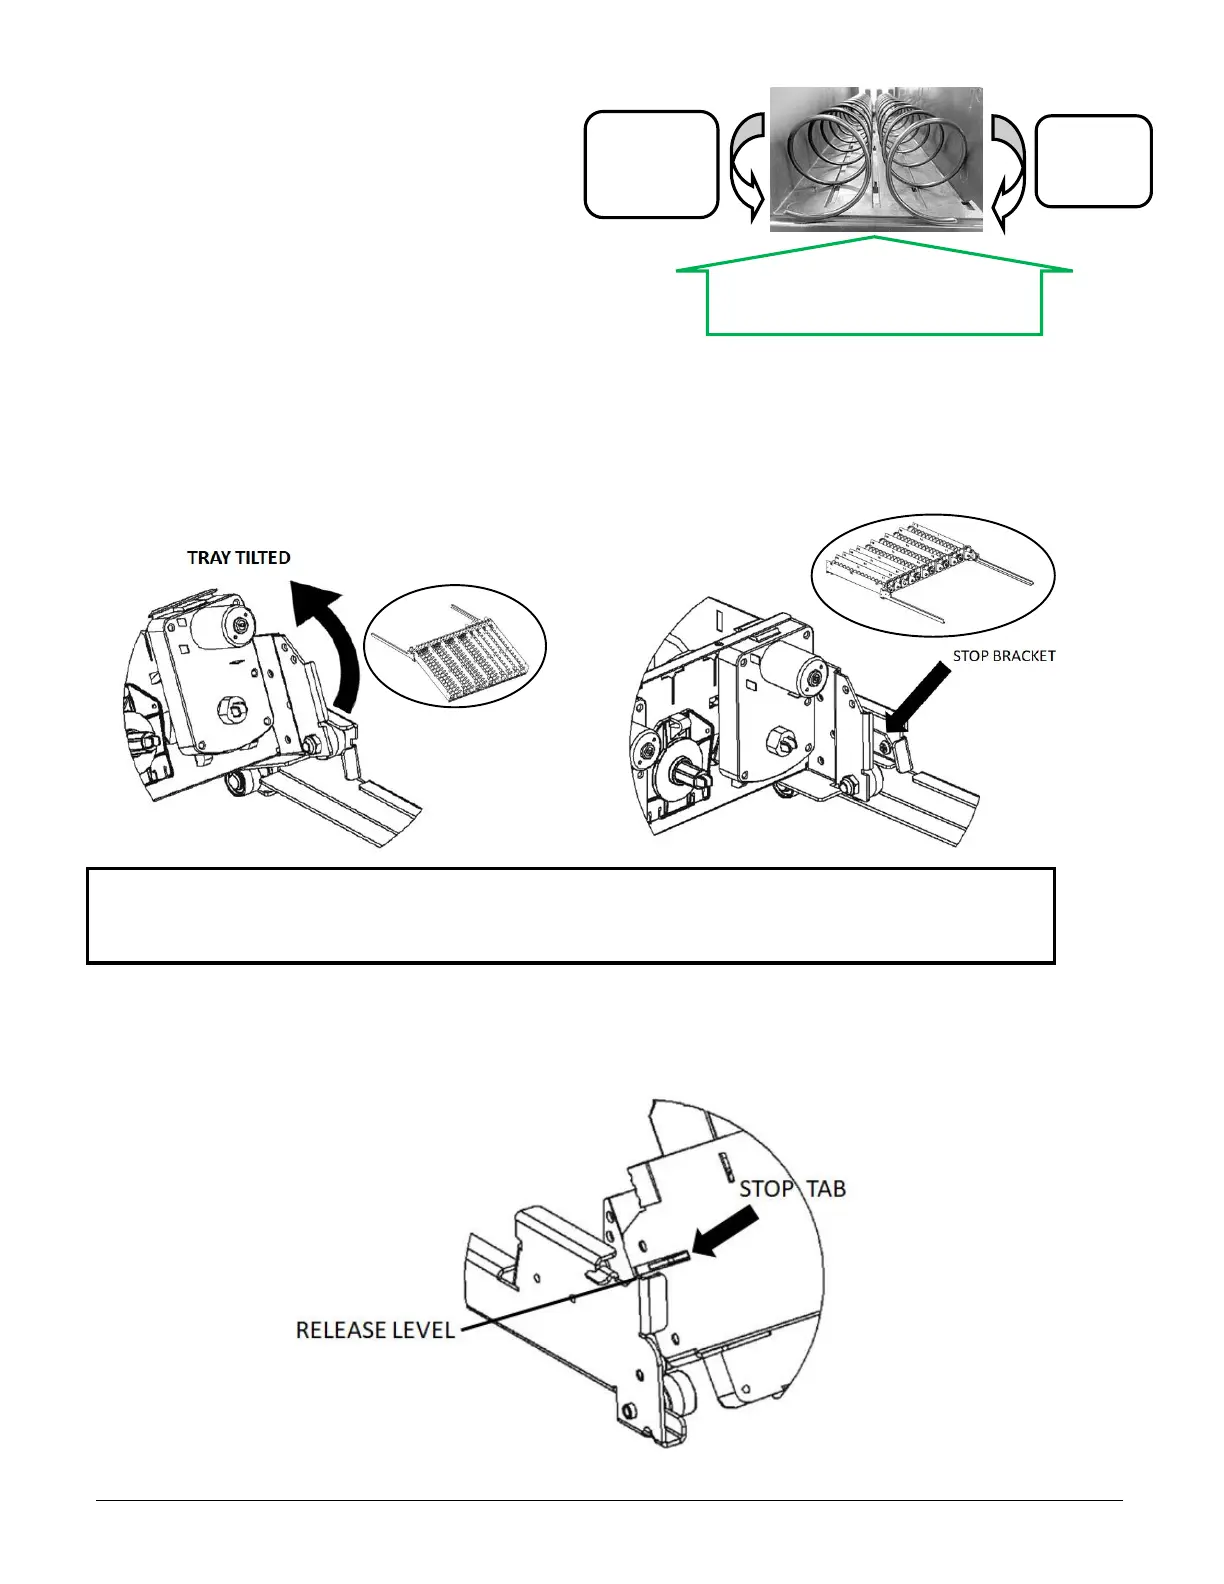
The rails for the bottom 2 trays employ a stop bracket which prevents these 2 trays from tilting which is more ergonomically
friendly for loading/filling, there is no need to tilt these trays down for filling. The upper trays will tilt down to facilitate filling.
The illustrations below show the 2 tray rail types, tilting and non-tilting examples:
CAUTION: WHEN PULLING TRAYS OUT ENSURE TRAY IS HORIZONTAL, BEING CAREFUL NOT TO LIFT THE TRAY AT
THE FRONT TOO HIGH AS THIS COULD RELEASE THE TRAY FROM ITS RAILS AND IT COULD FALL OUT – SEE TRAY
REMOVAL BELOW
TRAY REMOVAL
To remove a tray from the machine the electrical harness must first be disconnected. Then pull the tray forward and lift the front
of the tray to approx. 30° up from horizontal such that the side stop tab is above the release level as shown below, then pull
forward and lift out of the machine: