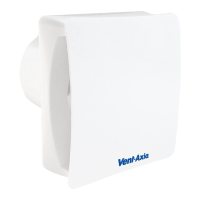
HUMIDITY SET-POINT ADJUSTMENT
BEFORE ADJUSTING THE CONTROLLER, SWITCH OFF THE MAINS SUPPLY.
HUMIDISTAT SHOULD ONLY BE ADJUSTED BEFORE OR DURING
INSTALLATION.
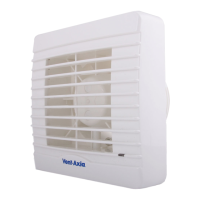
1. Remove the fan grille. The controller is factory set to switch on at about
70% RH. The humidity set point can be adjusted from 40-95%RH by
altering the adjuster on the control PCB.
2. To LOWER the set-point use a small screwdriver to turn the adjuster ANTI-
CLOCKWISE. This makes the controller MORE sensitive.
3. To RAISE the set-point use a small screwdriver to turn the adjuster
CLOCKWISE. This makes the controller LESS sensitive.
4. Replace the fan grille.
IMPORTANT: Upon installation it is possible that the humidity controller will make the
fan run continuously until it has acclimatised to the environment. As part of the
installation process it is important to set/adjust the humidity sensitivity to the desired
position. The controller is already factory set to switch on at about 70% R.H.
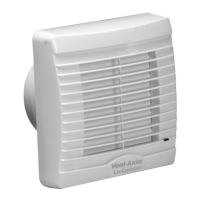
SHUTTER OPERATION
The shutter mechanism in all VA100‘X’ model fans will open approximately one minute
after the fan is turned on. The shutter will close about a minute after the fan is switched
off.
PULLCORD OPERATION (VA100LH, VA100XH)
The PULLCORD will activate the fan when switched. When the PULLCORD is
switched into the off position, After which the fan will return to the Auto sensing mode.
The Neon will only activate if the PULLCORD is in the ON position.
NEON OPERATION
The Neon will activate whenever the LS or PULLCORD is activated. The NEON will
switch off if the fan is running in Timer overrun or Humidity mode (if applicable).
D. SERVICING AND MAINTENANCE.
1. At intervals appropriate to the installation, the fan should be inspected and cleaned to
ensure there is no build up of dirt or other deposits.
2. Wipe the inlets and front face with a damp cloth until clean.
The fan has sealed for life bearings, which do not require lubrication.