6
BEFORE FIRST USE
1 Placetheunituprightonarm,atsurface.Forproperaircirculationmakesurethevented
sidesareatleast18-20”clearofanywall.Donotblockairowinletsandoutlets.Unrestricted
airowwillresultinthebestefciencyandperformanceofyourVentaAirwasher.
2 Inspect the switching power supply to insure it is free of damages.
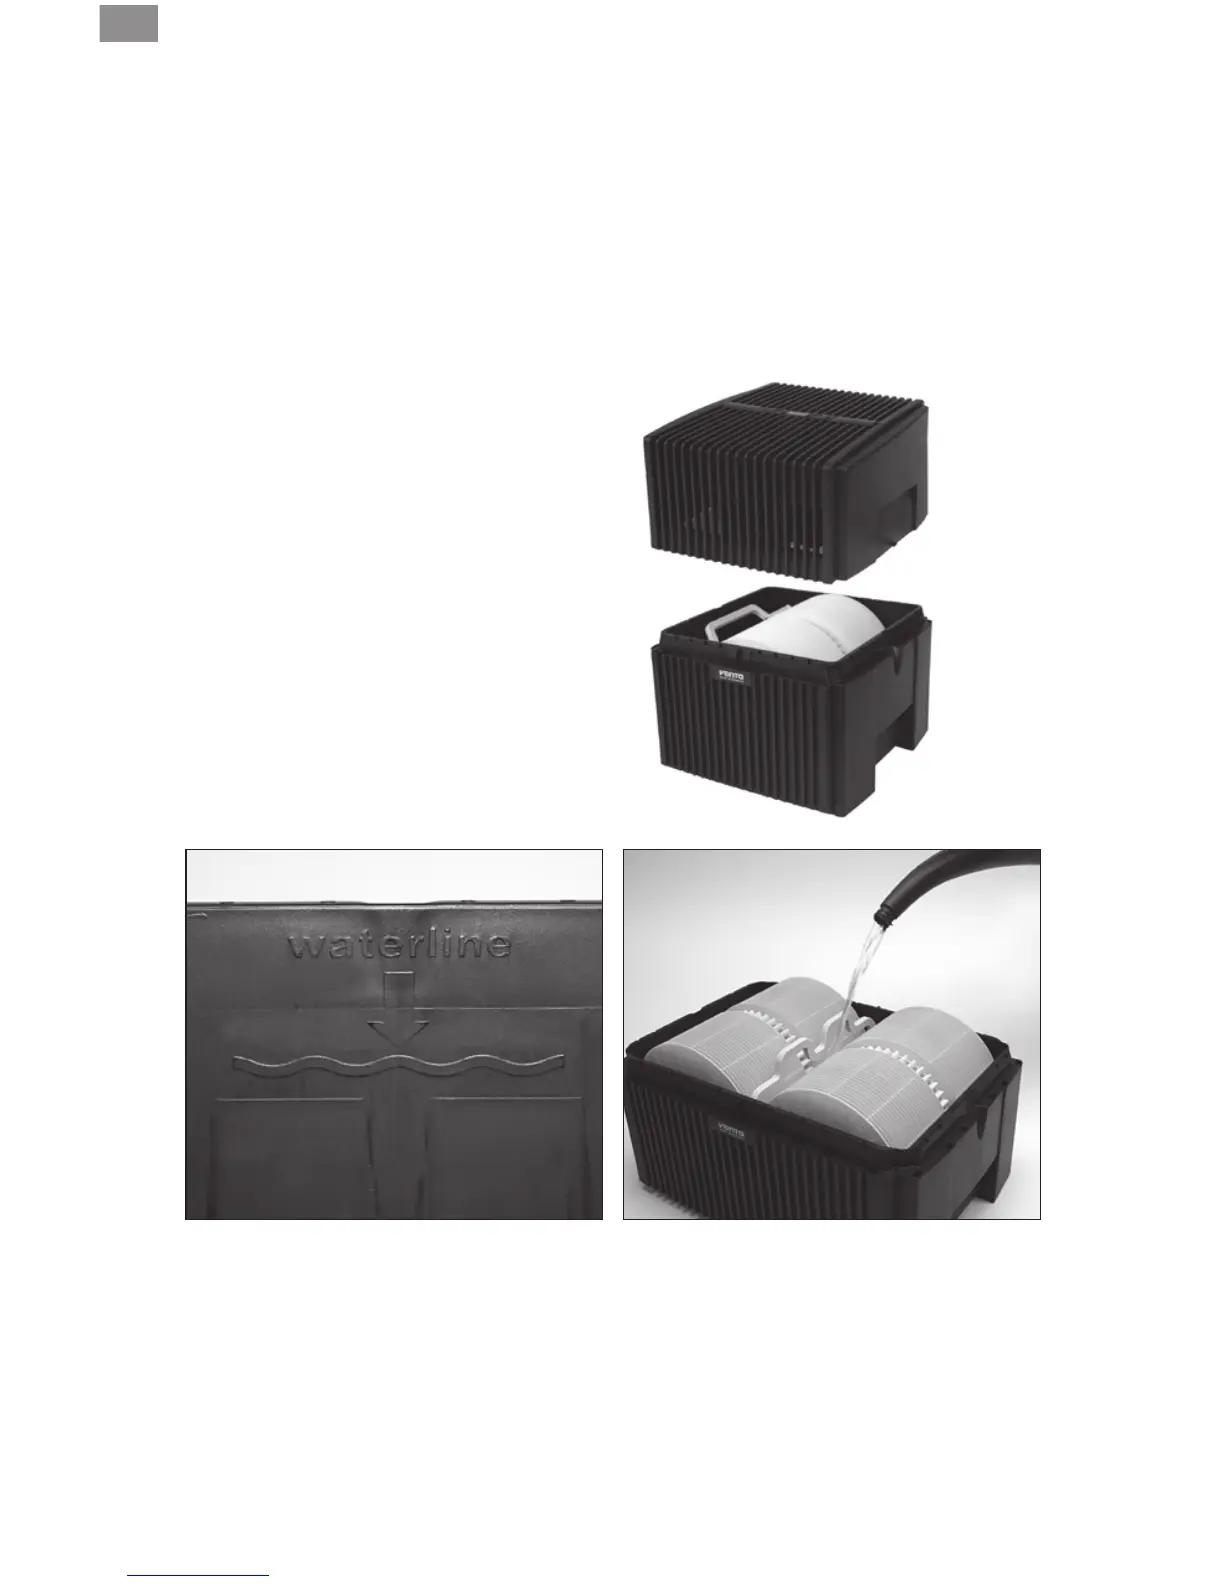
3 Make sure the upper housing is removed from the lower housing.
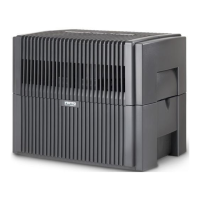
4 Place disk stack(s) into lower housing.
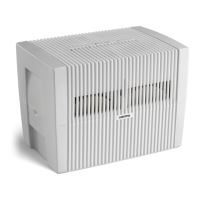
5 Addfreshtapwater.Fillwatertothellline
located approximately one (1) inch below the
top on the inside of the lower housing. You can
transport the lower housing to your sink or tub
–oryoumayllthelowerhousingbycarrying
the water in a pitcher or watering can to the
lowerhousing.Becarefulwhenlling,cleaning,
or moving the Venta Airwasher to avoid water
spills.
Do not fill your Venta through the air
intake holes on top of the upper housing.
6 LW 15/25: Add the entire contents of one
sample bottle of Water Treatment Additive.
LW 45: Add the entire contents of both sample
bottles of Water Treatment Additive.
7 Place upper housing properly on top of lower housing.
8 Plug switching power supply into standard 110-120 V AC outlet.
9 See“DailyUseandOperation”onpage7.
UPPER HOUSING
DISK STACK
LOWER HOUSING