6
Ventana BenchMark GX Quick Reference Guide
VI. Install a ribbon
48. Press down on the ribbon access
window to release it, and then lift the
window up.
49. Press the ribbon rewind spindle to the
left to release it, and then lift it out.
50. Remove the used ribbon.
51. Return the rewind spindle to the printer.
52. Press the ribbon supply spindle to the
left to release it, and then lift it out.
53. Remove the empty ribbon core.
54. Slide a new ribbon onto the supply
spindle, with the ribbon positioned to
hang downward behind the spindle.
Center the ribbon on the spindle.
55. Return the spindle to the printer.
56. Pull the top release levers and lift the
top cover of the printer.
57. Remove the tape from the new ribbon
and unroll the ribbon until it hangs
below the top cover.
58. Guide the ribbon up and over the front
of the top cover and tape the end of
the ribbon to the empty rewind core.
Rotate the rewind core once to smooth
the ribbon.
59. Lift the top cover of the printer all the
way up to release it, then close it.
60. Close the ribbon access window.
61. Update the Ventana Slide Labeling
System for the new ribbon.
VII. Update the Ventana
Slide Labeling System
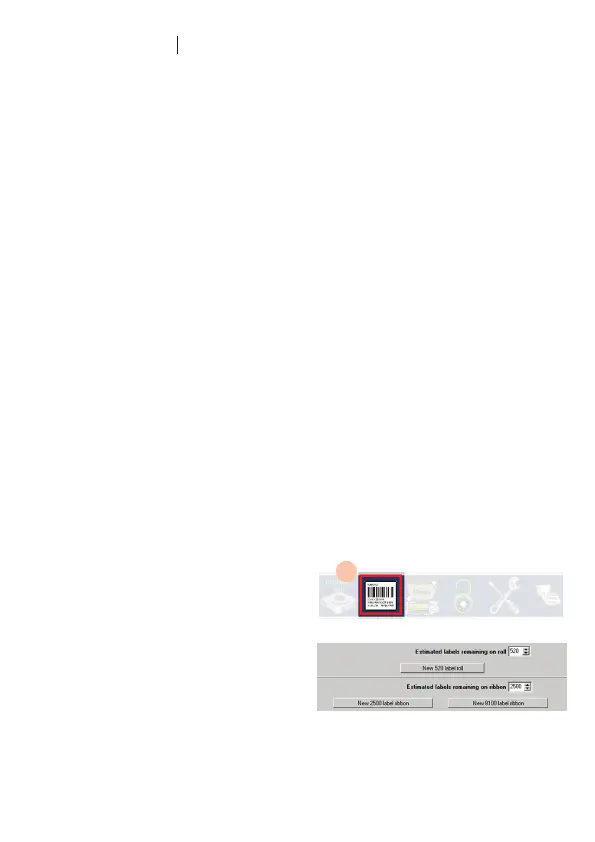
62. Click the slide label icon at the bottom of
the main screen.
63. In the Ventana Slide Labeling System,
clickCongure.
64. In Setup Host, click the SLS Options tab.
65. To add labels, click “New 520 label roll.”
To add a ribbon, click “New 2500 label
ribbon” or “New 8100 label ribbon.”
66. Click the Save button, and then click the
Close button.
63.
 Loading...