EN
MOUNTING
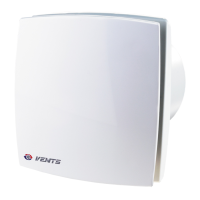
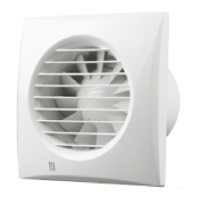
The fan is designed for ceiling or wall mounting and is connected to a ventilation shaft or an air duct of
respective diameter, fig. 1.
Fan mounting sequence:
Step 1 - Cut of power supply and make preparations in a room to install a fan following step 1.1-1.2;
Step 2 - Remove the front plate from the fan following step 2.1-2.7 depending on a fan model;
Step 3 - mark and drill the holes for the fan fasteners and fix the fan, step 3.1 - 3.3;
Step 4 - connect the fan to power mains and adjust the timer and humidity sensor set point if required
following steps 4.1-4.7 depending on the fan model);
Step 5 - cover the fan casing with a front plate following step 5.1-5.7 depending on the fan model;
Step 6 - supply power to the fan following step 6.1.
For LD Freshtime model: install AA 1.5 V battery following step 5.7 and set current time, step 5.7.
The battery (AA 1.5 V) is not included into delivery set.
TERMINAL DESIGNATION KEYS AT WIRING DIAGRAMS:
L - phase (only for 220-240 V power mains);
N - 0 (only for 220-240 V power mains);
LT - timer control line;
QF - circuit breaker;
S - external switch;
S1 - external fan switch;
S2 - external light switch.
Warning! The timer circuit is under mains voltage. Disconnect the fan from power mains prior to
any adjustment operations. The fan delivery set includes a specially designed plastic screwdriver
for fan settings adjustments.
Use the screwdriver to change the turn-off delay time or the humidity set point, see step 4.7.
ATTENTION! The fan rated for 12 V power mains (marked on the fan casing) connect to 12 V power
mains only!
5