4
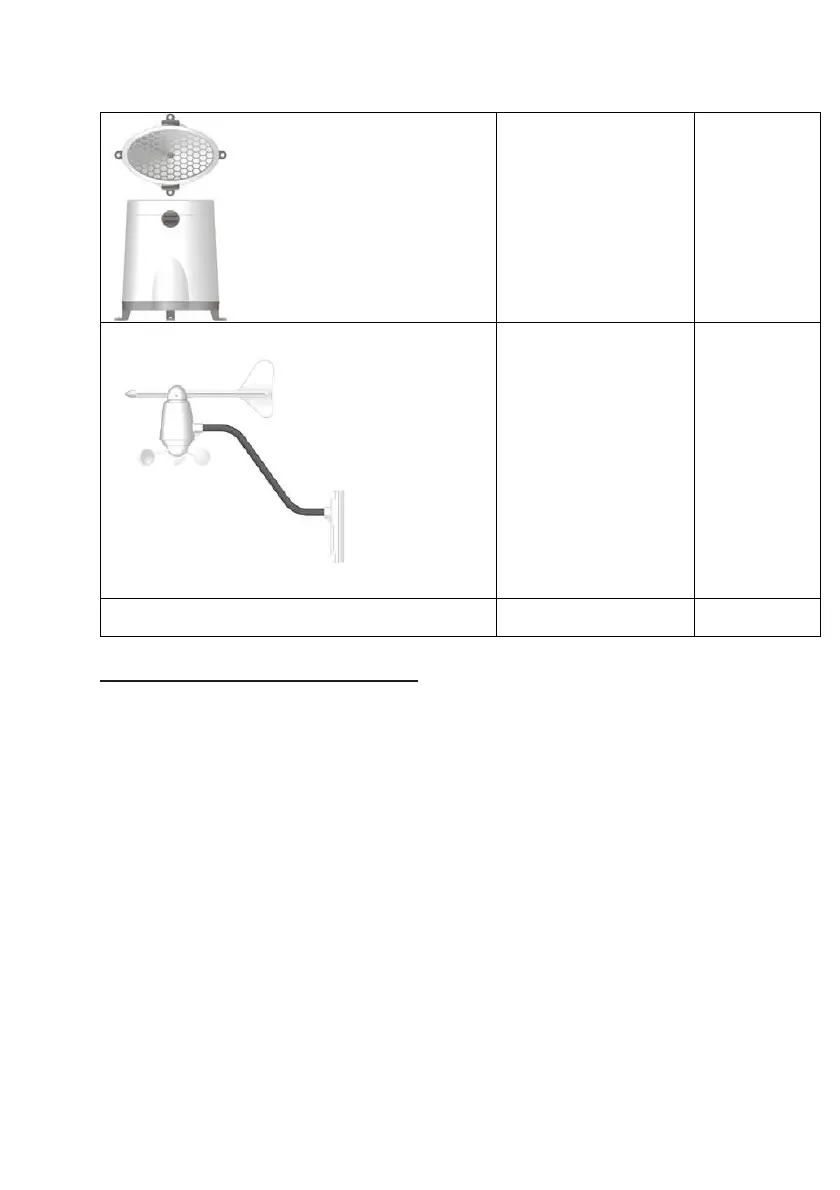
Rain Sensor:
-Funnel shaped Lid with
Battery Hatch
-Sensor Base
-Bucket See-saw
Mechanism
-Protective Screen
4 screws for
securing unit
to ground
Anemometer
(Wind Sensor):
- Wind Cups
- Wind Vane
- Anemometer arm
- Anemometer base
4 screws for
securing unit
to vertical
surface
Computer Software 2m (6ft) USB
cable
Installing your weather station
Setting up the Remote Weather Sensors
Before starting up the main console unit, setup all the remote sensors first.
When placing the sensors, make sure that they are within receiving range of the
console unit. Ideally they should be within the line of sight of the console unit.
Transmission range may be affected by trees, metal structures and electronic
appliances. Test reception before permanently mounting your weather station.
Also make sure that the sensors are easily accessible for cleaning and
maintenance.
The remote sensors should be cleaned on a weekly basis, since dirt and debris
will affect sensor accuracy.
Setting up the Thermo-Hygro Sensor(s)
1. Open the latch at the base of the thermo-hygro sensor.
2. Set the channel with a slide switch.
 Loading...