Versare Solutions, LLC
3236 California St. NE • Minneapolis, MN 55418
1-855-457-1473 • customerservice@versare.com
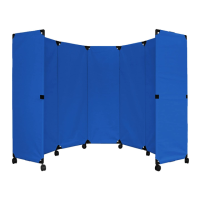
Room Divider 360
Assembly Instructions
Gently place both end panels on the ground
and lift partition bundle (placing it on it’s
side) on top of one of the end panels.*
Line up brakcet on end panel to the holes
on the outside piece of panel bundle.
Screw two bolts into each bracket on the
end of the panels as shown.
Helpful Tip: *Keep shipping straps buckled for easier assembly.
Tools and hardware included:
1.
2.
Small
Bolt
Medium
Bolt
Large
Bolt
2 Allen
Wrenches
For 3 and 5 panel Room Divider 360 single wheels will already be screwed
into panels. For 7 and 9 panel Room Divider 360 Follow the next two steps to
install wheel bars.
Posizionare delicatamente entrambi i pannelli
finali sul terreno e sollevare il fascio divisorio
(appoggiandolo su un lato) sopra uno dei
pannelli finali. *
Allineare i fori sul pezzo esterno del
pannello. Avvitare due bulloni in ogni staffa
alla fine dei pannelli, come mostrato.
Per 3 e 5 pannelli le singole ruote Room Divider 360 saranno già avvitate in
pannelli. Per 7 e 9 pannelli Divisore Stanza 360 Segui i due passaggi successivi
per installare le barre ruota.