Transceiver
Disassembly
...........
,
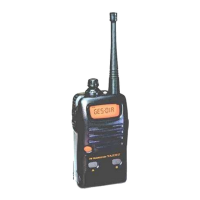
The VX-10
must
be
partially disassembled to
perform
a complete alignment.
0
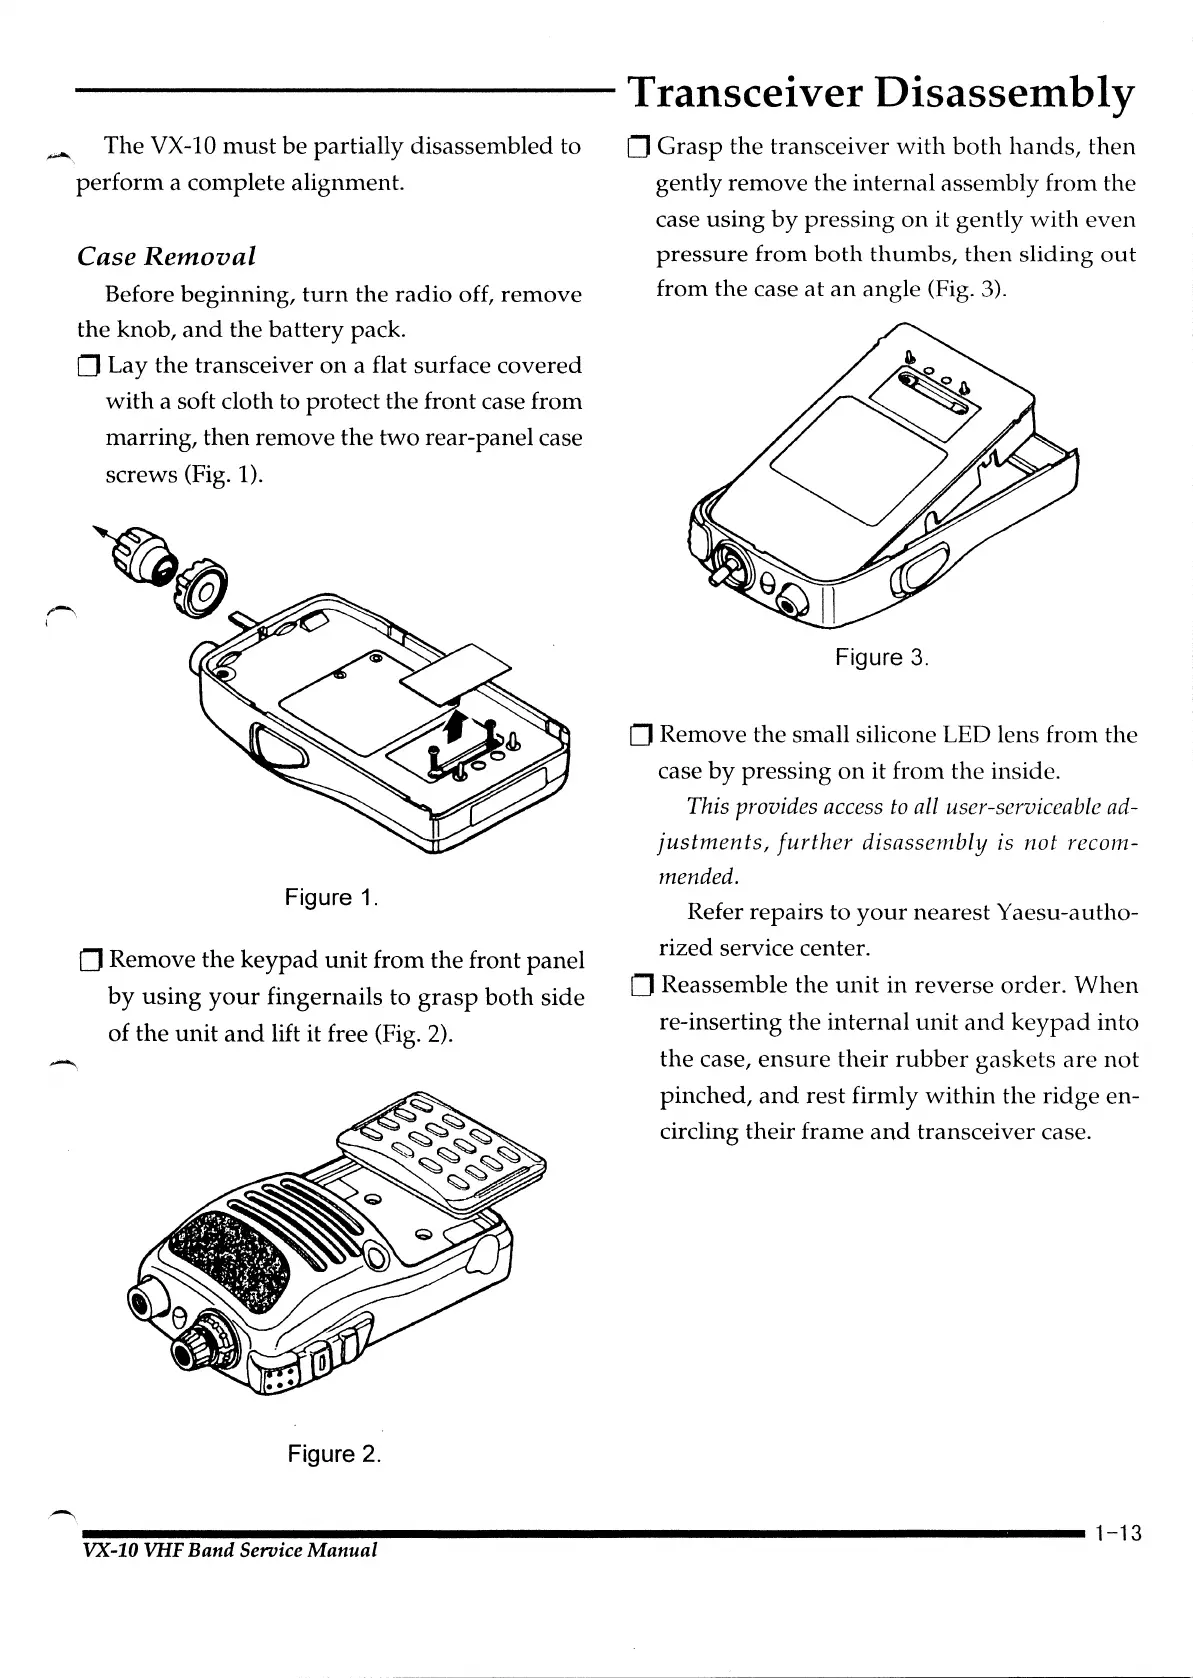
Grasp
the
transceiver
with
both
hands,
then
gently remove the internal assembly from the
case
using
by
pressing
on
it gently
with
even
pressure
from
both
thumbs,
then
sliding
out
from the case
at
an
angle (Fig. 3).
1"-
l '
-
-.
Case
Removal
Before beginning,
turn
the
radio
off,
remove
the knob,
and
the
battery
pack.
0 Lay
the
transceiver
on
a flat surface
covered
with
a soft cloth to protect the front case from
marring,
then
remove the two rear-panel case
screws (Fig. 1).
Figure
1.
0 Remove
the
keypad
unit
from the front
panel
by
using
your
fingernails to
grasp
both
side
of
the
unit
and
lift it free (Fig.
2).
Figure
2.
Figure
3.
0 Remove
the
small silicone LED lens from
the
case
by
pressing
on
it from the inside.
This provides access
to
all user-serviceable ad-
justments,
further
disassembly
is
not
recom-
mended.
Refer repairs
to
your
nearest Yaesu-autho-
rized service center.
0 Reassemble the
unit
in
reverse
order.
When
re-inserting the internal
unit
and
keypad
into
the
case,
ensure
their
rubber
gaskets
are
not
pinched,
and
rest
firmly
within
the
ridge
en-
circling their frame
and
transceiver case.
---------------------------------------------------------------1-13
VX-10 VHF Band Service Manual
 Loading...