Do you have a question about the Vex Robotics IQ Simple Clawbot and is the answer not in the manual?
Guides on verifying piece sizes, orientation, and understanding icons used in the manual.
Instructions on how to use specialized tools like the Puller, Pusher, and Lever for building.
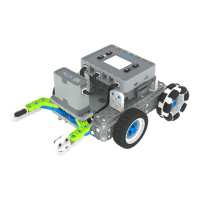
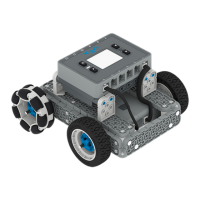
Identifies the main BaseBot chassis, wheels, and motor shafts required for the build.
Lists various connector pins, standoffs, and corner connectors used for structural assembly.
Details the smart motor and smart cable necessary for the robot's functionality.
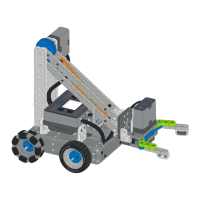
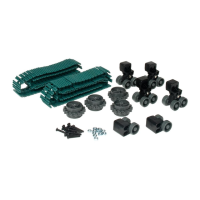
Introduces specific beams, traction links, and gears for the claw mechanism.
Initial steps involve preparing the base chassis and attaching motor-related components.
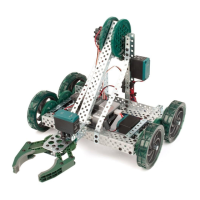
Building the core mechanical structure, including gears and arm linkages.
Assembling the main arm components using various beams and connectors.
Constructing the claw mechanism using specific connectors and linkages.
Completing the arm and claw assembly and attaching it to the main structure.
Adding final structural elements and completing the robot's physical build.
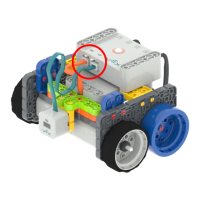
Connecting the smart cable between the smart motor and the robot brain.
| Type | Educational Robot Kit |
|---|---|
| Category | Robotics |
| Microcontroller | VEX IQ Robot Brain |
| Actuators | VEX IQ Smart Motors |
| Power Source | Rechargeable Battery Pack |
| Controller | VEX IQ Controller |
| Assembly Required | Yes |
| Recommended Age | 8+ |
| Components | motors, sensors, structural parts |
| Programming Language | VEXcode IQ (Block-based or C++) |
| Sensors | Bumper Switch, Distance Sensor |
| Connectivity | USB |
| Claw Mechanism | Simple claw with motor actuation |
| Dimensions | Varies based on assembly |
| Material | Plastic |