14
15
BOAT INSTALLATION
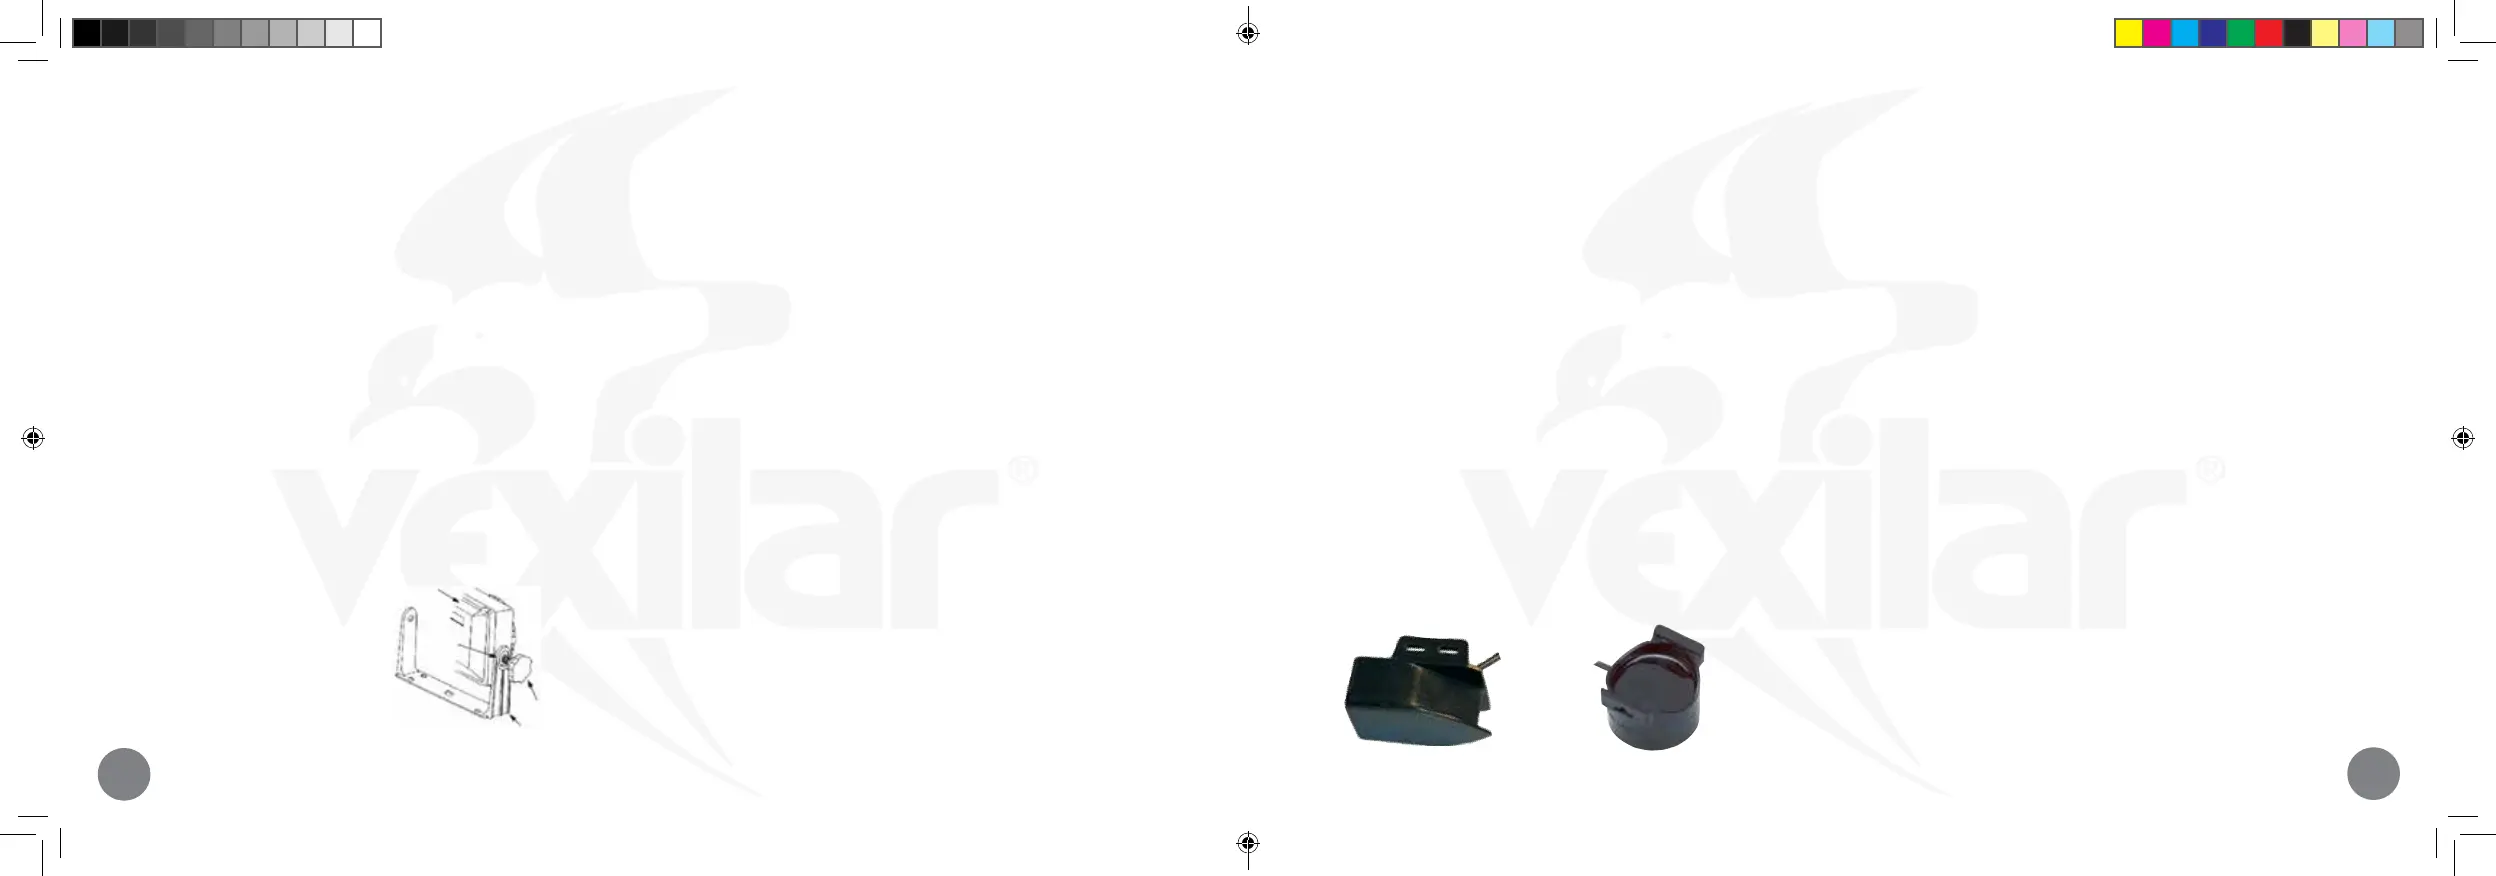
Mounting the Flasher Unit
Take a few minutes to plan your installation. The unit should be
mounted in a location where it will be readily visible yet out of
the way of trac. The mounting surface should be fairly at. Be
sure to allow clearance for the cables at the rear of the unit while
it tilts and swivels. The unit is weather-proof, not waterproof, so
try not to mount it in a location where it will be exposed to the
extreme forces of wave impact during severe conditions.
To Install the Flasher Unit
1. Obtain four appropriate fasteners for your mounting location.
2. Remove the asher unit from the gimbal bracket by removing
the two gimbal knobs on each side of the unit.
3. Position the bracket in your intended mounting location.
4. Mark the four holes and drill each using the appropriate drill
size.
5. Attach the gimbal bracket
using your four fasteners.
Tighten securely.
6. Replace the asher unit into
the gimbal bracket and tighten
the gimbal knobs.
Power Connection
Your asher unit requires a 12 volt power source to operate. A
connection can be made directly to a battery or a connection can be
tapped into a boat’s electrical system.
• If possible, power your asher using the main starting battery,
not a battery that powers an electric trolling motor.
• When routing the cable, be sure to stay away from, or provide
cable protection around, areas with sharp metal edges.
• If the supplied power cord is too short, extend it using 18 gauge
wire.
• IMPORTANT: Be sure to have circuit protection, such as a 1
amp fuse or circuit breaker, placed in the positive line near the
power source to protect the wiring.
To connect the asher to power:
1. Be sure the power cord is not connected to the asher.
2. Route the power cable from the asher location to the power
source.
3. Connect the white or red wire to the positive power source
terminal and the black wire to the negative terminal.
4. Connect the power plug to the asher’s power jack.
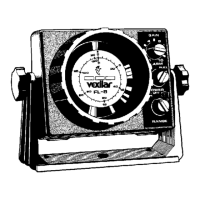
Flasher Unit
Rubber
Washer
Gimbal Knob
Gimbal Bracket
TRANSDUCER INSTALLATION
Types and Mounting Methods
There are several dierent transducer types used for the various
mounting options available to you. Choose the style which best
meets the needs for your mounting application.
Transducer Types
• High-Speed Transom: This style is designed to be mounted
externally on the transom of your boat. It has a special wedged
shape to allow clear water ow when running at high boat
speed.
• Puck Style: Puck transducers are meant for attachment to an
electric trolling motor. They have a special curved shape and
attachment slots just for this purpose. Pucks are also commonly
used for in-hull mounting within berglass boats.
Mounting Methods
• Transom Mounted: the method by which the transducer is mounted
externally on the back of the boat. The transducer is attached at the
bottom of the transom with a small portion of it extending below the
hull line. (see page 17)
• In-Hull Mounting: the method by which the transducer is glued to the
inside of the hull of the boat. The sonar signal shoots through the hull
and into the water. (see page 15)
• Trolling Motor Mounting: the method by which the transducer is
attached to the lower unit of the electric trolling motor. (see page 18)
• Portable Mounting: the solution when easy transducer removal from
the boat is desired. Generally, a suction cup bracket is used to attach
either a high-speed or puck style transducer to the rear of the boat. (see
page 19)
NOTE: If you nd that you have purchased the wrong transducer for
your intended mounting application, you can exchange it with Vexilar.
You will only need to pay the retail cost dierence, plus shipping, of the
transducer style needed. Transducers must be in new condition.
Please call for more information: 952-884-5291
High-Speed Transom Puck Style
Flasher-Family-Manual-2020.indd 14-15Flasher-Family-Manual-2020.indd 14-15 5/20/20 2:16 PM5/20/20 2:16 PM
 Loading...