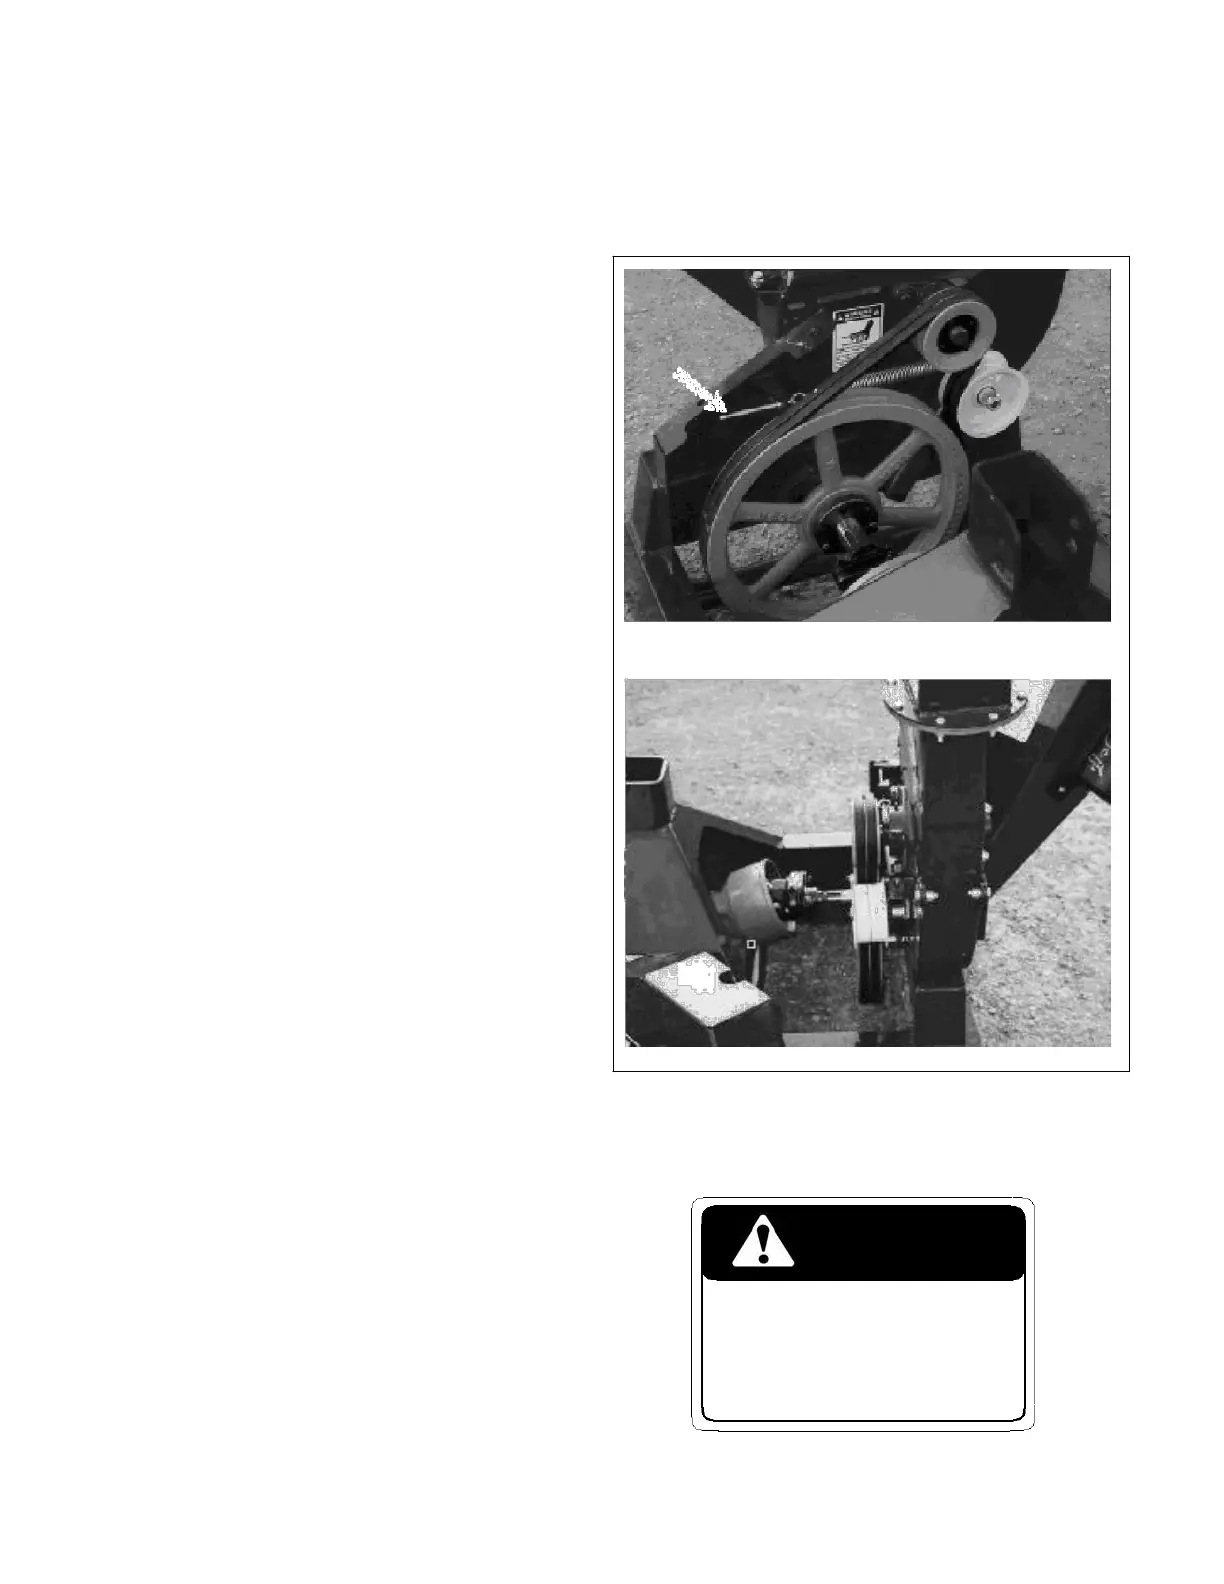
6.2.2 DRIVE BELT TENSION AND ALIGNMENT (Model BX32)
A set of V belts transmits rotational power to the
rotor. They must be kept properly tensioned and
the pulleys aligned to obtain the expected perfor-
mance and life.
To check the tension and alignment, follow
this procedure:
1. Clear the area of bystanders, especially small
children.
2. Turn machine off, stop engine, remove igni-
tion key and place in pocket and wait for all
moving parts to stop.
3. Remove guard over belt.
4. Push on the belt in the center of the span.
The belt should deflect approximately 1 inch
(25 mm) when pushed on with about 10 lbs.
force to be properly tensioned.
IMPORTANT
The belt should not slip when the
chipper is being used.
5. To adjust belt tension:
Use the adjusting bolt on the spring-loaded
tensioning pulley to set the belt tension. The
bolt should not slip when the machine is be-
ing used with a normal load.
6. To replace belt:
a. Move idler pulley to its loosest position.
b. Replace belt. Fig. 47 BELT DRIVE SYSTEM
c. Set pulley alignment.
d. Move idler pulley to set the belt tension.
e. Check frequently during the first 10 hours
and set belt tension as required.
7. Lay a straight edge across the pulley faces to
check the alignment. Adjust alignment if pul-
ley faces vary more than 1/32 inch (.7 mm).
WARNING
Machine is shown with guard re-
moved or rotor cover opened for
illustrative purposes only. Do not
operate machine with guard
removed or cover opened.


 To Next Page