33
Delete user:Delete the current user. Choose the user that needs to be deleted .Click the
delete user button. The factory default user cannot be deleted (Such as :Admin, User,
Default)
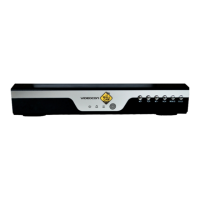
Delete Group:Delete the current team as shown in Picture 4.42Click the Delete Group
button as given in picture 4.46, select the group which need to remove from the team,
click the delete button.
Picture 4.46 Delete Group
Picture 4.48 Restore
4.6.7 Restore
The system resumes the default setup. You can choose the items according to the menu.
Picture 4.49 Auto Maintain
4.6.8 Auto Maintain
Users can set the device to automatically reboot the system and the can also be deleted
automatically according to the set time period.
34
5. Network access settings and cloud technology introduction
5.1 LAN access settings
1. Network connection
1. Before the WEB operation, you must connect this device with the network.
2.Go to NVR “main menu” →“network” to set IP address, subnet mask and
gateway port (the IP segment of the device should be the same with PC
computer, if disconnected, please check device IP).
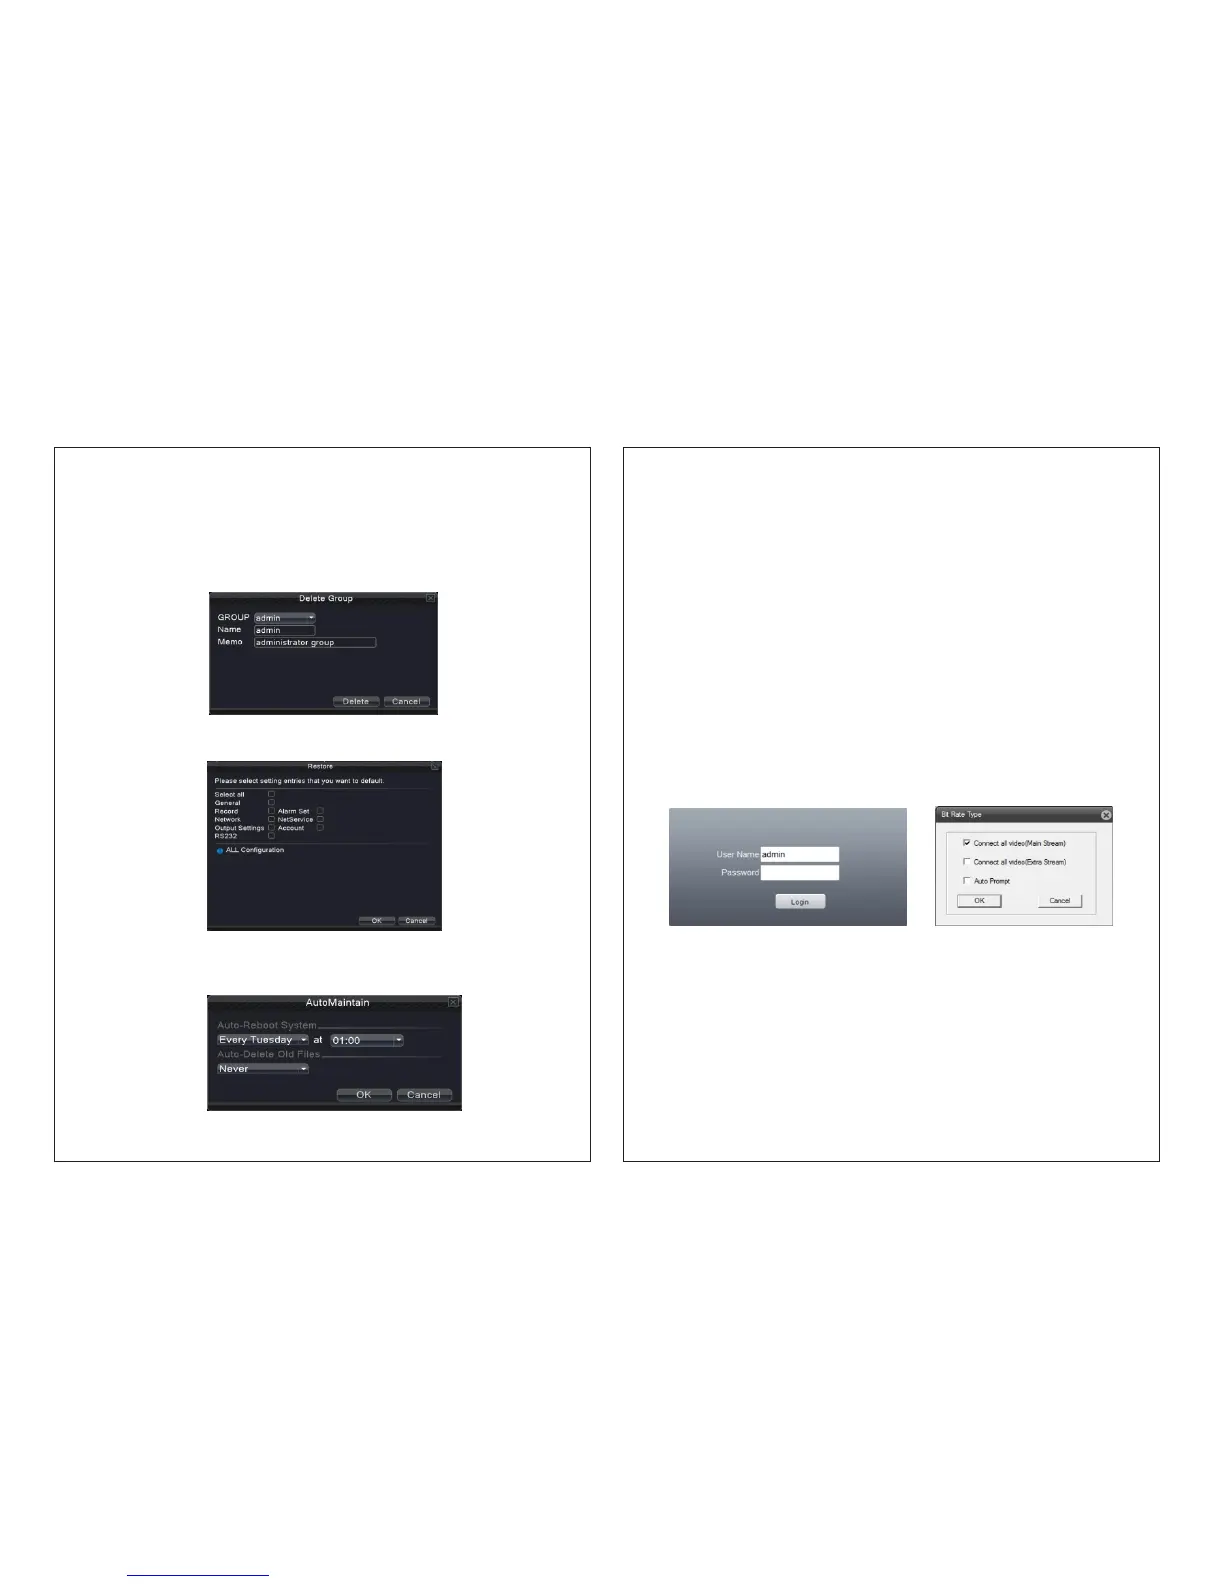
2、 Login
Step 1: Open a web browser; enter the IP address of the login device in the
address bar. As the device with IP address 192.168.1.110, HTTP port 80. For
example, enter: http://192.168.1.110 in the address bar and connections and
if HTTP port is not 80 or 81, then need incorporate the port
as: http://192.168.1.110:81
Picture 5.1 Login interface
Step 2: Login by entering the user name and password, the default user name is admin
and password is ‘null’ as illustrated in picture 5.1。
Picture 5.2 Stream selection