4-20 Printer Configuration Rev AA
Videojet 1710 Operator Manual
How to Use Continuous Print Option
If you enable the Continuous Print (see Figure 4-24 on page 4-18) mode, the
message is printed repeatedly. The message is printed if only the input of product
detect is enabled. When you must print the messages at correct and regular
intervals of time on continuous products, this option is useful.
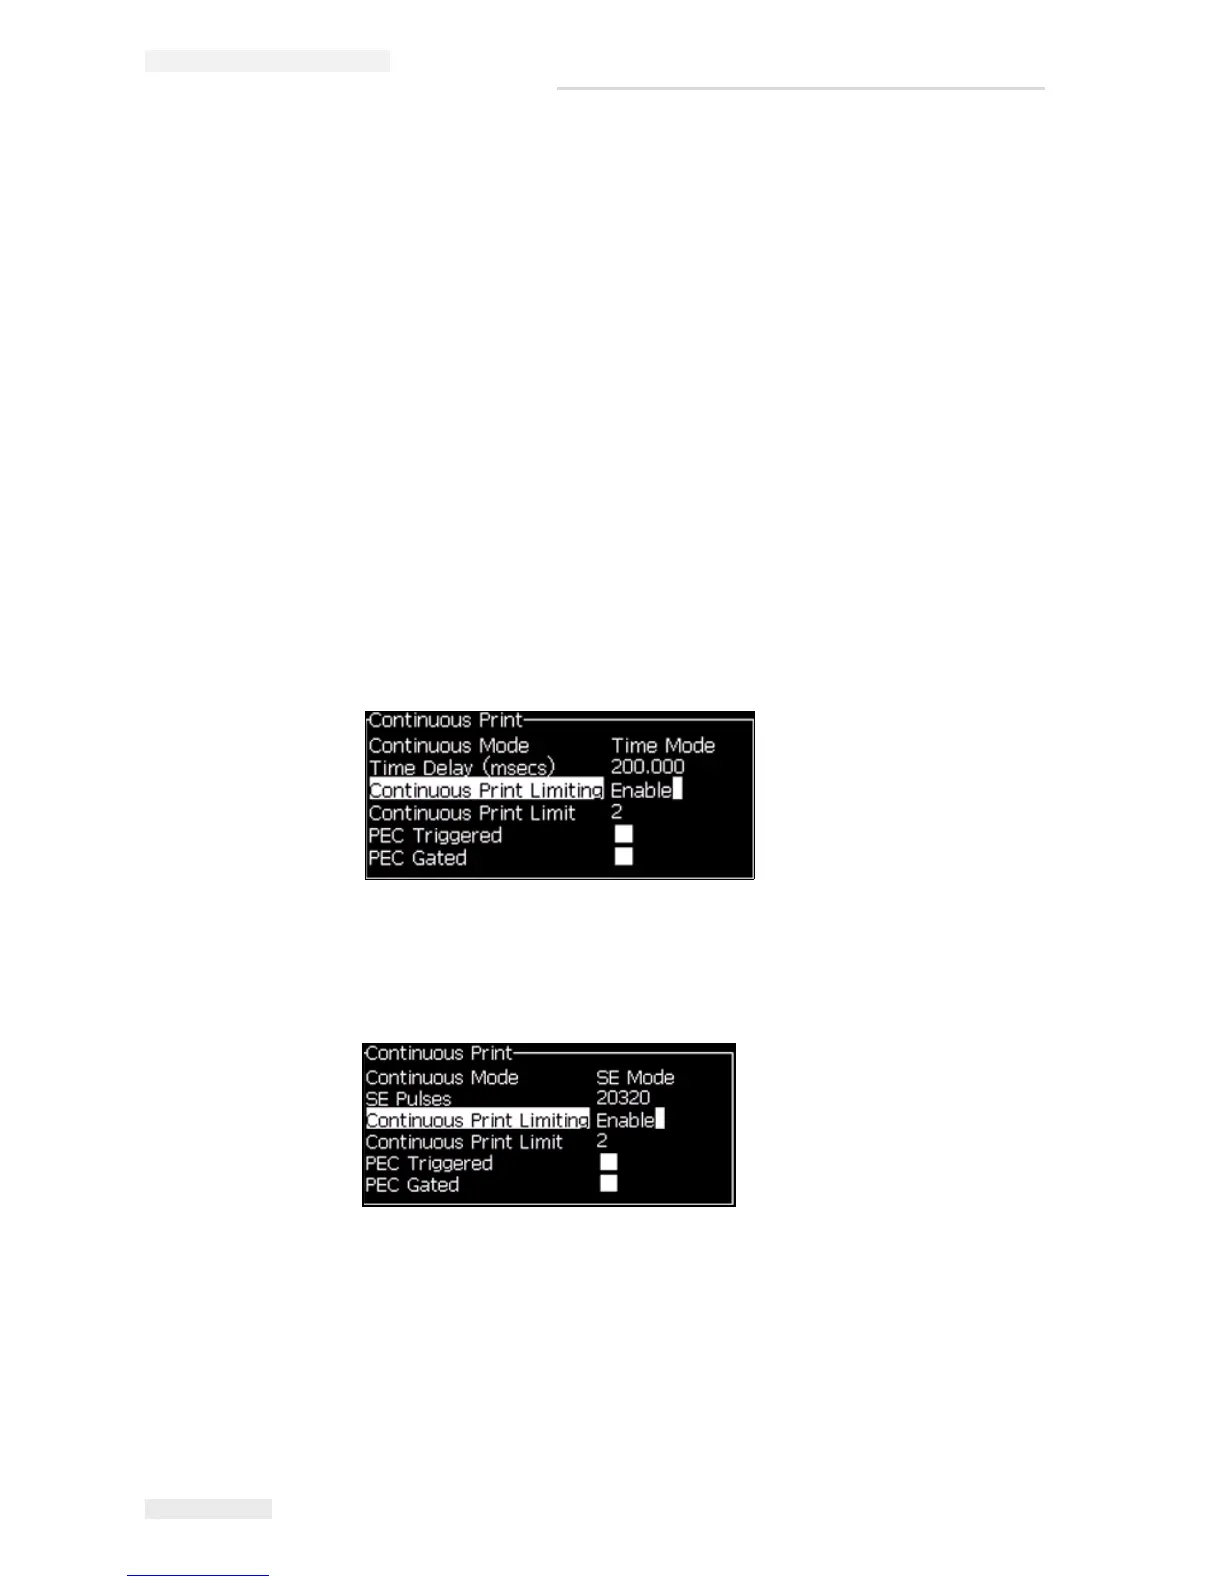
1 Select Continuous Print from the Print Menu. The Continuous Print dialog
box appears (see
Figure 4-26).
2 Select PEC Triggered. This allows you to see the rising or falling edge on the
photocell to start the print.
Note: If you enable the PEC Triggered option, the printer must get a leading
or trailing edge (of the product) signal from the photocell to start the print.
3 Or, select PEC Gated. This allows you to see a steady signal (i.e. substrate) to
keep printing.
Note: If you enable the PEC Gated, the printer must get a continuous signal
to continue the printing.
4 Set the SE Mode delay to use external shaft encoder pulses to set the distance
between the start of each print.
5 If there is no external shaft encoder, set Time Mode delay to use the pulses
internally created to set the distance between each print.
Figure 4-26: Continuous Print Dialog Box