EXCEL 2000 Series Operator Manual
6-63
Graphic Insert
This procedure explains how to place a graphic insert into a
message. The graphic insert is a graphic symbol designed by
9,'(2-(7 as a special order for a customer.
The graphic symbol is “burned” into a PROM (integrated chip) and
the PROM is installed onto the printed circuit board (PCB) in the
printer. Therefore, you cannot add a graphic insert into the
message unless the PROM containing the graphic has been
installed into the printer.
You can use as many graphic inserts in the message as space
allows.
Procedure
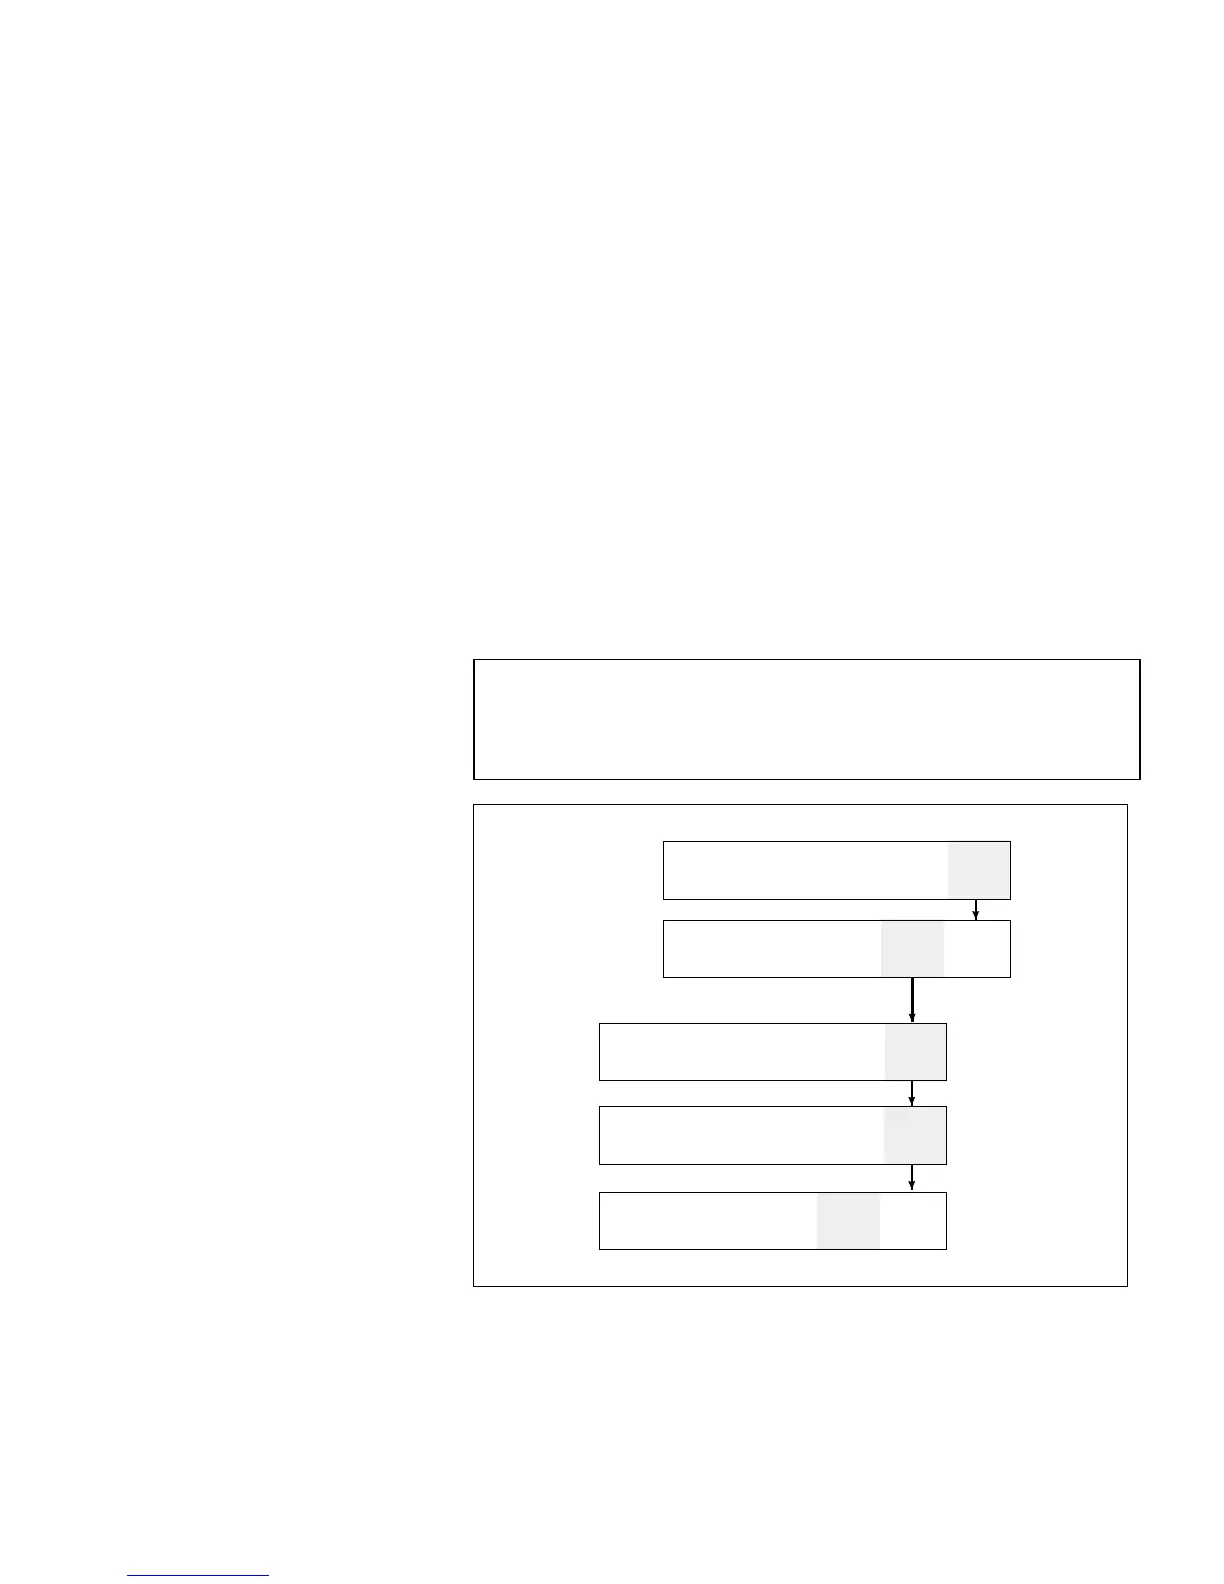
1.
Begin in Frame <03 INSERT>. Refer to Figure 6-46.
2.
Use the arrow keys to move the cursor to the location in the
message where you want the insert to appear.
NOTE: Graphics are designed for use with a specific print
matrix only. Make certain the message that you are
adding the graphic insert into has the same print
matrix as the graphic itself.
CLEAR
ESSAGE
IEW
PRINT
PRINT
MESSAGE
1
DIT
xxx
PRINT
ATRIX
xxxx
HAR.
IZE
CHAR.
ET-UP
INSERTS
02
EDIT
CLOCK
DATE
IMER
01
NSERT
ERIAL-
IZER
FF
PPEND
MESSAGE
1
APPENDED
ESSAGE
MULTI-
PACE
2
NSERT
REMOTE
ATA
BAR
CODE
NSERT
CUSTOM
03
INSERT
INSERT
GRAPHIC
Figure 6-46. Accessing Frame <03 INSERT>
 Loading...