66251111 - V5.0 - 15/03/23
- 3 -
3000 Series
Art.3187 - Installation instructions
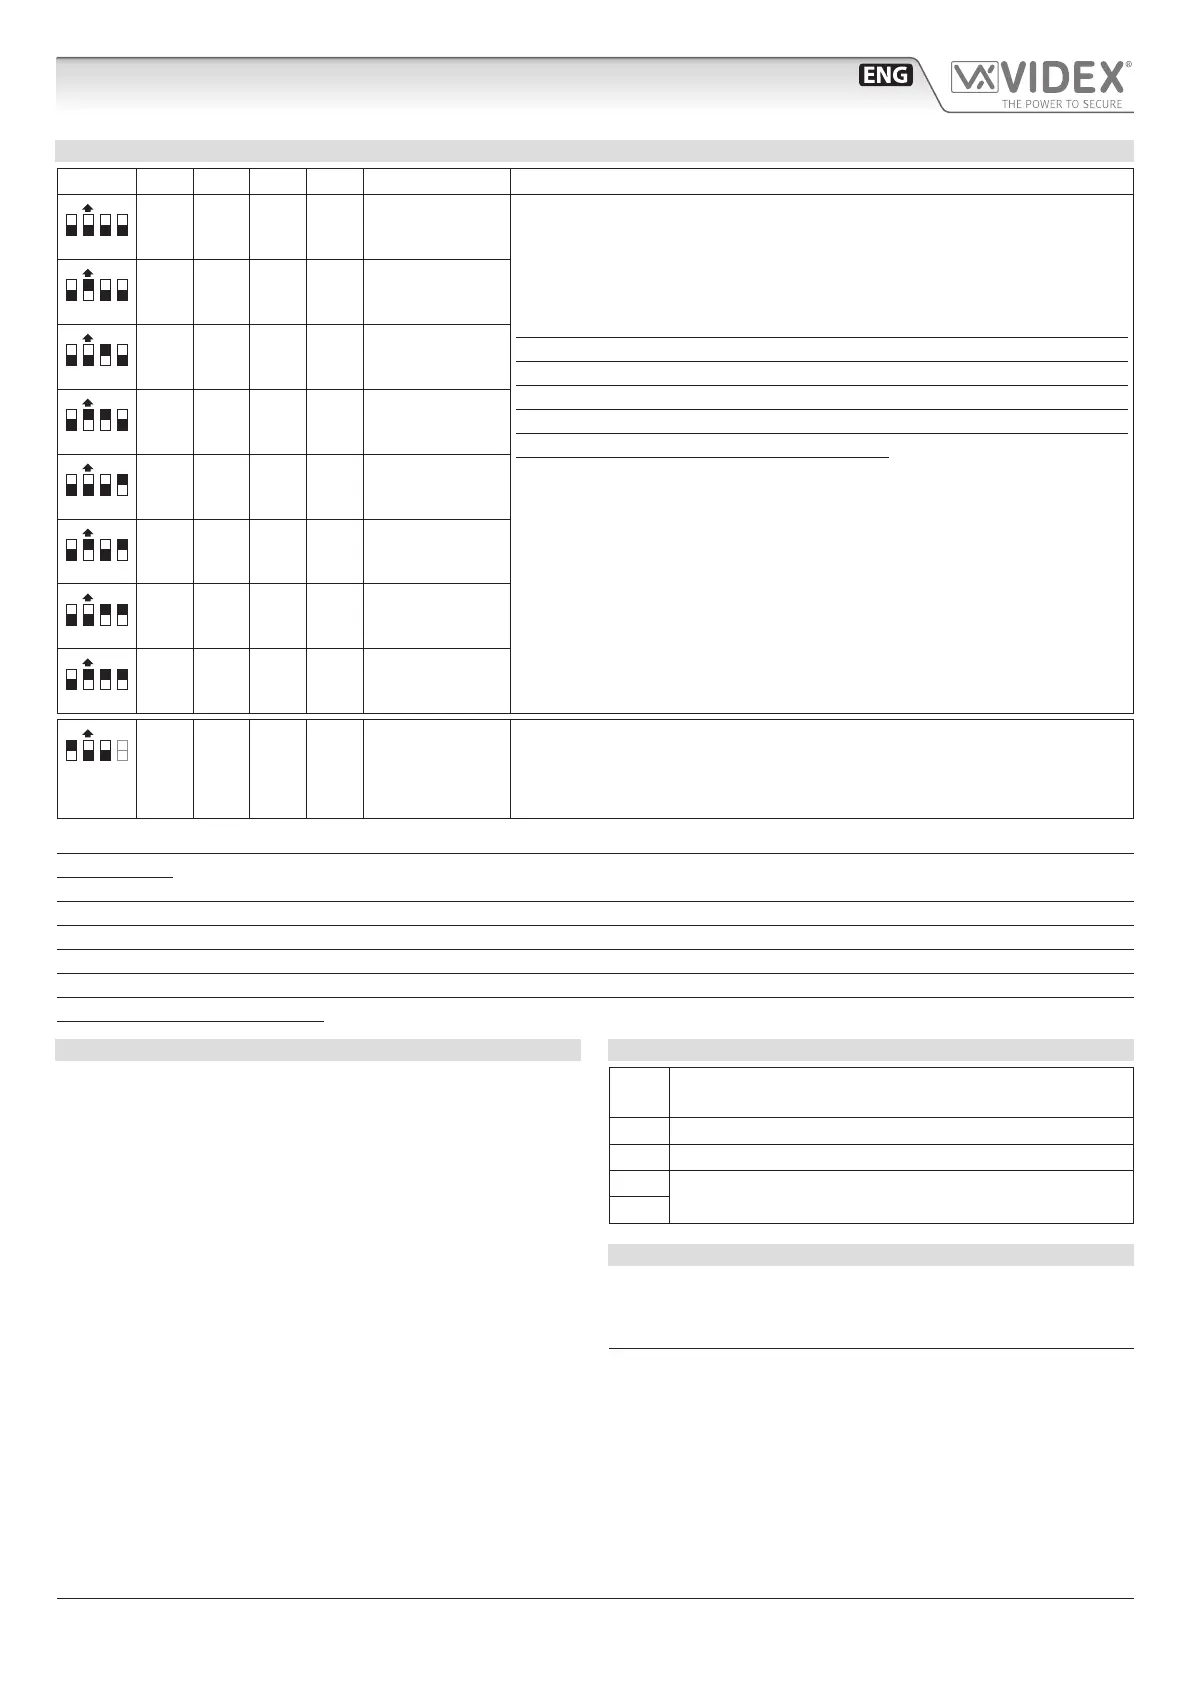
INTERCOMMUNICATION SETTINGS SW3
SW3 Nr.1 Nr.2 Nr.3 Nr.4 Unit extension
ON
1 32 4
OFF OFF OFF OFF = 1 (master)
Intercommunication allowed between units (same unit address)
inside the same at.
To call an extension pick up the handset then press the “door open” button
as many times as the extension value (Eg. extension 2 two times, 3 three
times etc).
Each intercom/videophone in the same apartment must have a
dierent extension address, the master address must always be set
except when one of the intercom/videophone is set for apartment
intercommunication (i.e. in a 3 intercom/videophone installation, one
of the intercom/videophone must have the extension address 1 while
the others must have dierent addresses).
ON
1 32 4
OFF ON OFF OFF = 2 (slave)
ON
1 32 4
OFF OFF ON OFF = 3 (slave)
ON
1 32 4
OFF ON ON OFF = 4 (slave)
ON
1 32 4
OFF OFF OFF ON = 5 (slave)
ON
1 32 4
OFF ON OFF ON = 6 (slave)
ON
1 32 4
OFF OFF ON ON = 7 (slave)
ON
1 32 4
OFF ON ON ON = 8 (slave)
ON
1 32 4
ON OFF OFF
Intercommunication allowed between units (dierent apartment).
To call an extension pick up the handset then press the “door open” button
as many times as the address value (Eg. extension 10 ten times, 12 twelve
times etc).
NOTE: Extension 1 is mandatory. On systems with more than one device in an apartment, each device must have a unique
extension ID.
On installations where there are more than one intercom/videophone in the same apartment and intercommunication
between dierent apartments is required, only one intercom/videophone may be set with this function (SW3.1=ON,
SW3.2=OFF, SW3.3=OFF, SW3.4=OFF). The other intercom/videophones in the apartment must be set for local intercom-
munication with extension addresses “2-8” (slaves). From the intercom/videophone set for intercommunication with other
apartments it will not be possible to intercommunicate within the apartment but slave extensions 2-8 will be able to inter-
communicate with each other.
SETTING NUMBER OF RINGS
The number of rings can be set to 3 (factory preset) or 6.
To change the number of rings proceed as follow:
• Disconnect the power supply from the system;
• Short the terminals LB and GND;
• Reconnect the power supply to the system checking the privacy on
LED and then remove the short between terminals LB and GND;
• The number of LED ashes will be 1 for 3 rings or 2 for 6 rings.
Each time this operation is carried out the number of rings is tog-
gled between the values 3 and 6.
TECHNICAL SPECIFICATIONS
Power consumption: Stand-by: 1/3mA
Operating: 30mA
Peak: 50mA
Working voltage: Supplied by the BUS line
CONNECTION TERMINALS SIGNALS
LB Local Bell contact (put a push button between this ter-
minal and the relevant GND terminal)
AL Alarm input (not implemented)
GND Ground signal
BUS
BUS connection terminals
BUS
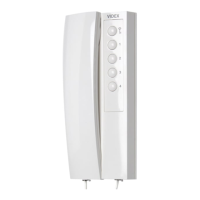
Art.3187 - Art.3187/8 Intercommunicating intercom for VX2300 digital system
 Loading...