66250900 - V4.1 - 15/05/19
- 7 -
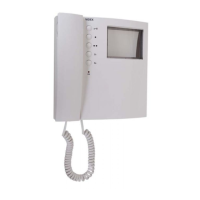
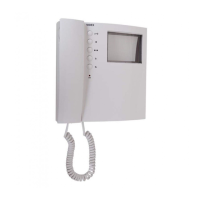
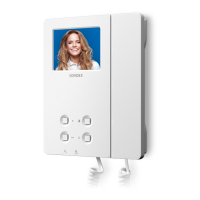
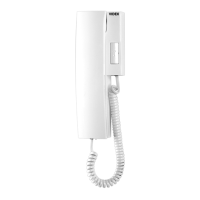
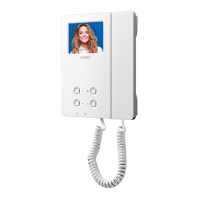
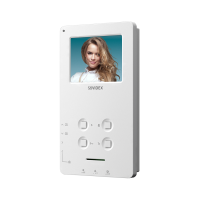
Kristallo Series
Art.KRV76-KRV78 - Installation instructions
Kristallo Series 3.5" Flush and surface videomonitor wall mounting instructions
FLUSH MOUNT KRISTALLO VIDEOPHONE
1. Protect the holes to x the videophone to the ush mounting box then embed the ush mounting box in line with the wall in a
vertical position at 135cm height from the oor as shown in Fig. 1.
2. As shown in Fig. 2, connect the wires using a at screw driver then setup the dip-switches as per provided connection diagram
or instruction sheet.
3. As shown in Fig. 3, once the wires are connected, x the videophone to the ush mounting box using a Phillips screwdriver and
the two screws provided.
In order to avoid malfunctions, please do not over tighten the xing screws shown in Fig. 3.
4. Once the videophone is xed to the ush mounting box, place the front plate against the videophone by inserting the hooks in
the corresponding openings and hook the plate by pushing it down as shown in Fig. 4.
5. Test the system for correct operation.
SURFACE MOUNT KRISTALLO VIDEOPHONE
1. As shown in Fig. 1a, place the videophone against the wall at 135cm height from the oor and mark the xing holes. Make the
holes (5mm diameter) and insert the provided wall plugs as shown in Fig. 1b.
2. As shown in Fig. 2a, connect the wires using a at screw driver then setup the dip-switches as per provided connection diagram
or instruction sheet.
3. As shown in Fig. 3a, once the wires are connected, x the videophone to the wall using a Phillips screwdriver and the two screws
provided.
In order to avoid malfunctions, please do not over tighten the xing screws shown in Fig. 3a.
4. Once the videophone is xed to the wall, place the front plate against the videophone by inserting the hooks in the correspond-
ing openings and hook the plate by pushing it down as shown in Fig. 4a and hang the handset as shown in Fig. 4b.
5. Test the system for correct operation.
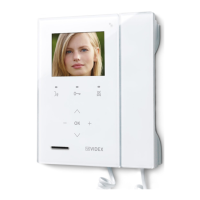
TOUCH SENSITIVE KEYS ADJUSTMENT
Cleansing the panel with the plate on or removing the plate for any reason may cause the touch sensitive buttons to lose their ad-
justment. If you detect any malfunctions, we suggest you proceed as follows:
• Remove the front plate doing the contrary of what is shown in Fig. 4 and Fig. 4a;
• Touch the touch sensitive
button area (the rst of the three areas aligned in horizontal way from the right side)until the display
turns on (about 5 seconds);
• Touch the touch sensitive button area repeatedly until the pointer is on “EXIT”;
• Hang up the front plate as shown in picture Fig. 4 and Fig. 4a; before the display turns o;
• When the display turns o the setting is done and the system is ready for use.
 Loading...