36
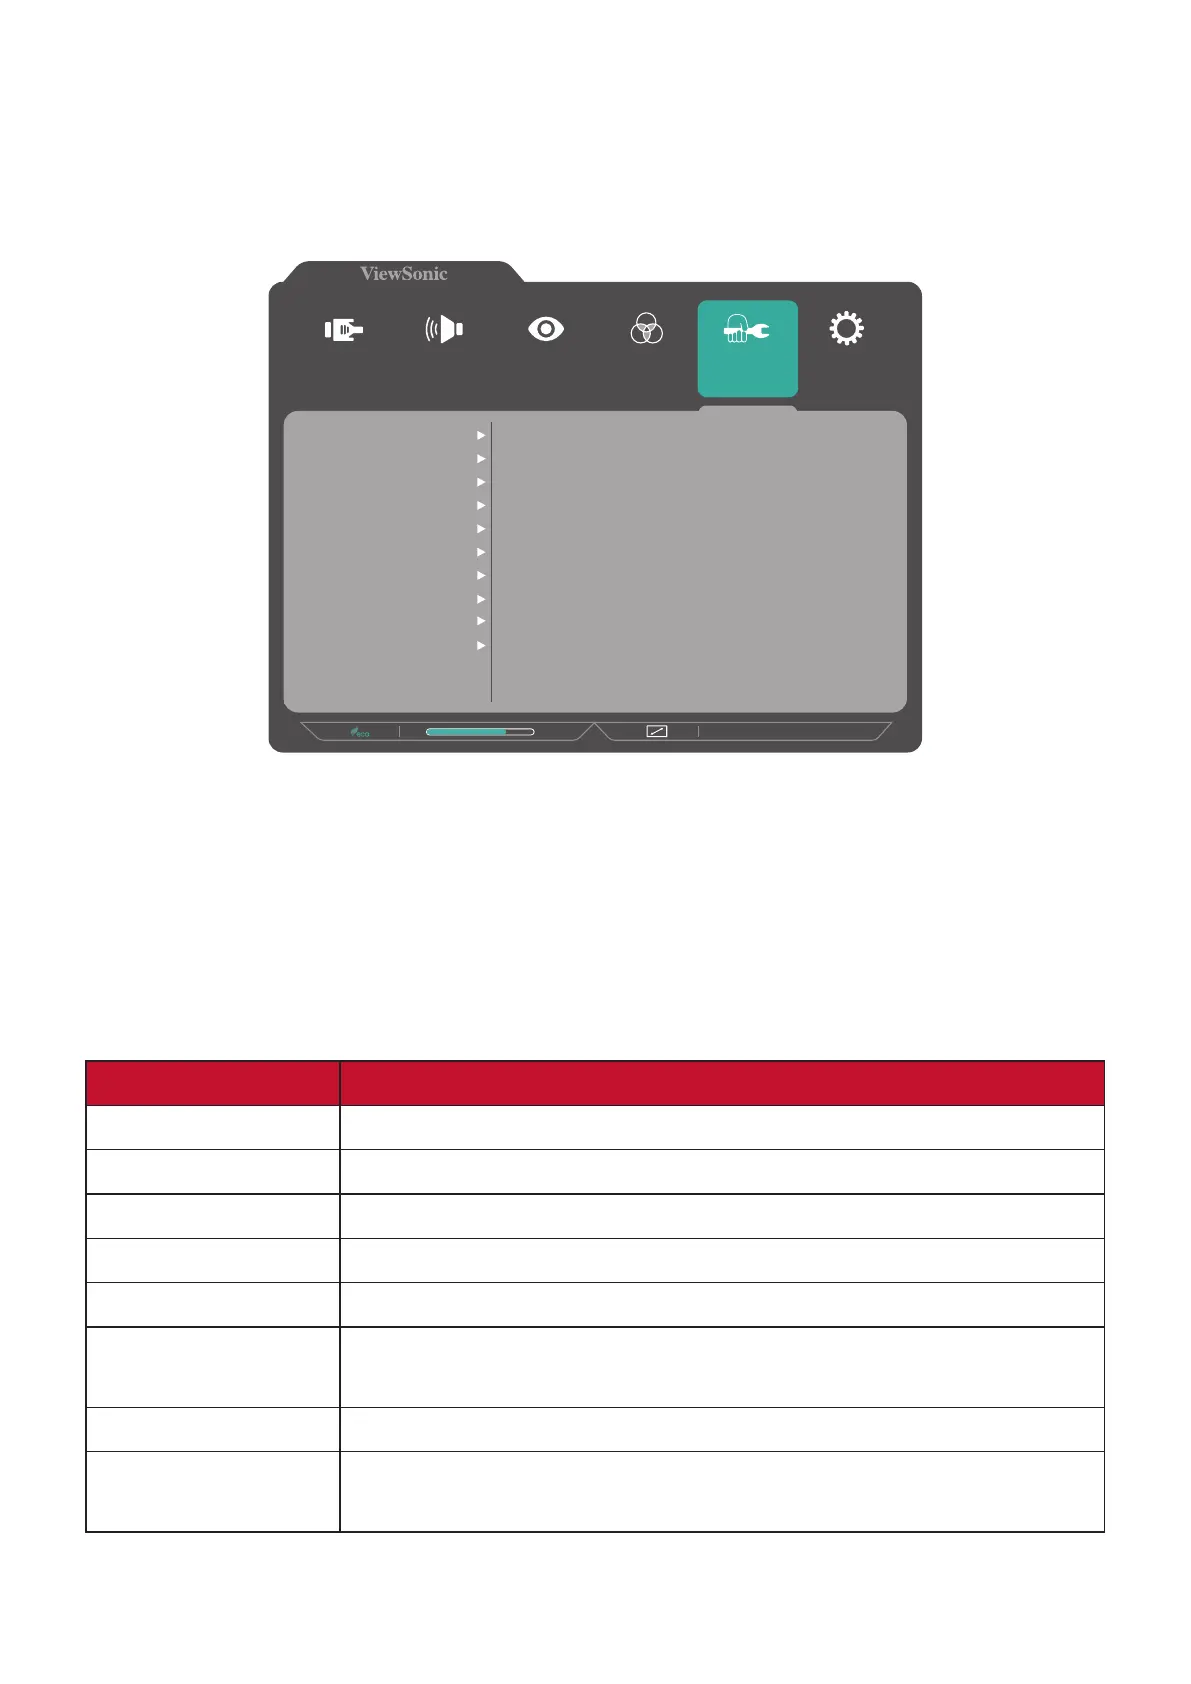
Manual Image Adjust Menu
1. Press the 2/3/4/5 key to display the OSD Menu.
2. Press the 1(«) or 2 key to select Manual Image Adjust. Then press the 3 key to
enter the Manual Image Adjust menu.
1920 x 1080 @ 60Hz
75%
Setup Menu
Color Adjust ViewMode
Manual Image
Adjust
Input
Select
Audio Adjust
Auto Image Adjust
Horizontal Size
H./V. Position
Sharpness
Blue Light Filter
Aspect Ratio
Overscan
Black Stabilization
Advanced DCR
Response Time
3. Press the 1(«) or 2 key to select the menu opon. Then press the 3 key to enter
its sub-menu.
4. Press the 1(«) or 2 key to adjust/select the seng. Then press the 3 key to
conrm (if applicable).
NOTE: Some sub-menu opons may have another sub-menu. To enter the
respecve sub-menu, press the 3 key. Follow the key guide that appears
on the boom of the screen to select the opon or make adjustments.
Menu Opon Descripon
Auto Image Adjust Automacally adjust the screen image posion.
Horizontal Size Stretch or shorten the screen on its horizontal axis.
H./V. Posion Adjust the screen horizontally and/or vercally.
Fine Tune Improve distorted image quality from an analog signal.
Sharpness Adjust the picture quality.
Blue Light Filter Adjusts the lter that blocks high-energy blue light for a more
comfortable viewing experience.
Aspect Rao Select the aspect rao of the monitor.
Overscan Automacally enlarge the original picture horizontally and
vercally to an equal aspect rao that lls the screen.