- 71 –
ViewSonic Corporation
Confidential - Do Not Copy VX712
10.Disassemble Process
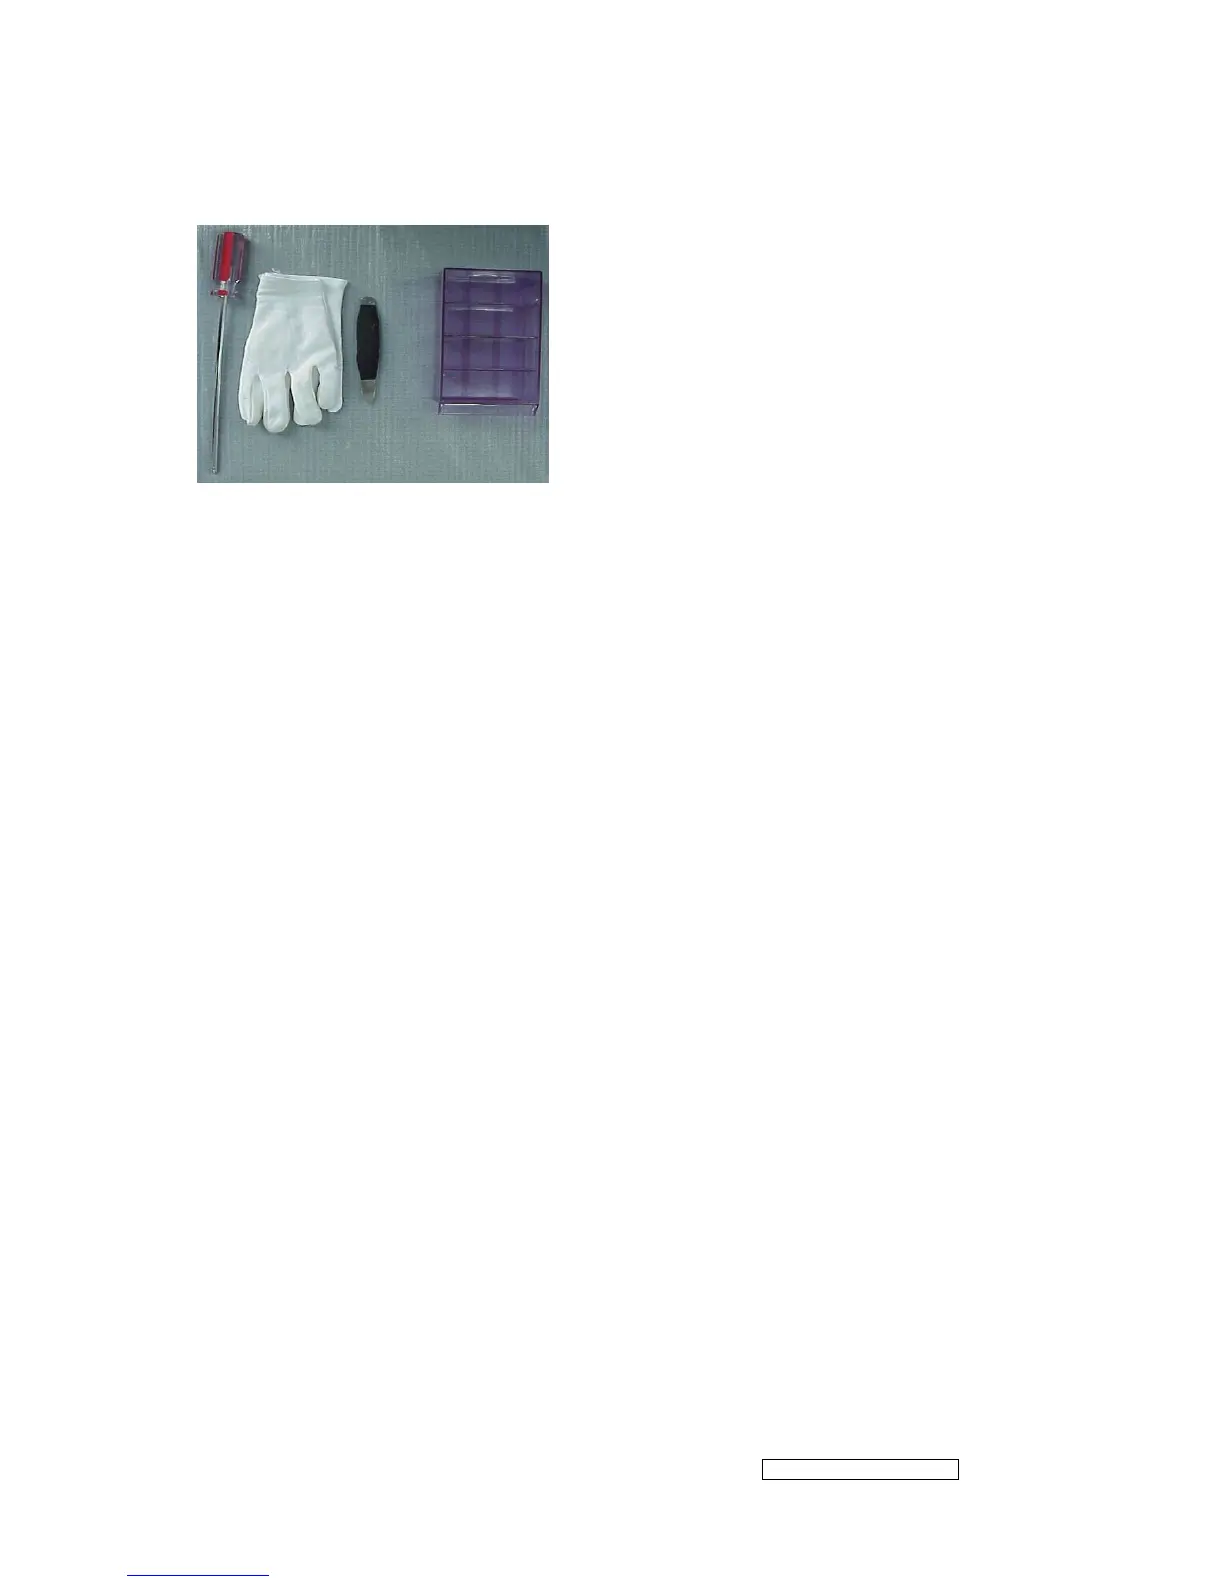
10.1 Tools
Glove
Cross screwdriver
Prize equipment or abandoned IC card
Bolt box
Cushion
9.2 Disassemble process
1、 Tide up the worktable, spread straight cushion, put the monitor on it, the front side
adown.(Picture 1)
2、 Remove the decorate slice of the back cover.(Picture 2)
3、 Remove the decorate slice of the stand.(Picture 3)
4、 Disassemble the 4 screws that fix the stand, remove the stand.(Picture 4)
5、 Disassemble the 4 screws of the back cover.(Picture 5)
6、 Use equipment or abandoned IC card to prize up the bezel through the bottom flute,
as showed in the following the picture 6, and rip up the bezel downwards.(Attention to
the fixed hook position between bezel and back cover, as showed in the following the
picture 7,8,9,10,11,12)
7、 Disassemble the 2 fixed screws and the 2 pins of the KEY board, and remove the
back cover, as showed in the following the picture 13,14,15.
8、 Disassemble the fixed screws in the shield, remove the shield as the direction
arrowhead showed, refer to the following picture 16.
9、 Disassemble the 6 screws and 4 pins of the PWPC board, remove the PWPC
board.(symbolized the following picture 17 with red color)
10、 Disassemble the 3 screws and 4 pins of the main board, remove the main board.
(symbolized the following picture 17 with blue color)
11、 Disassemble the 2 screws of the audio board, remove the audio board. (symbolized
the following picture 17 with yellow color)
12、 Disassemble the 4 fixed screws of the panel, remove the main frame, as showed in
the following the picture 19,20,21. Do not damage the cable of the panel.
13、 That’s all. The disassemble process of the unit is over.