9. Set the lower glass door to the designated position and reassemble the bottom hinge.
10. Recheck and adjust the lower door alignment by loosening the screws
○
5&
○
6 and
moving the door adapter
○
4&
○
7 . Tighten the screws
○
5&
○
6 after the door is levelled.
(Fig. 5)
11. Transfer the handles and plugs to the opposite positions.
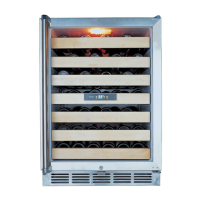
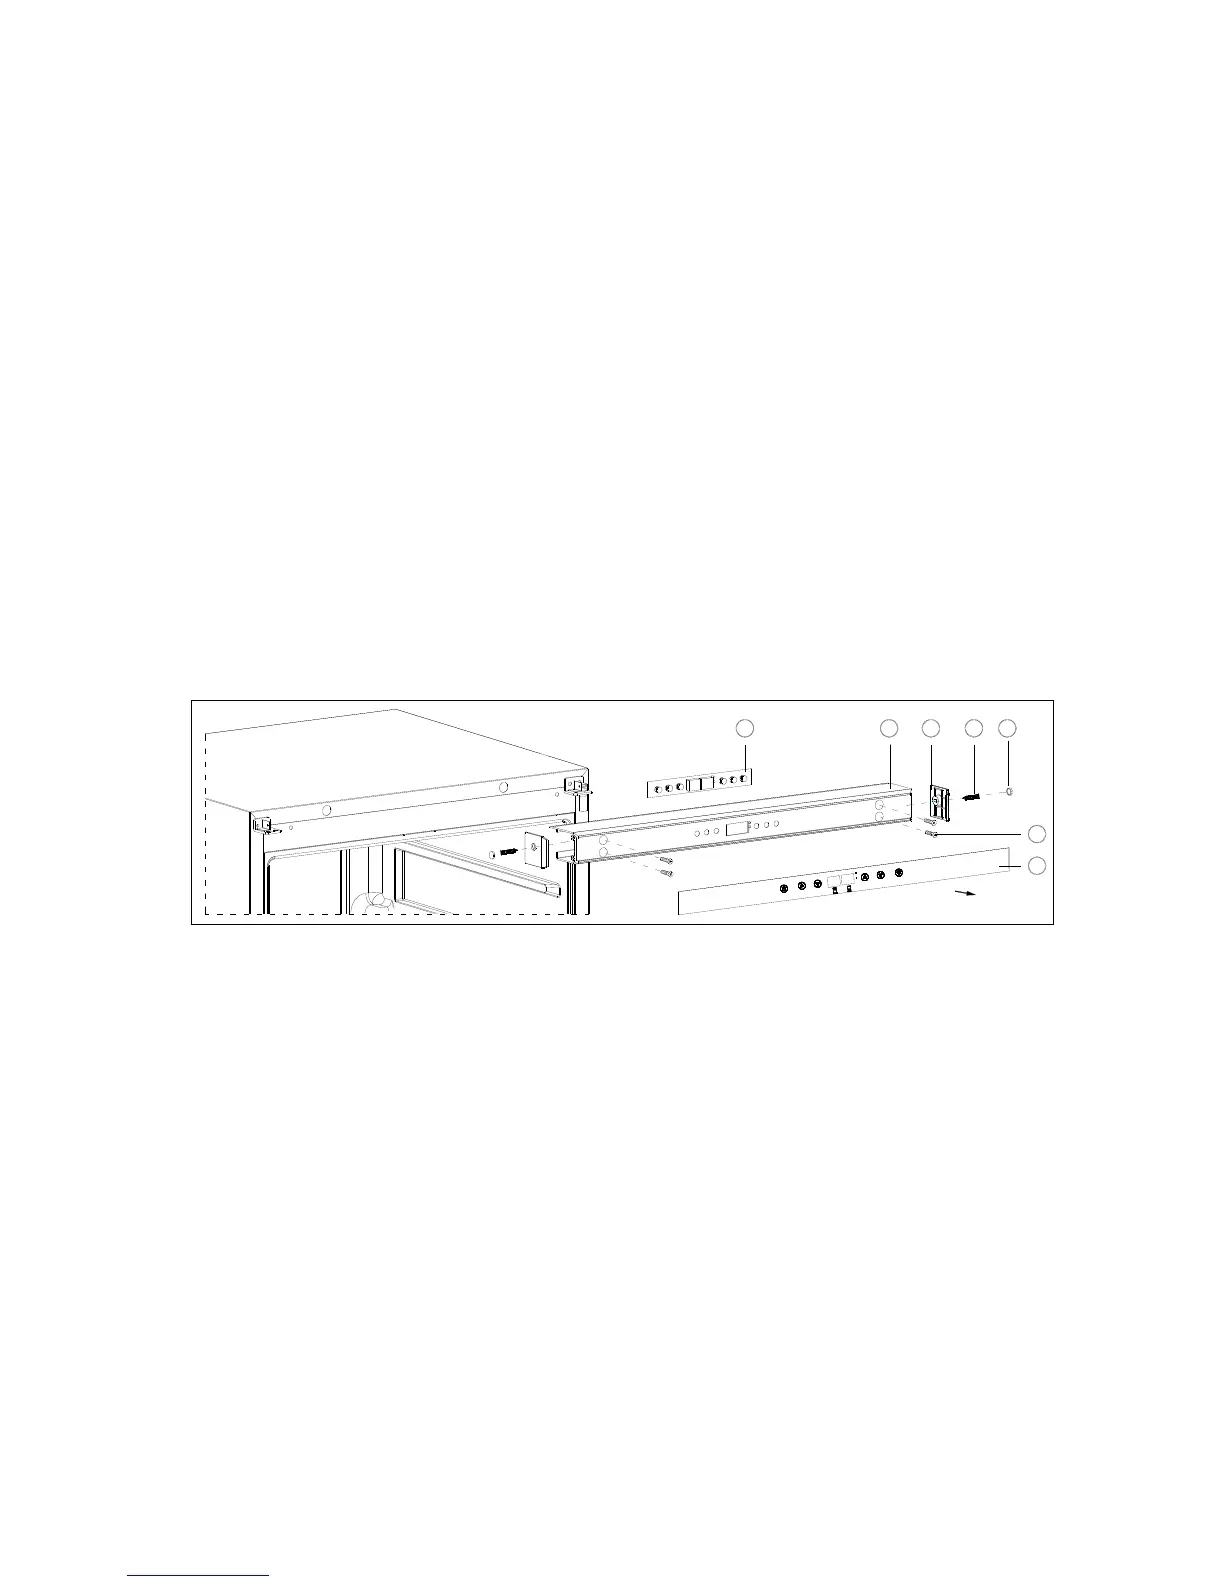
7. HOW TO REPLACE THE MAIN PARTS
7.1 REPLACING THE TOP INSERT AND CONTROL PCB (FOR MODELS WITH CONTROL
PANEL ON THE TOP & OUTSIDE)
1. Use a needle to remove the two plugs
○
3 softly. Remove the plastic ends
○
5 of the top
insert by unscrewing the screws
○
4 . Carefully remove the control panel film
○
1.
2. Unscrew the four bolts
○
2 that secure the top insert to the cabinet.
3. Remove the top insert
○
6.
4. Disconnect the cable from the control PCB
○
7.
5. Remove the screws that are used to secure the control PCB to the top insert. Now you can
replace the control PCB.
2
1
543
6
7
c
F
7.1A REPLACING THE TOP COVER AND CONTROL PCB (FOR MODELS VC100DA &
VC100SA)
1. Unscrew the two screws
○
1 that connect the top cover
○
4 to top bracket.
2. Unscrew the two screws
○
5 that secure the top cover to the cabinet.
3. Softly raise the top cover and disconnect the cable from the control PCB
○
3.
4. Remove the screws to fix the control PCB to top cover. Now you can replace the control PCB.
 Loading...