D-301998 1
MCT-340 SMA
Door/Window Sensor
Installation Instructions
Introduction
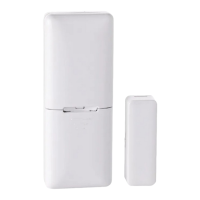
The MCT-340 is a wireless magnetic door/window sensor using ZigBee
signals to communicate with your SAGE Hub. This sensor transmits an
automatic message periodically to the SAGE Hub that indicates the
sensor’s active state and uses a CR2032 3V Lithium battery. The SAGE
Hub displays a low battery message when the battery needs to be
replaced. This sensor is designed to operate at room temperature.
: The Magnetic Location Marks on the sensor
and magnet can be opposite each other or on the
Determine Sensor Placement
CAUTION! This equipment should be installed in non-hazardous indoor locations only.
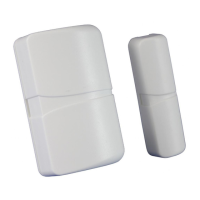
Usually, it is best to place the sensor on the fixed surface and the
magnet on the moveable surface (door or window). The magnet should
not be further than ¼” (0.25 inches; 6 mm) from the sensor’s marked
side.
Figure 2—Distance Between Sensor and Magnet
Pair the Sensor
Note: Pair the sensor to the SAGE Hub before installation.
1. Using the SAGE remote, press HOME.
2. Select Settings.
3. Select Add Devices.
4. Select Sensors.
5. Select Door/Window Sensor.
6. Follow the SAGE Hub on-screen prompts to pair and install your
sensor.
Note: Once the activation strip is pulled, you have two minutes to pair
the sensor to the SAGE Hub. If the sensor is not paired during this time,
then see Reset to Factory Defaults to reset the sensor.
Figure 3—Activation Strip
Replace the Battery
Note: Uses a CR2032 3V Lithium battery.
CAUTION! This process removes the device from the network and enables re-pairing.
1. Press down on the battery cover and slide it in the direction shown in Figure 4 to remove the cover.
2. Remove the battery (see Figure 5), pulling back the clip to release the battery.
3. Positioning the battery with the correct polarity, insert the new battery into the sensor (see Figure 5).
4. Replace the battery cover, sliding it into place.
Figure 4—Opening Battery Cover
Figure 5—Replacing Battery