3) (Optional) Connect the Powermax to the telephone
line
via terminals 2 & 5 on the BT socket, and the “Line” terminals
on PowerMax. Alternatively, if you have a standard plug-in phone
lead remove the clear plastic (RJ11) plug and use the centre two
cores of the cable to connect to the line terminals (there is no
difference which way around these are connected).
If Broadband (ADSL) is enabled on the premises phone L
line then you will need to t a lter. Available from most
wholesalers.
4) Power-up the PowerMax by connecting the battery rst,
which ts in to the compartment on the main panel, then connect
the lead from the transformer to the 9VAC terminals.
The backup battery may take an hour to reach full capacity, L
during this period the panel will report “CPU Low Battery”.
Depending the status of the panel and accessories the L
display will show [READY – MEMORY] or [NOT READY –
MEMORY]. At any time you can press the status button on
the keyfob, or repeatedly press
to nd out the faults/
memory conditions that are outstanding.
5) Before you Install the Accessories we recommend that
you carry out a diagnostic check which is in section 7 of this guide.
Each device is labelled with its zone number. Make sure you note
this before installing.
Additionally each sensor supplied in this kit is pre- programmed
for the following:
Zone 1 - Front Door Contact. ‘Delay 1’ to start the Entry timer
•
Zone 2 - Hall PIR. ‘Perimeter Follow’ to allow user to walk
•
through during entry time to disarm
Zone 3 - Living Room PIR ‘Perimeter’ which will trigger the
•
alarm once armed
PIR motion sensors should be sited to ensure that they do not
face into direct sunlight,
windows, strong sources
of heat and cold (i.e.
heaters, radiators, cold
drafts or ventilators). They
should also be mounted
at the correct height
(between 1.8 – 2.4m) in a
position, for PET sensors, away from stairs and that does not allow
animals to move within 1m of the device.
To install, remove the cover, unclip the PCB, drill and t in to
position being careful not to over tighten the screw and distort
the backplate. Then ret the PCB in to the back plate ensuring the
back tamper switch sits on to the metal spring.
Wireless PIR’s have a two minute sleep timer to save L
battery life – On initial power up the unit will go through a
self test (LED ashing) then enter a walk test mode. If the
PIR has gone into sleep mode make each room vacant for
two minutes or open and close the lid before carrying out
the walk test.
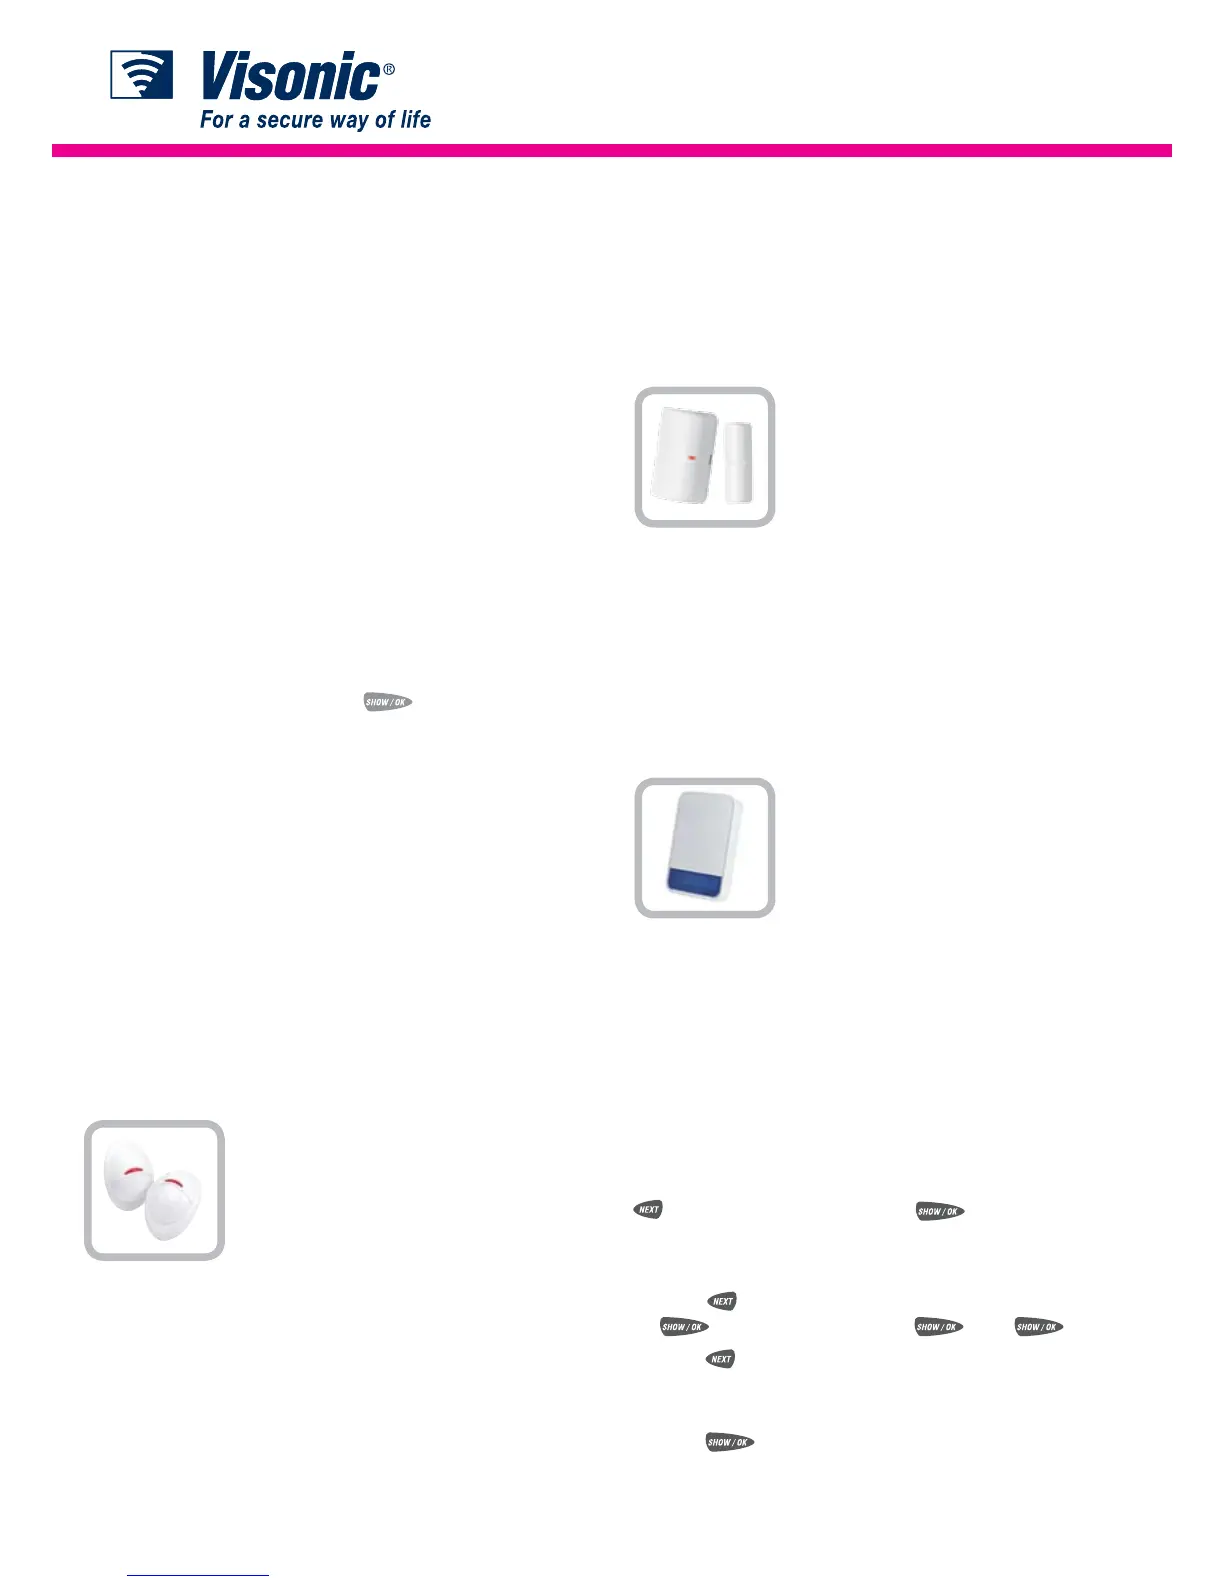
MCT-320 Door Contact has a built in reed switch, for use with the
magnet supplied.
To install, t the main transmitter to the door or window frame,
ensuring that the curved edge is facing the opening section. The
magnet should be installed on the opening section no more than
5mm from the transmitter.
If the gap between the MCT-320 and magnet is to great L
use the 7mm plastic spacer, provided within the kit, too
increase the height of the magnet.
MCS-730 Wireless Siren is installed using the four xing screws
provided. Note the fth
screw should be tted for
the back tamper (EN50131
Grade 2 installations) using
the xing point in the centre
below the peizo siren. The
MCS-730 can be tted with
a second battery for extended life and also has a comfort LED
which can be enabled/disabled via the jumper link in the battery
compartment. See MCS-730 manual for more information.
Important – The panel selector link inside the MCS battery L
compartment must be in the PM+ position.
Note up to two MCS sirens can be tted to the PowerMax. L
Enrol additional devices by rstly removing from their packaging
and opening the cases near the PowerMax. Then, whilst in
installer mode (see section 1 Accessing the Installer mode) press
until ‘Enrolling’ is shown, press
then:-
For PIR Movement sensors, Door Contact, Glassbreaks, hand held
panic buttons etc :-
Press
•
until [Enrol Sensors] is show on the screen. Press
. At [Set Sensitivity] press
, then
again.
Press
•
until you get to the next available zone (by default
this will be zone 4) which will be indicated by having no black
marker on the right of the screen.
Press
•
. ‘Transmit now’ will be on screen.
Add the battery supplied to the sensor you wish to enrol to
•
this zone.
NEXT/
K-985 MCW
MCT-320
MCS-730
 Loading...


