26
Connecting the Thermostat to the Panel (Classic Inclusion)
START
AT
PANEL
1
PRESS
TO
CONNECT
2
SET UP
HVAC
3
press
SIDE
button
press
SIDE
button
press
SIDE
button to
advance
press
SIDE
button
press
SIDE
button to
advance
press
SIDE
button to
advance
see next page
RE-TRY
SKIP
TheVivintElementThermostatisaZ-Wave
®
compliantthermostat.Itcanbe
operatedinanyZ-WavenetworkwithotherZ-Wavecertieddevicesfromother
manufacturers.Allmainoperatednodeswithinthenetworkwillactasrepeaters
regardlessofvendortoincreasereliabilityofthenetworkifnotbatteryoperated.
BelowdescribeshowtoaddtotheVivintpanel.
1. Setyourpaneltoaddnodemodetoaddthethermostatasanodeonyour
network.
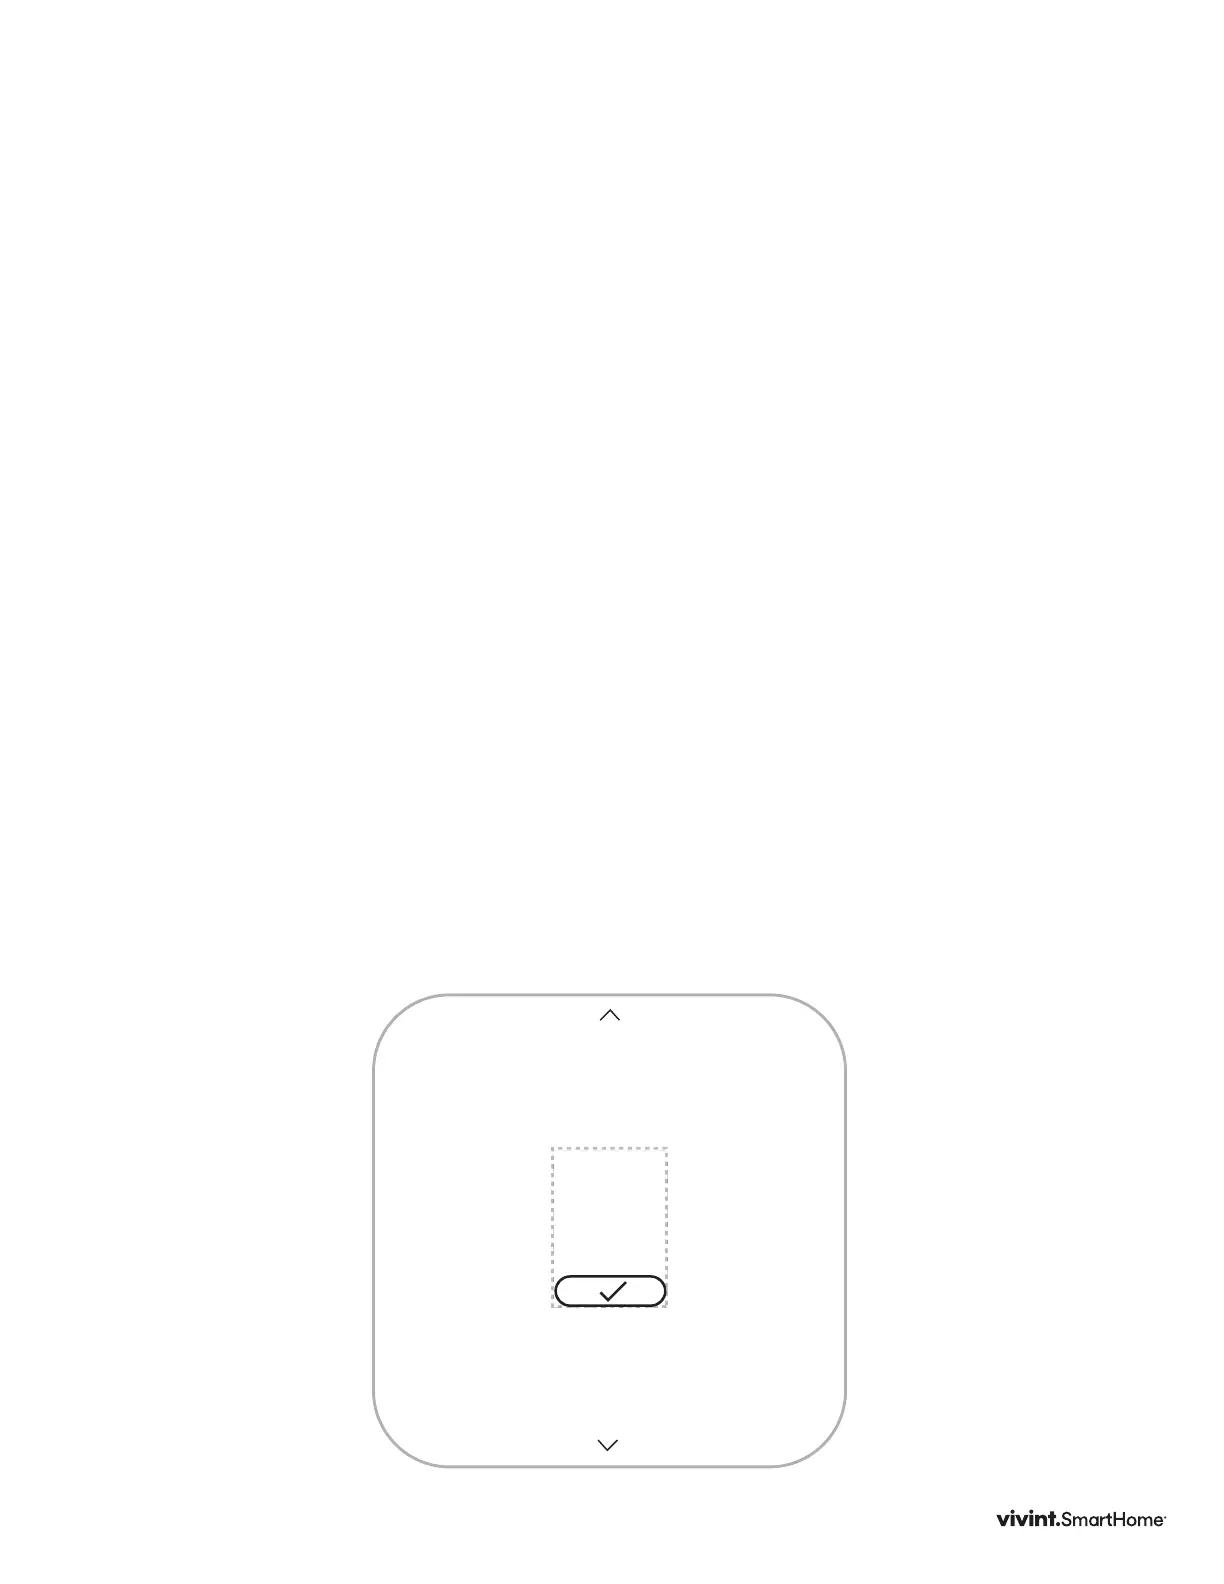
2. TheThermostatmainscreenshowsawelcomemessage.PresstheSIDEbutton
tocontinue.
3. WhenyourpanelisreadytoconnecttotheThermostat,presstheSIDEbuttonto
connect.Thisinitiatesthenetworkconnectionprocess.TheThermostat’sscreen
says“Connecting.”
• Iftheconnectionfails,thescreensays,“Failed.”PresstheSIDEbuttontotry
connectingagain.
4. WhentheThermostathassuccessfullyjoinedaZ-Wavenetworkfromthepanel,
thescreendisplaysthemessage“Next”.
5. CompleteyoursetupontheVIVINTpanel.
6. PresstheSIDEbuttontocontinue.
Yourpanelindicatesthatthethermostatwassuccessfullyaddedtoitsnetwork
(seeyourspeciccontroller’sUserManualfordetails).Toexcludethethermostat
fromaZ-Wavenetworkseepage50.
Vivint Element Installation Guide
Setup