7
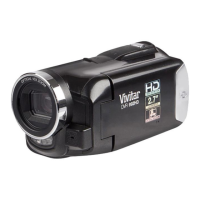
POWERING THE DIGITAL CAMCORDER ON
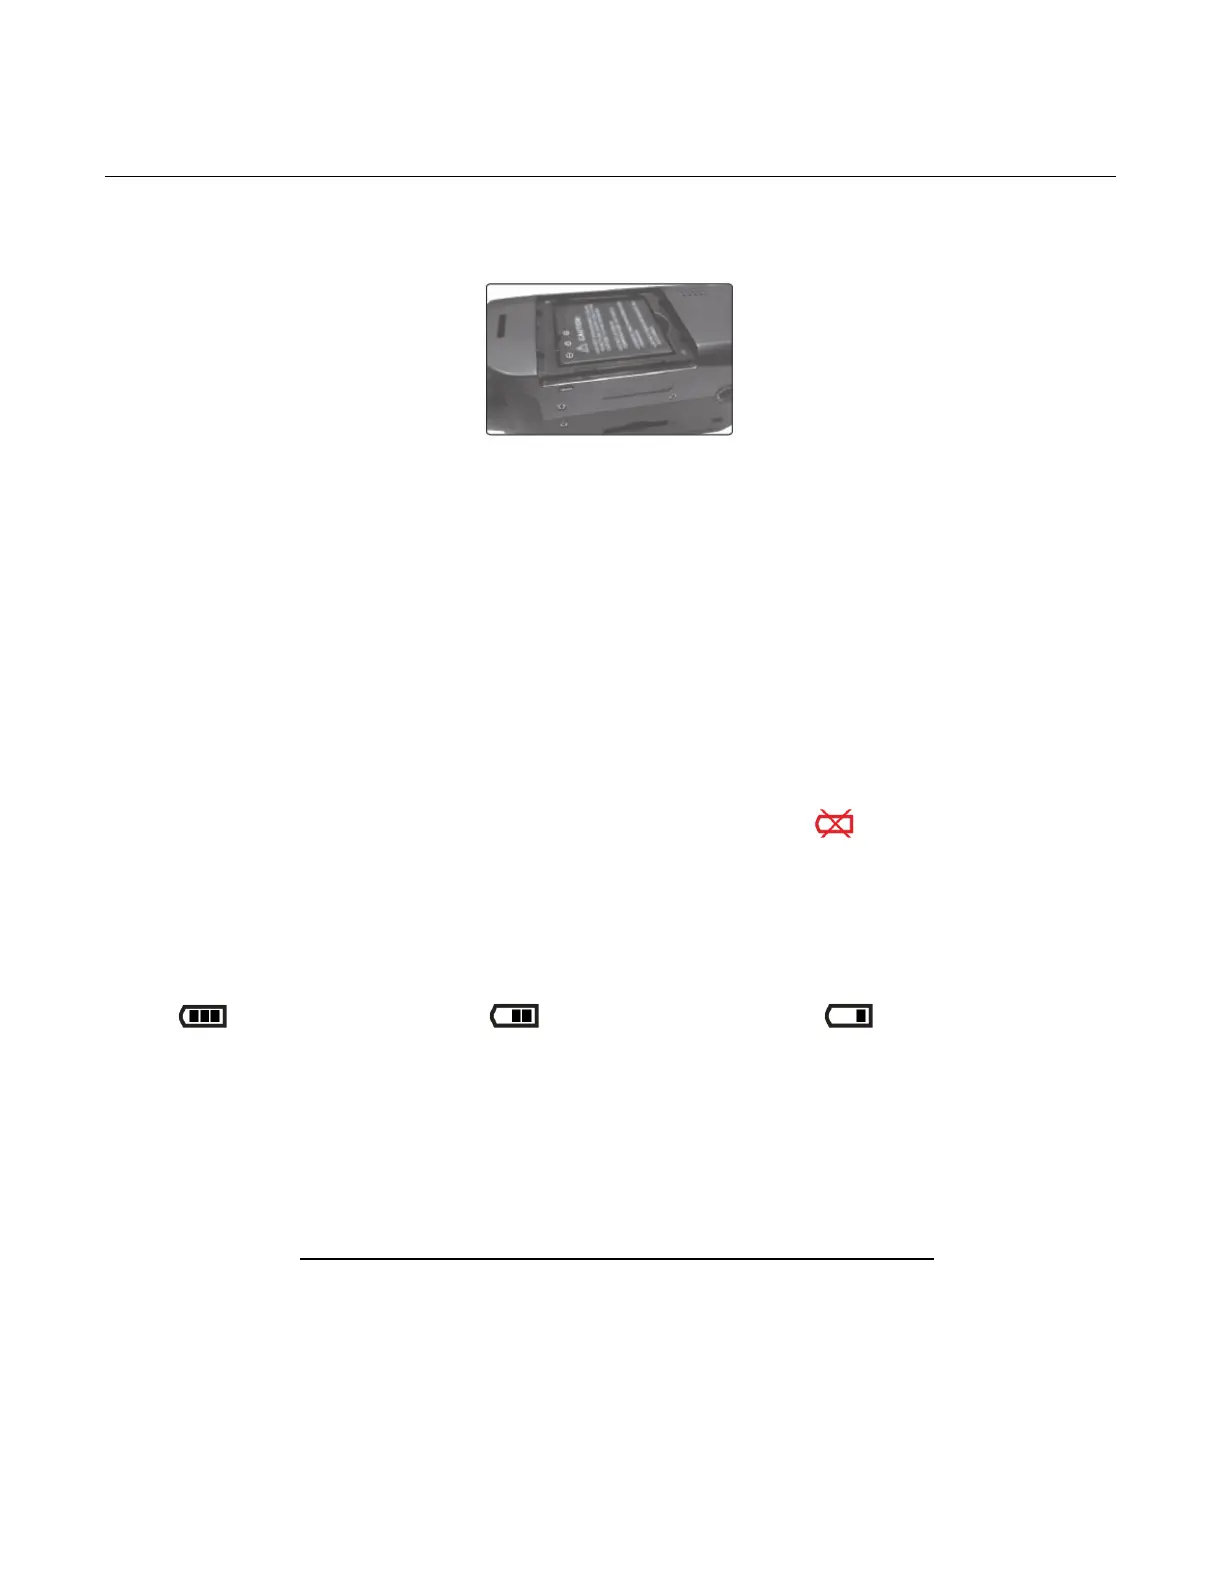
1. LITHIUM BATTERY: Install and Charge the Lithium Battery.
Make sure the lithium battery has been charged and inserted properly.
To charge the lithium battery:
- Connect the USB cable (supplied) to camcorder and the other end of the cable either
to your computer USB slot or to the supplied AC Adapter (which you then plug into an
electrical outlet).
- The charge light will turn off when battery is fully charged.
Note:
Some camera features will not work if the battery power level is low.
When the battery power is empty the battery icon turns red and ‘Low Battery’
flashes on the LCD screen several times. The camcorder automatically turns off a few
seconds later.
The energy status of the power is displayed on LCD as shown below:
Full battery power Medium battery power Low battery power
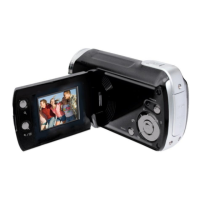
2. SD MEMORY CARD: Install the SD Memory Card
Make sure a Class 4 (or higher) SD card (up to 32GB) has been properly inserted into your
camera. SD card not included.
IMPORTANT: You must use only a Class 4 SDHC Memory card or higher.
To properly insert the SD Card:
- Push the SD card into the slot in the direction as shown by the SD card icon on the
camera. See images below: 1 and 2.