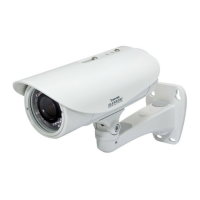
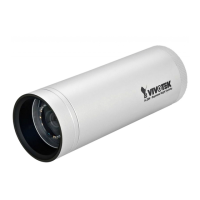
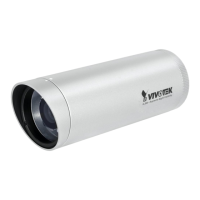
EN-4
1
2
5
4
3
6
5
4
6
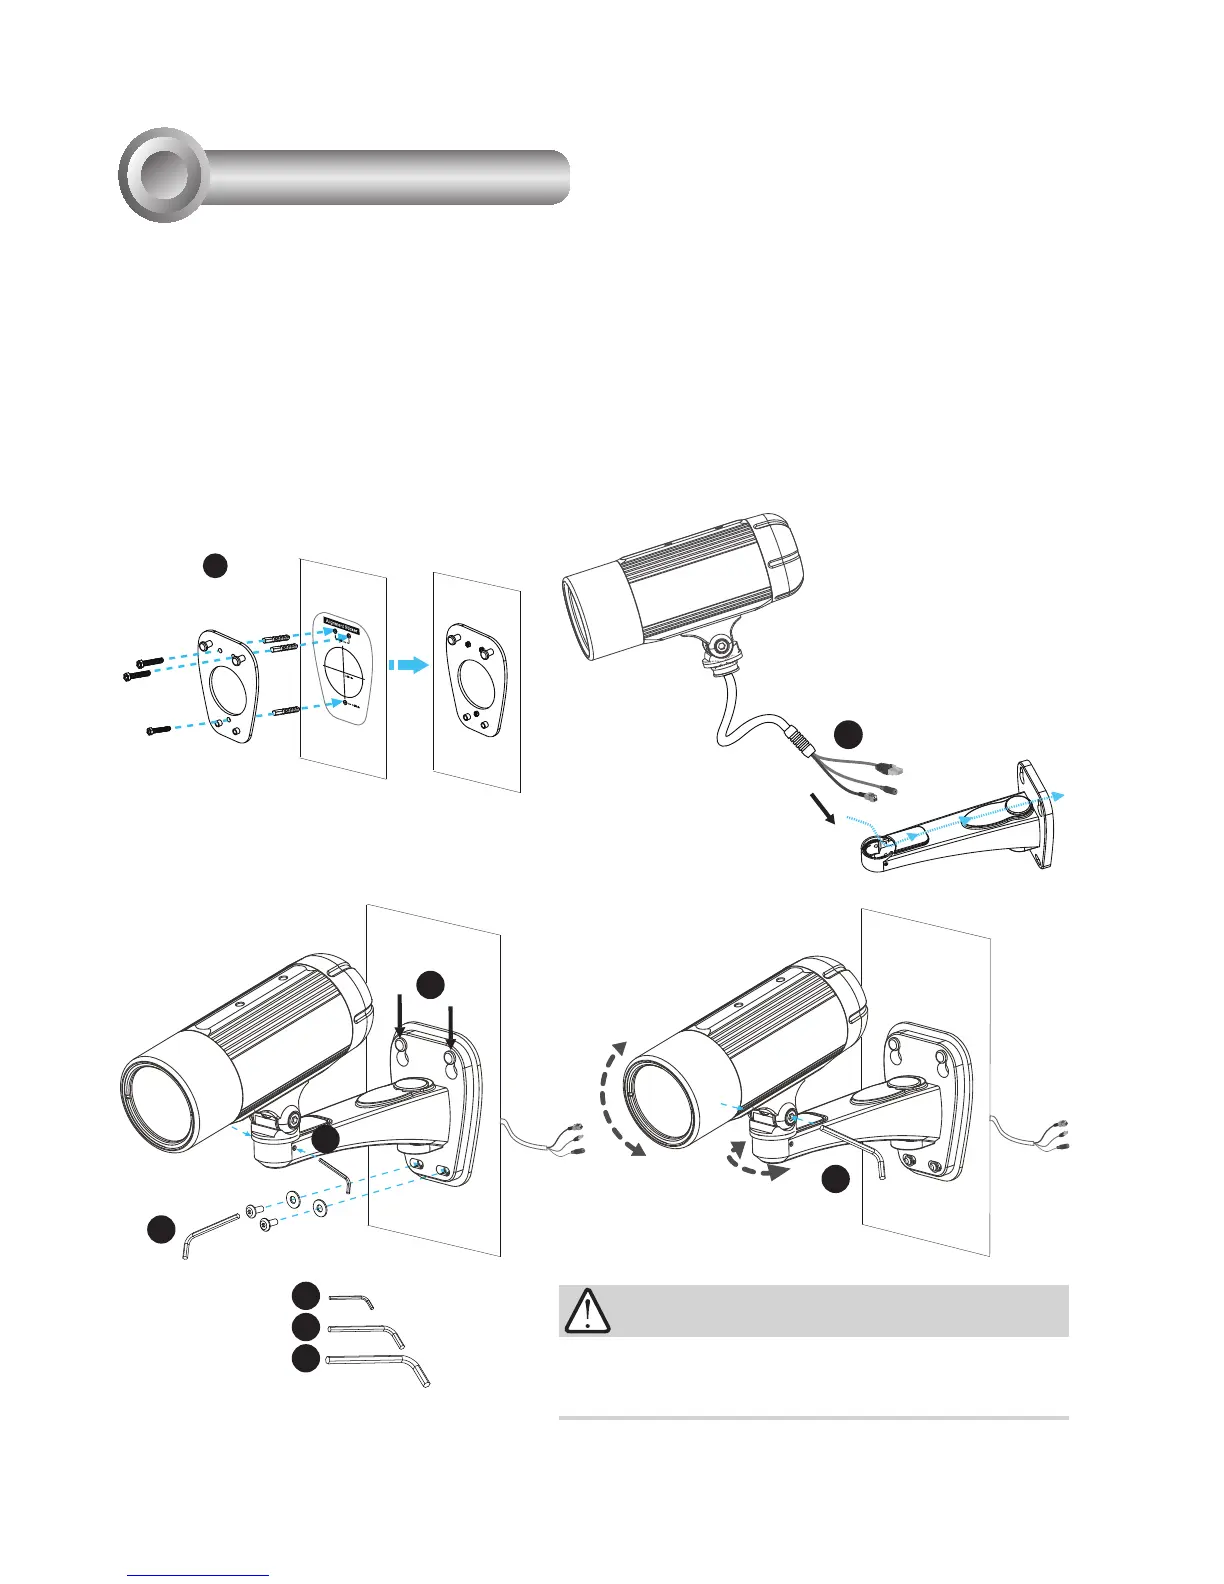
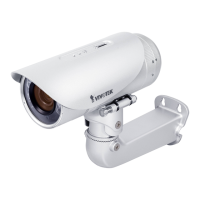
1. Attach the alignment sticker to the wall. Drill three holes into the wall. Then hammer the supplied
plastic anchors into the holes and secure the plate with supplied screws.
2. Feed the cables through the front opening of the wall mount bracket. (If you want to use external
devices such as sensors and alarms, please refer to the assembling steps on the next page.)
3. Hang the wall mount bracket on the plate.
4. Fix the Network Camera on the wall mount bracket with two screws on both sides.
5. Secure the wall mount bracket with the supplied screws.
6. Adjust the angle of the wall mount bracket to aim at the shooting area.
Hardware Installation
3
The supplied L-type hex key wrenches are exclusively
designed to match each screw. In case you will need to adjust
the lens later, do not discard the wrenches.
IMPORTANT!