7 8
INSTALLATION POWER CONNECTIONS
1
2
3
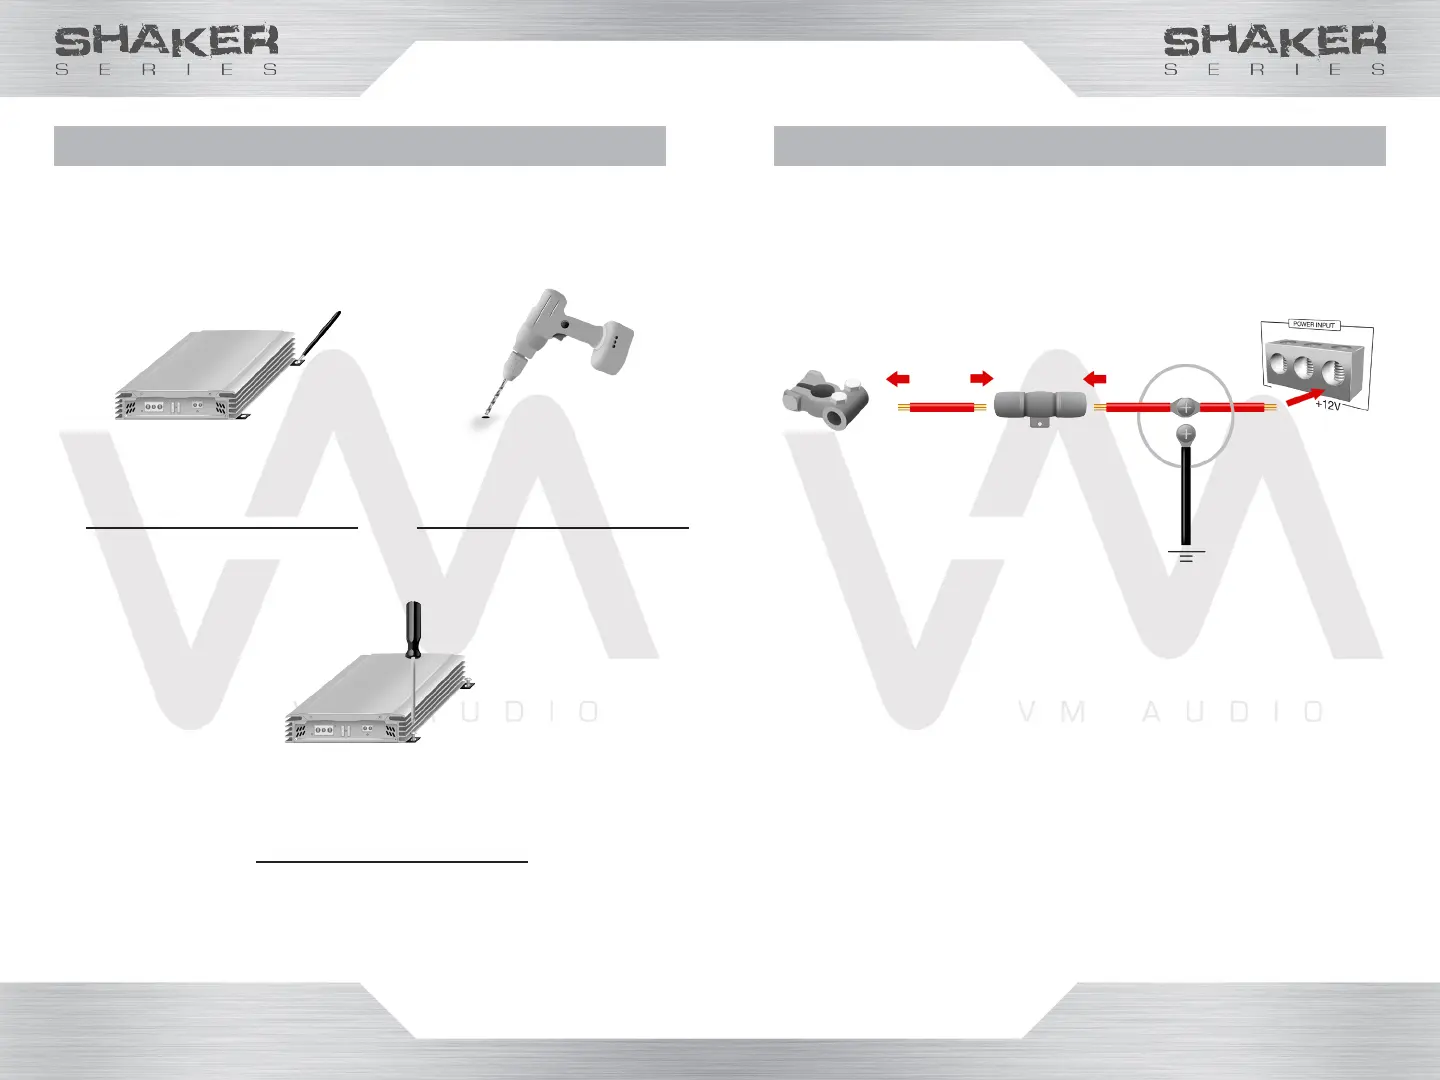
Mark the mounting
screw holes to be
drilled with a marker.
WARNING! Be aware of gas tanks, gas lines, hydraulic
lines and electrical wiring when drilling mounting holes
to prevent serious or life-threatening injuries.
Drill the holes on the
marked spots with an
electric drill.
Secure the amplier
with screws using a
phillips screwdriver.
Make sure to mount the amplier in a location
where there is enough room to have access to the
knobs and terminals.
Make sure to disconnect the negative (-) battery
terminal before routing cables and wires to
prevent electrical shorts.
1. Strip 1/2 inch of insulation off each end of the
power cables.
2. Connect one end of the power cable to the
positive + battery post.
3. Install an in-line fuse holder 18 inches away from
the car battery.
4. Route the power cable from the battery to the
in-line fuse holder and connect.
5. Route the power cable from the in-line fuse
to the amplier’s power terminal (or a power
capacitor such as VM Audio SRCAP2.0).
6. Connect the power cable to the in-line fuse
and the other end to the amplier’s positive +12V
power terminal (or capacitor’s positive + terminal).
Power
Battery
Terminal
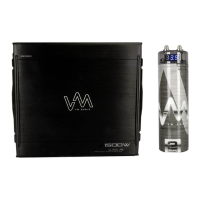
VM Audio SRPK8R power kit
recommended
 Loading...