Page 19
14
15
13
12
11
2
3
4
10
9
6
7
8
8
7
9
5
5
4
6
3
2
1
1
0
DATUM
-15
-10
+9
+5
0
-5
Step 4:
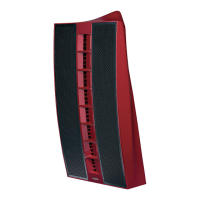
Carefully lower the Nexus 6 loudspeaker into
position onto the bracket assembly.
Note: Nexus 6 loudspeakers are heavy and
require a minimum of two people to lift. At this
stage of the mounting procedure it becomes
necessary to have three people, two to lift the
Nexus 6 loudspeaker and one to attach the
bracket.
Figure 7.4: Nexus 6 positioning
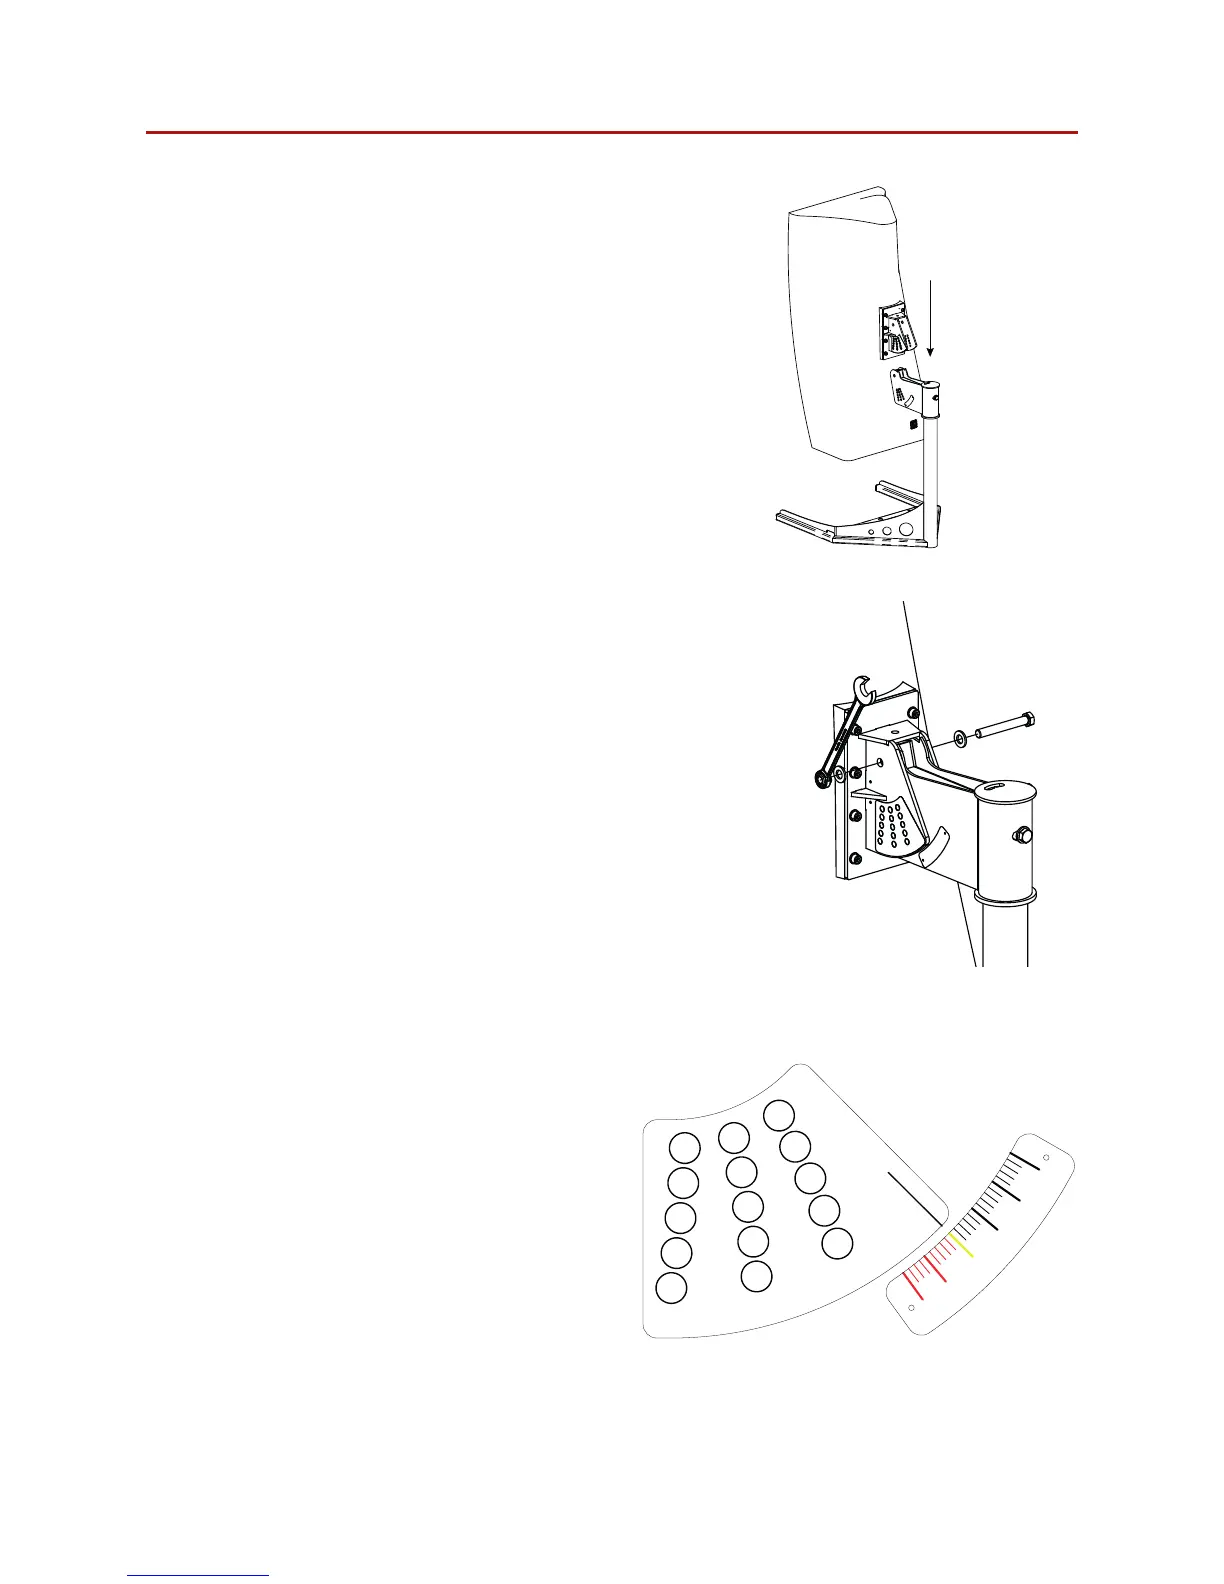
Step 5:
With the lifting equipment still in place attach
the M12 bolt to the bracket assembly.
Figure 7.5: M12 bolt attachment
Step 6:
Adjust the vertical angle required using the
datum line to select the required angle (shown
here set to zero degrees indicated in yellow).
The Nexus 6 bracket is capable of negative
angle adjustment to point down (indicated in
black) and positive angle to point up (indicated
in red). The corresponding hole for each angle
is indicated by that number and its colour.
Figure 7.6: Angle selection
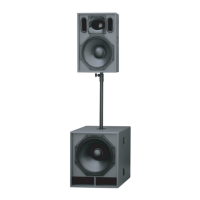
7.2 Ground stacking