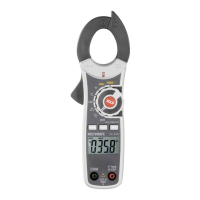
d) Diode test
Make sure that all the circuit parts, switches and components
and other objects of measurement are disconnected from the
voltage at all times.
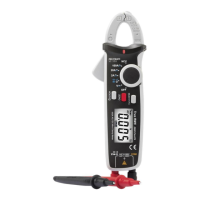
- Turn the meter on at the rotary switch and select measuring range Ω/.
- Insert the measuring leads to the measuring instrument in the same way as for
resistance measurement.
- Select the diode test function with the MODE key (7).
- The display indicates the diode symbol.
- Now connect the two measuring prods with the object to be measured (diode).
- The display shows the continuity voltage in volt (V). If „OL“ is indicated, the diode
is measured in reverse direction or the diode is faulty (interruption). Perform a
counter-pole measuring for control reasons.
- After measuring, remove the measuring leads from the measuring object and
turn the meter off. Turn the rotary switch to „OFF“.
e) Continuity check
Make sure that all the circuit parts, switches and components
and other objects of measurement are disconnected from the
voltage and discharged.
- Turn the meter on at the rotary switch and select the measuring range.
- Insert the measuring leads to the measuring instrument in the same way as for
resistance measurement.
- To activate the acoustic continuity test function, press the „MODE“ key (7) twice.
- The display indicates the symbol „Continuity test“.
- A measuring value of less than 100 Ohm is identified as continuity; in this case a
beep sounds.
- As soon as „OL“ (overload) appears on the display, you have exceeded the
measuring range or the measuring circuit has been broken.
40