7. GAIN Control This determines the sensitivity of the preamp. Increase the volume and
distortion by turning it clockwise or you can turn it anticlockwise for a
quieter, cleaner sound. The GAIN control should be used in conjunction
with the VOLUME to get the perfect balance between distortion and output
volume.
NOTE: Because of the nature of the design of this amplier, it may take a few min-
utes until the circuit becomes stable after the power is turned on. Some
noise might occur during this time but it soon disappears.
8. INPUT Jack Plug your guitar in here!
REAR PANEL LAYOUT
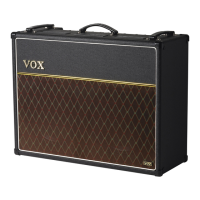
1. EXTERNAL SPEAKER Jack
This speaker jack will mute (disconnect) the internal speaker and you can
hook up a 16 Ohm cabinet of your choice.
WARNING: To ensure that your system works correctly, you must observe the follow-
ing points.
a) Don’t connect a speaker whose rated input capacity is less than 10 Watts.
The speaker may be destroyed if you ignore this caution—not recom-
mended!
b) You must use a speaker cable to connect an external speaker. Don’t use a
shielded cable like the one you use to connect a guitar to an amp.
c) You must turn off the power before connecting the cable. Connecting the
cable while the power is turned on may damage your amp.
NOTE: It is recommended that all audio cables, with the exception of the speaker
lead, used to connect to the AC10C1 are of a high quality, screened type.
These should not exceed 10 metres in length. Always use a non-screened
Vox approved speaker lead with the AC10C1 Amplier and external cabi-
nets.
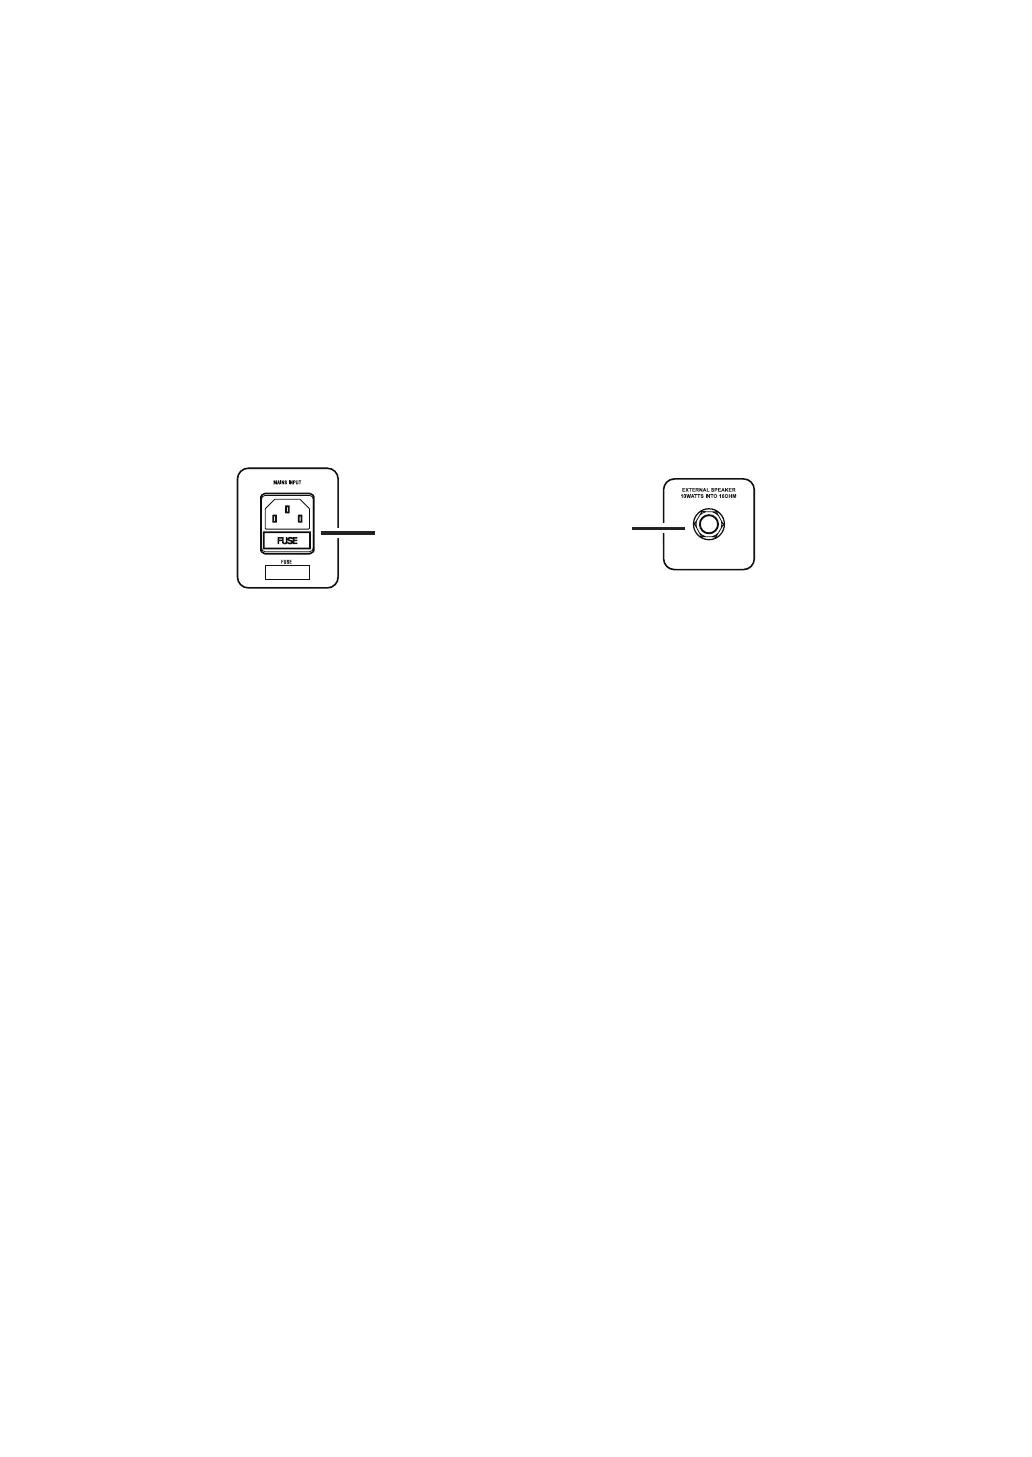
2. MAINS INPUT This is where the supplied, detachable Mains (power) cord is connected.
The specic mains input voltage rating that your amplier needs to run at is
located on the rear panel of your amplier. Before making any connections
or powering up the amplier, make sure the mains supply voltage matches
your amplier. If you have any doubt, refer to your local VOX dealer.
1
2