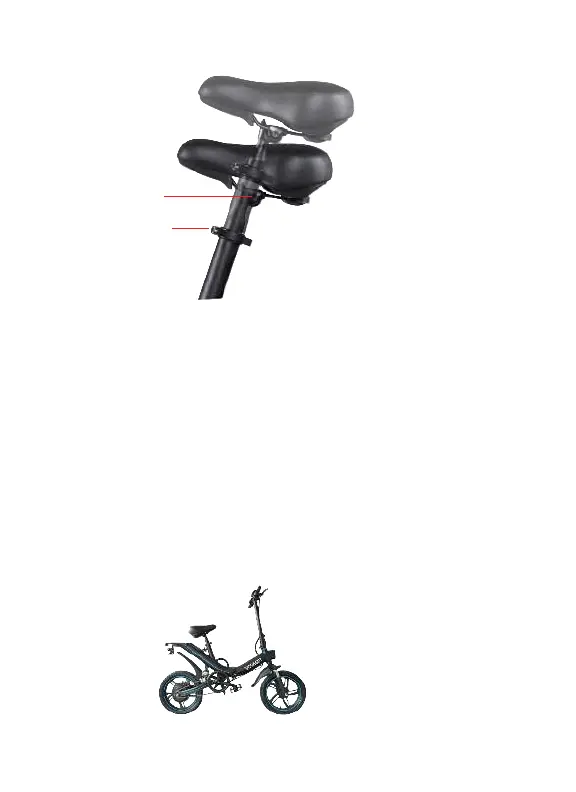
Loosen the seat angle bolt using the provided wrench tool and adjust the seat
to a comfortable upright position. Then tighten the seat angle bolt, locking
the seat position securely.
When the seat clamp is loosened, you can attach the seat to the body of the
bike, or remove it. You can also adjust the height of the seat for a more
comfortable ride.
Once the seat is attached to the bike at the height of your choosing, close
and tighten the seat clamp so that the seat stays securely in place.
NOTE: You can twist the pin on the seat clamp to tighten or loosen the clamp
tension to ensure the seat height is locked securely in place.
8
3. ATTACHING THE SEAT
4. ASSEMBLY COMPLETE
Seat
Clamp
Seat
Angle
Bolt
ASSEMBLY (continued)