12
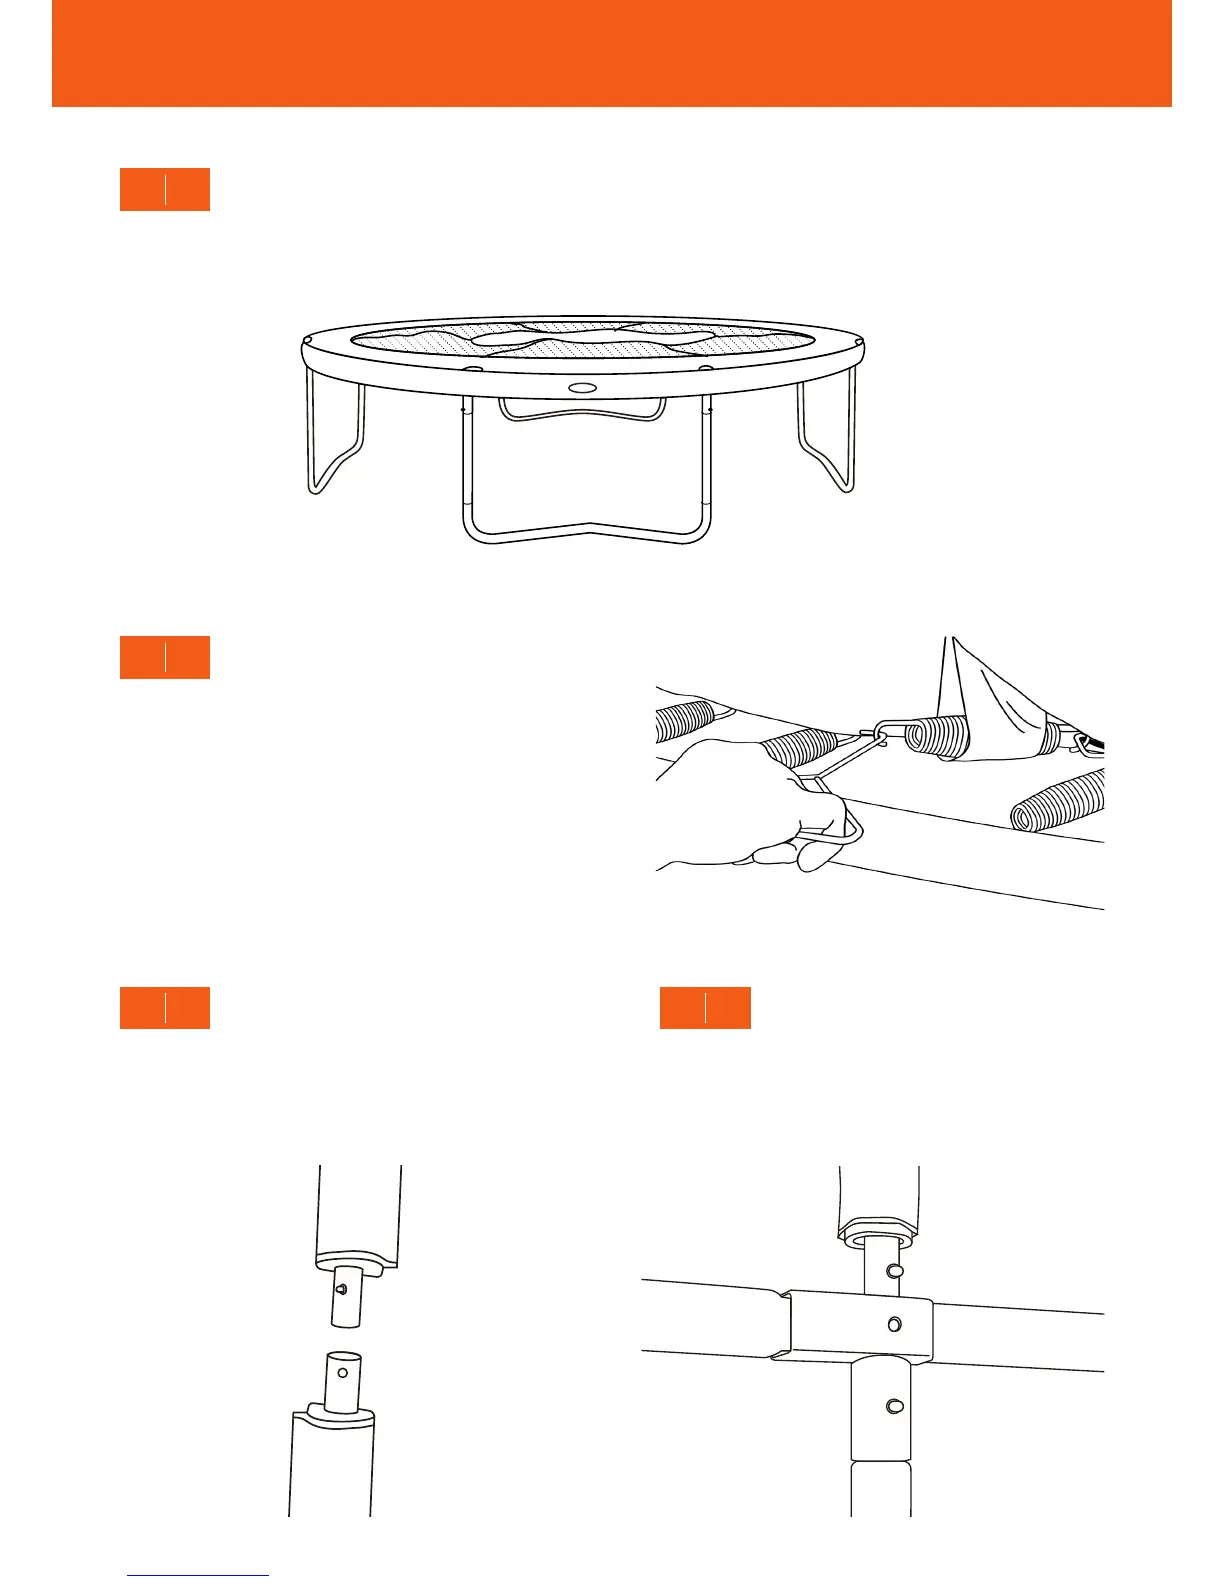
Place the pads on the frame of the trampoline. Ensure that the logo on the pad aligns with the entrance of the door, and that
the holes in the pads align with the holes in the frame joints.
12
STEP
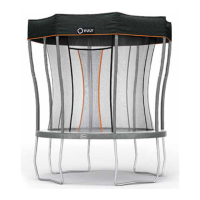
Attach the upper net pole (with black plastic cap) to the
lower pole. Repeat for all the net poles.
14
STEP
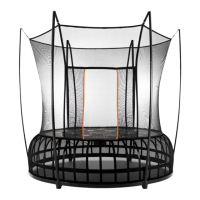
Find the closest spring to a safety padding loop, and
using your spring tool, remove that spring from the
frame. Feed the spring through the safety padding loop,
and reattach the spring to the frame.
Repeat for each loop on the safety padding until it is secure.
Tip: If you have purchased a skirt, and want to install
it, do so now. Follow your Skirt instructions.
13
STEP
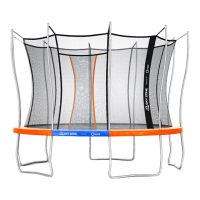
Place your assembled poles in the holes at the ‘T’
intersection, lining the spring button up with the hole
in the ‘T’ intersection. The net poles should now be
secured in the frame.
15
STEP
TRAMPOLINE | ASSEMBLY INSTRUCTIONS