21
Control Pro 350 M
GB
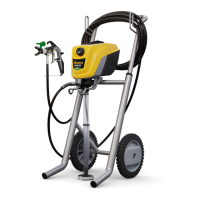
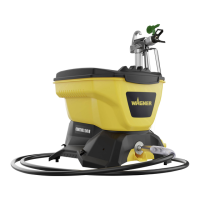
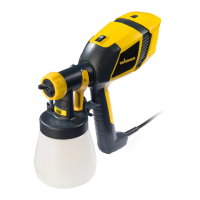
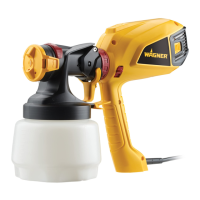
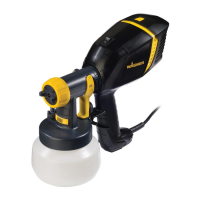
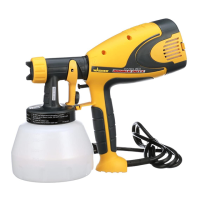
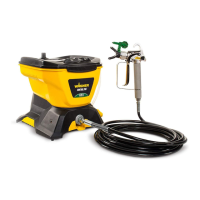
Description (Fig. 1)
1 Hose holder 2 Inlet valve pusher
3 Telescopic handle 4 Integrated toolbox for nozzles and small parts
5 Pressure regulator with integrated ON/OFF switch 6 Hose connection
7 Selector switch 8 Holder for paint container
9 Suction hose 10 Return hose
11 Inlet lter 12 Operating instructions
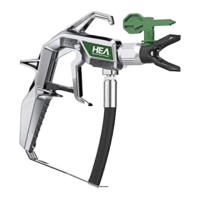
13 High-pressure hose 14 Spray Gun
15 Nozzle 517 (for thick materials, e.g. interior wall paints) 16 Nozzle holder
17 HEA Filter Set 18 Gun lter: red (1 pc.), white (1 pc.*)
19 Nozzle 311 (for thin materials, e.g.
lacquers)
* pre-installed in the lter housing
Coating Materials Suitable for Use
Dispersion and latex paints for interior use.
Water-based and solvent-containing lacquers and glazes. Paints, oils, release agents, synthetic enamels, PVC lacquers, undercoats,
base coats, llers and anti-rust paints.
i
Another nozzle size and gun lter must be used, depending on the material to be processed.
Thin materials: Nozzle 311
Filter red
Thick materials: Nozzle 517/619
Filter white
Coating Materials Not Suitable for Use
Materials that contain highly abrasive components, facade paint, caustic solutions and acidic coating substances.
Flammable materials, materials containing acetone or cellulose thinner
In order to ensure compatibility of the coating substance with the materials used to manufacture the device, please
contact Wagner Service in cases of doubt.
Field of application
Coating interior walls and outside objects (e.g. garden fences, garage doors, etc.).
Required tools and auxiliary material
•
Wrench (13, 16, 17, 20) and/or adjustable wrench (2 pcs.) and hex key (10 mm)
•
Hex key (2.5 mm)
•
Empty container
•
A large piece of cardboard
•
Covering material
Preparation of the workplace
Sockets and plugs must be masked. Risk of an electric shock as a consequence of sprayed material entering the
socket!
Mask all the areas and objects that are not to be spray painted, or remove them from the work area.
No liability is assumed for damage due to overspray.
Silicate paint corrodes glass and ceramic surfaces upon contact! All such surfaces must therefore be completely
covered.
i
Pay attention to the quality of the adhesive tape used. Do not use excessively strong adhesive tape on wallpaper and
painted surfaces, in order to avoid damaging these surfaces when removing the tape. Remove adhesive tape slowly
and evenly; do not use jerky movements. Do not leave adhesive tape on surfaces any longer than necessary, in order to
minimise the possibility of residues when removing. Also observe the adhesive tape manufacturer's instructions.