EN
16
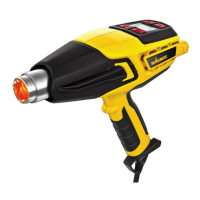
Furno F100
8. Recommended temperature settings
Use Stage
DIY Stripping paint II
Wall repair (small holes) II
Soften paint, caulking and putty for easier removal I or II
Shrink plastic lm for wrapping or weatherproong I or II
Art & Crafts /
Household
Making candles I
Making soap I
Shrink wrapping presents I
Drying modelling clay I
Cooking / baking (e.g. caramelising / decorating cookies) I
Embossing I
Processing wood (e.g. articial wood ageing) II
Removing adhesives I
Creating decorations (e.g. ironing beads) II
Creating jewellery I
Model-building II
Creating greetings and invitation cards I
Automotive Removing stickers, emblems and decals I or II
Applying and removing window tint I or II
Electronics Electronic repairs I
Shrink hoses for electrical repairs I
9. Breaks and nishing work
1. Switch the heat gun o.
2. 2. Press the clip together and turn it Press the clip together and turn it
backwards in order to be able to park the backwards in order to be able to park the
heat gun upright.heat gun upright.
3. Always unplug the mains plug once you
have nished working.
i
The nozzle must always point upwards. If the nozzle points downwards, the The nozzle must always point upwards. If the nozzle points downwards, the
hot air will remain in the gun and its lifespan may be shortened. Do not place hot air will remain in the gun and its lifespan may be shortened. Do not place
a hot gun on its side, since this will extend the cooling time.a hot gun on its side, since this will extend the cooling time.
 Loading...