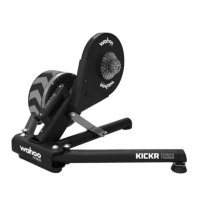
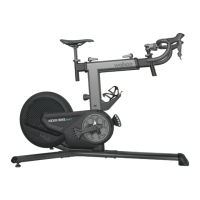
1. Unpacking
In the box you will find your (a) KICKR PowerTrainer, (b) AC power
adapter, (c) quick release skewer, and (d) reversible axle spacer. Remove
your KICKR PowerTrainer and accessories from the box. Be sure to save
the protective packaging for transportation and storage. (NOTE: Once all
protective packaging has been removed, avoid laying the trainer on its
side to protect the precision balanced flywheel and cassette.)
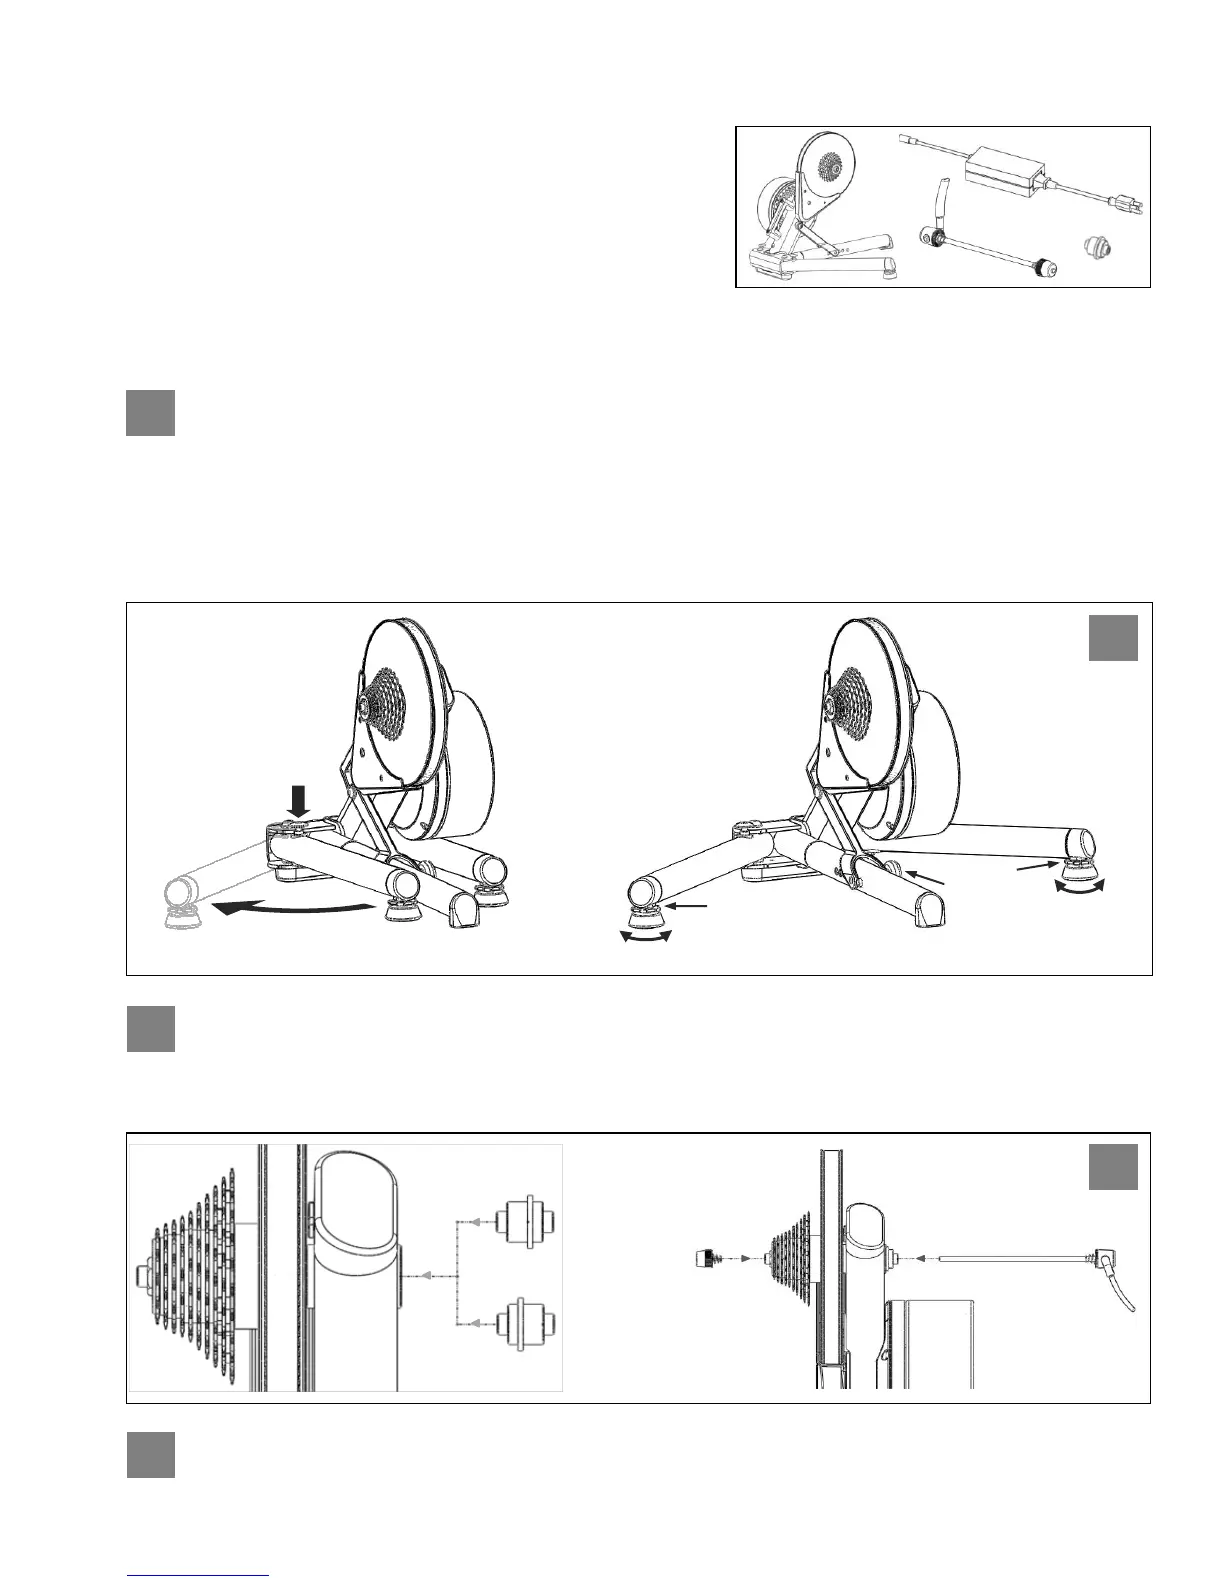
2. Setup
Place the KICKR PowerTrainer on a stable, level surface and open the legs by (a) pressing down on the blue leg-lock
tabs and (b) pivoting the legs outward until they snap in place. (NOTE: Ensure the leg-lock tabs have popped back up
and secured the legs in the open position.) To stabilize the trainer, adjust the two leveling feet (c) by twisting them left or
right until the trainer is level and locking them into place by (d) tightening the blue locknuts against the frame. (NOTE: Check
that your trainer is stable before every ride; if needed, readjust the leveling feet.) Adjust the height of the trainer to fit your
specific wheel size by (e) relocating the height adjustment knob on the center leg to the appropriate setting. If you are unsure
of your wheel size, check the tire side-wall or consult your local bike shop.
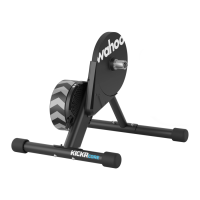
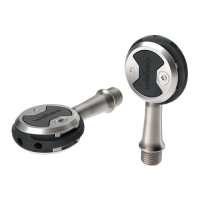
Your KICKR PowerTrainer comes with a reversible axle spacer to accommodate frames with different rear dropout
spacing; locate the axle spacer and install according to your rear wheel spacing. Note: a typical road bike is 130mm
spacing while a typical mountain bike is 135mm spacing. Next, install the quick release skewer as shown; leave the skewer
loose to allow for easy bicycle installation.
Once your KICKR PowerTrainer is set up, use the included AC power adapter to connect the trainer to a standard 120v
wall outlet. A 12v DV power adapter (sold separately, available at www.wahoofitness.com) is also available for
powering the trainer from a standard 12c car battery.
130mm Spacing
135mm Spacing