©2014 Warn Industries, Inc.WARN® and the WARN logo are trademarks of Warn Industries Inc. 7 93900A0
11. Re-install plastic skid plate, using original hardware (review
step 1) .
NOTE: You will need to cut some plastic away to clear plow
mount ears.
12. Tighten all hardware to torque specications listed on page 3.
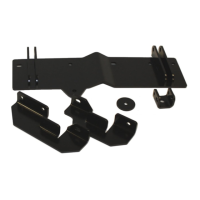
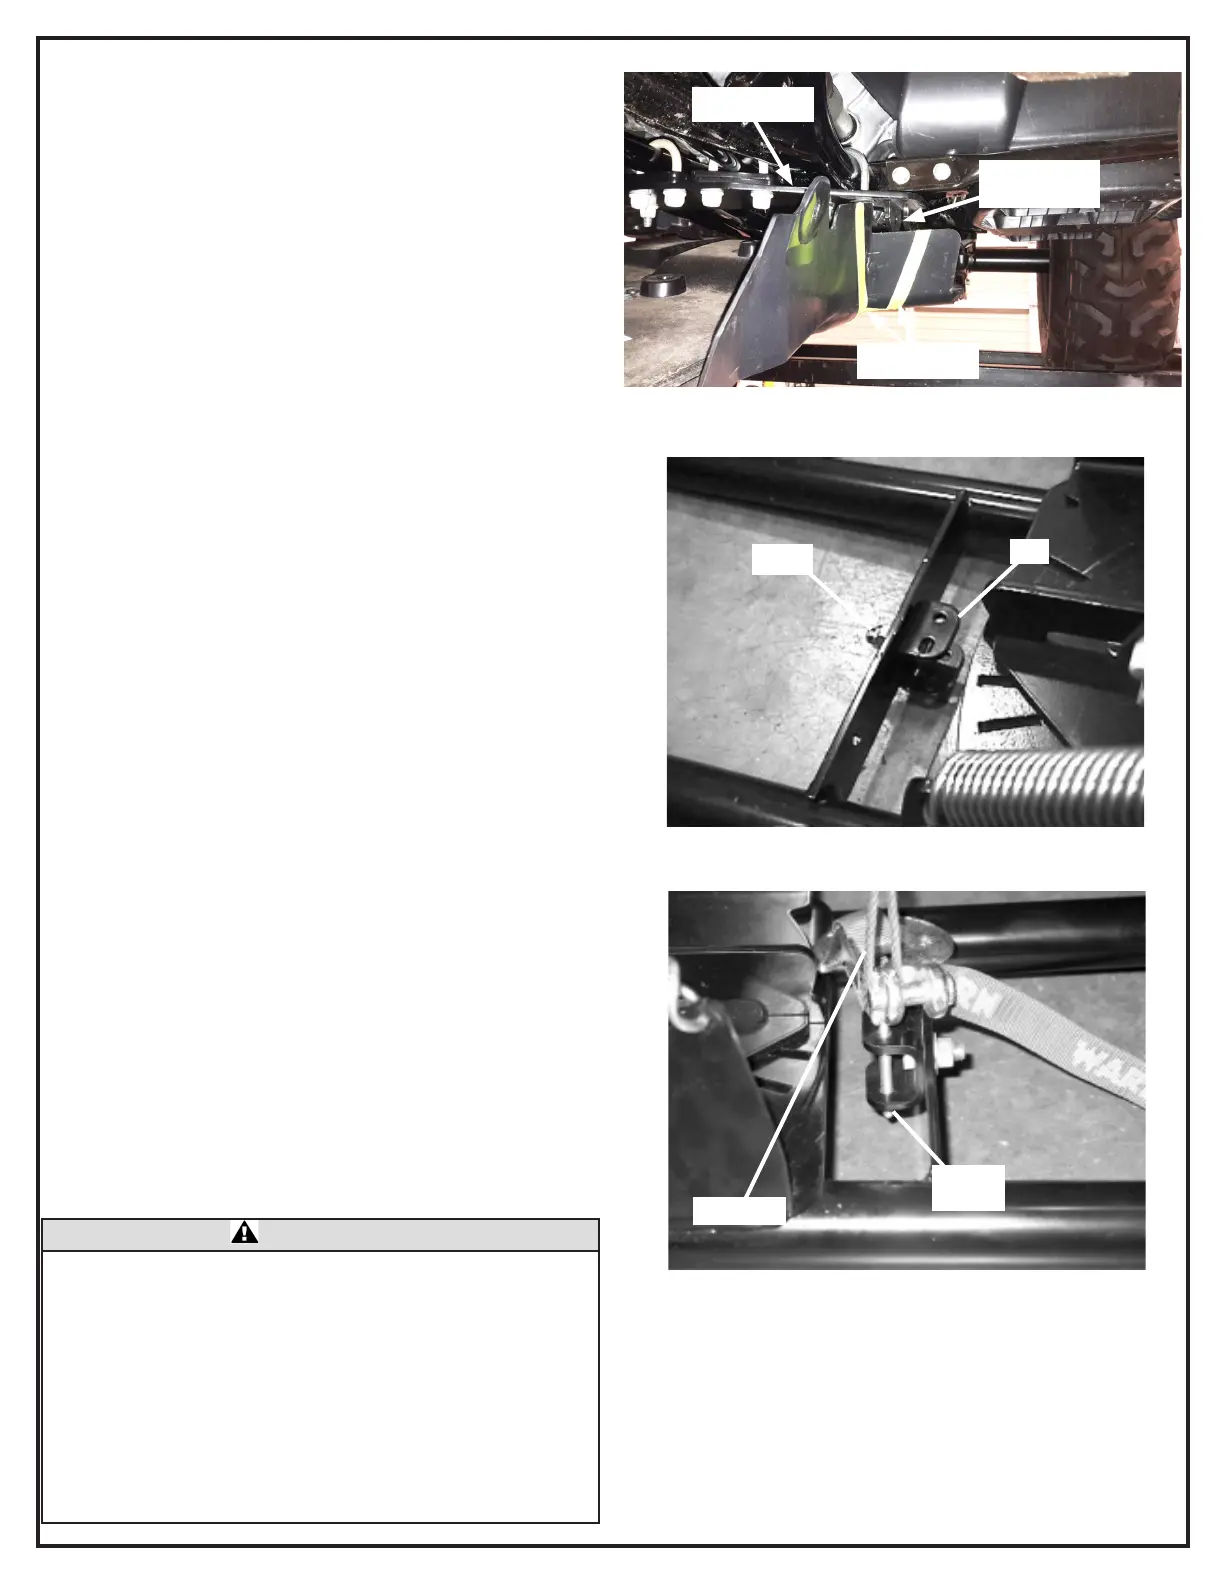
ATTACH J-BOLT
1. Attach the J-bolt bracket (3) to the center hole in the plow
crossmember using a M10 - 1.50 x 25 bolt (9) as shown.
The bracket should be mounted on the blade side of the
crossmember with the side anges parallel to the ground.
Terminate the bolt with M10 x 1.5 Hex Lock Nut (8).
Tighten the bolt and nut to a recommended torque on page 2.
2. Run the winch cable over the roller fairlead and down to the
J-bolt bracket (3). Using a J-bolt (7), hook the loop on the
end of the winch cable and slide the threaded end of the
J-bolt through the round holes in the J-bolt bracket. The
hook end of the J-bolt should slide into the slotted hole in
the J-bolt bracket.
Terminate the end of the J-bolt with a at washer (11) and
1/4 - 20 lock nut (10). Tighten the nut until the winch cable
is snug inside the J-bolt as shown.
NOTE: Do not remove the winch hook installed on the end of
the winch cable, simply slide it out of the way.
Cut plastic
Plow mount
Plow mount
tabs
Figure 12 - Installed J-bolt Bracket
9, 8
3
Cable End
Figure 13 - J-bolt and Winch Cable
7, 11,10
CAUTION
The purpose of the J-bolt is to break the connection between the plow and ATV when the plow
is subjected to high forces that could damage the plow or vehicle. The plow will drop instantly if
the J-bolt breaks, so be sure there are no bystanders when operating the plow. Instances when
the J-bolt might break are:
• If the plow is raised too high and stalls.
• If the operator is trying to lift too much material with the plow blade.
In general, do not raise the top of the plow blade above the headlights of the vehicle. If the plow
stalls, stop the winch immediately and lower the plow. After pushing material with the plow,
backup the ATV prior to raising it. If the J-bolt breaks, replace it with the spare hardware found in
this kit. Read the Plow Operators Guide for more information.
Figure 11
 Loading...