ASSEMbLy OPERATION
10 11
EN
NOTE: When using string trimmer head, use only .080
Inch (2mm) diameter line.
The attachment connects to the rear handle (upper tube)
by means of a coupler device.
– Loosen the attachment knob on the coupler.
– Push in the release button located on the
attachment shaft. Align the button with the guide
recess on the power head coupler and slide the two
shafts together. Rotate the attachment shaft until
the button locks into the positioning hole.
NOTE: If the button does not release completely in the
positioning hole, the shafts are not locked into place.
Slightly rotate from side to side until the securing button
is locked into place.
Tighten the attachment knob securely.
REMOVING THE LOWER TUBE FROM THE REAR
HANDLE (UPPER TUBE)
For removing or changing the attachment:
– Stop the tool.
Remove the battery from the rear handle.
– Loosen the attachment knob.
– Push in the release button and twist the shafts to
remove and separate ends
ATTACHING THE AUXILIARY HANDLE
– Press the auxiliary handle onto the power head
shaft so that the handle is angled toward the rear
handle that allows for comfortable operation.
– Slide the bolts through the holes in the auxiliary
handle and tighten them securely with a Phillips
Head screwdriver (Not Included).
LINE TRIMMING CUT-OFF BLADE
The trimmer is equipped with a line trimming cut-
off blade on the guard. Replace the string when
trimming efficiency diminishes. This will maintain best
performance
ATTACHING A SHOULDER HANRNESS
– Rotate the harness holder to the upward position.
– Hook a shoulder harness to the harness holder
Cutting Off Blade
Harness Holder
OPERATION
WARNING
Read and understand entire Operator’s Manual for
each optional attachment used on this power head
and follow all warnings and instructions. Failure to
follow all instructions mayresult in electric shock,
fire and/or serious personal injury.
WARNING
Do not use any attachments or accessories not
recommended by the manufacturer of this product.
The use of attachments or accessories not
recommended can result in serious personal injury
and will void any warranty offered.
WARNING
Any contact with the attachment cutting head can
result in burns and/or other serious personal injury.
WARNING
Read the safety information for safe operation when
using a blade attachment and refer to the safety
rules and instructions in your attachment manual.
Never use a brush cutter attachment withthis
electric powerhead. Improper operation of a blade
or any attachment could result in serious injury.
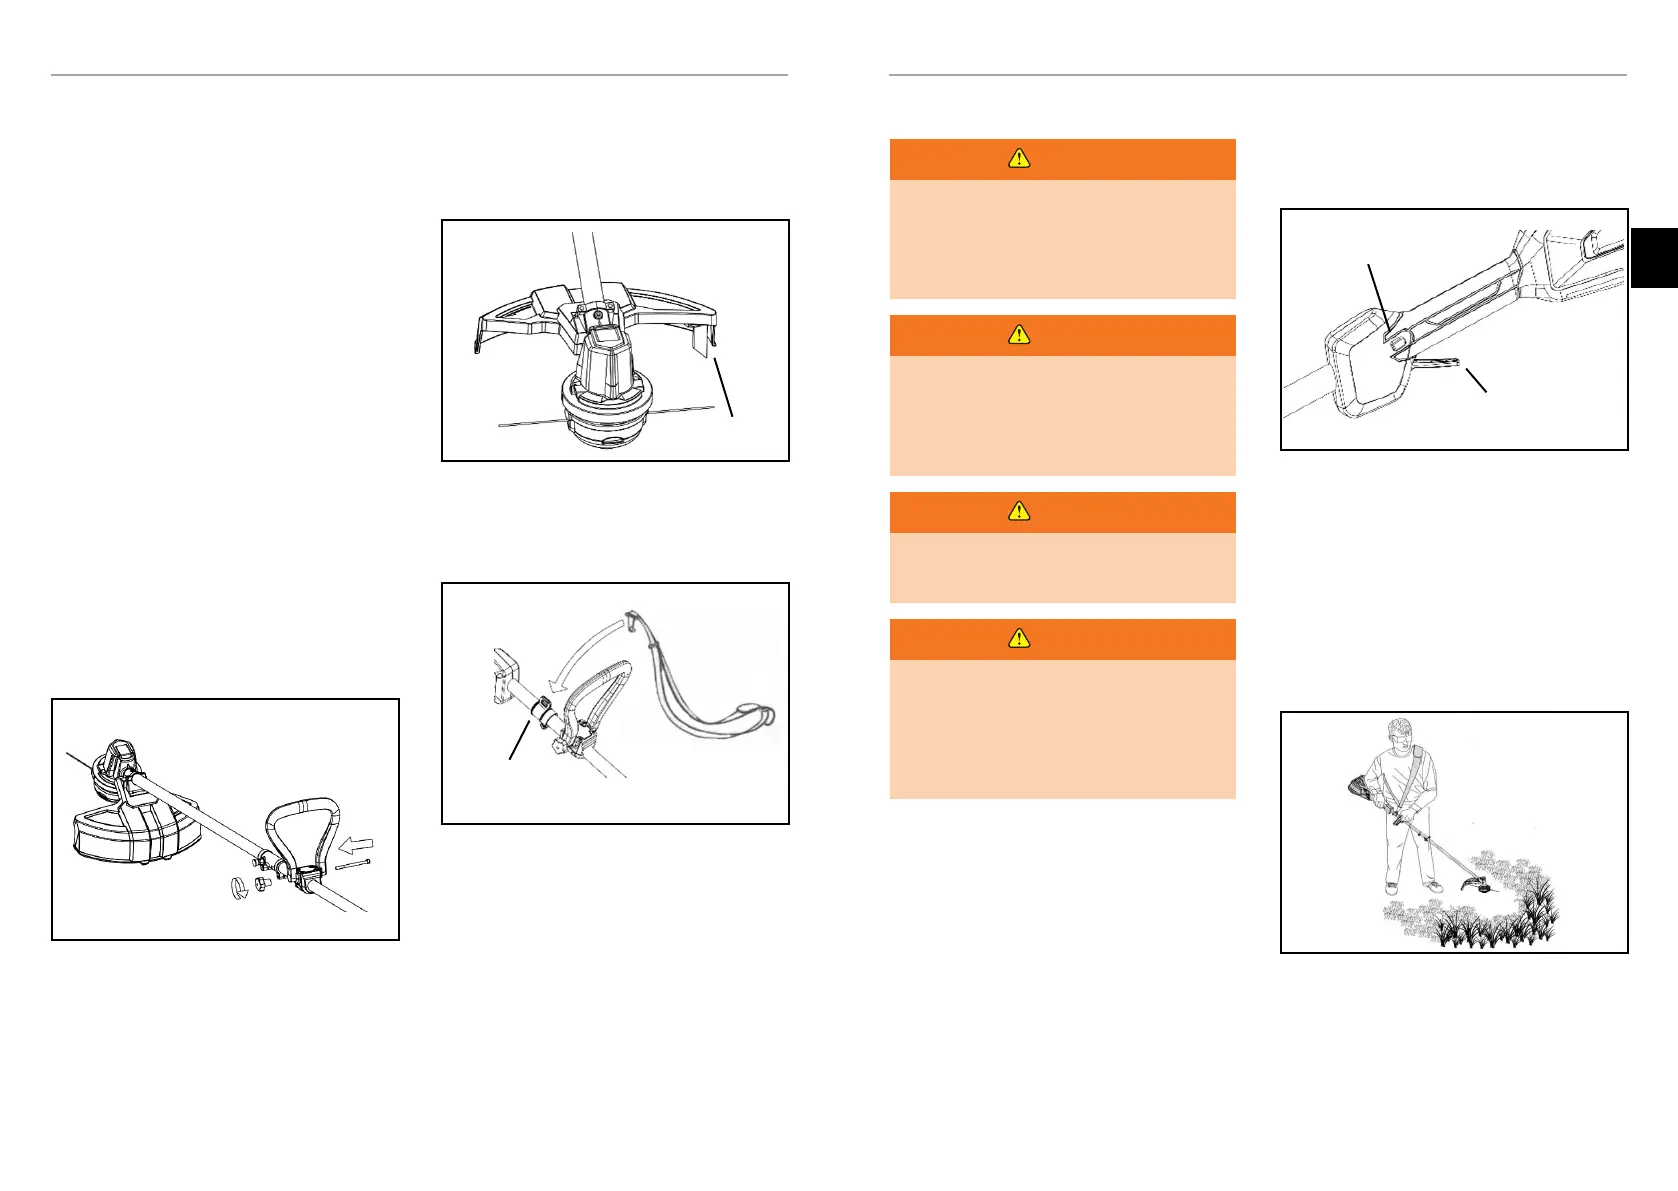
LOCK-OUT BUTTON
The safety lock-out button reduces the possibility of
accidental starting. The lock-out button is located on
the handle beside the switch trigger. The lock-out button
must be depressed before you pull the switch trigger.
The lock resets each time the trigger is released.
STARTING AND STOPPING THE TRIMMER
To start:
– Insert the battery pack into rear handle. (Fully
charge before first use)
– Depress the lock-out button and squeeze the switch
trigger.
– The speed will be increased according to the load,
and the LED will show the working state.
To stop:
– Release the switch trigger.
OPERATING THE TRIMMER
Hold the rear handle with your right hand on the rear
handle and your left hand on the auxiliary handle. Keep a
firm grip with both hands while in operation. Rear handle
should be held at a comfortable position with the rear
handle about hip height.
Always operate rear handle at full throttle. If debris
becomes wrapped around the attachment, release the
switch trigger, and disconnect battery and then remove
the tangled debris.
REPLACE TRIMMER LINE
1. Firmly press in the tabs on each side of the spool
cover.
2. Remove the spool cover from the spool housing.
3. Remove any excess trimmer line or obstructions
from the spool.
Look-out Button
Switch Trigger

 Loading...