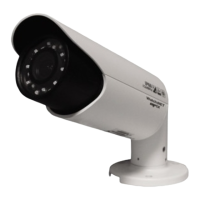
3 Installation
Please note all frame and dimension illustrations provided in this chapter are for reference only,
and actual product may vary.
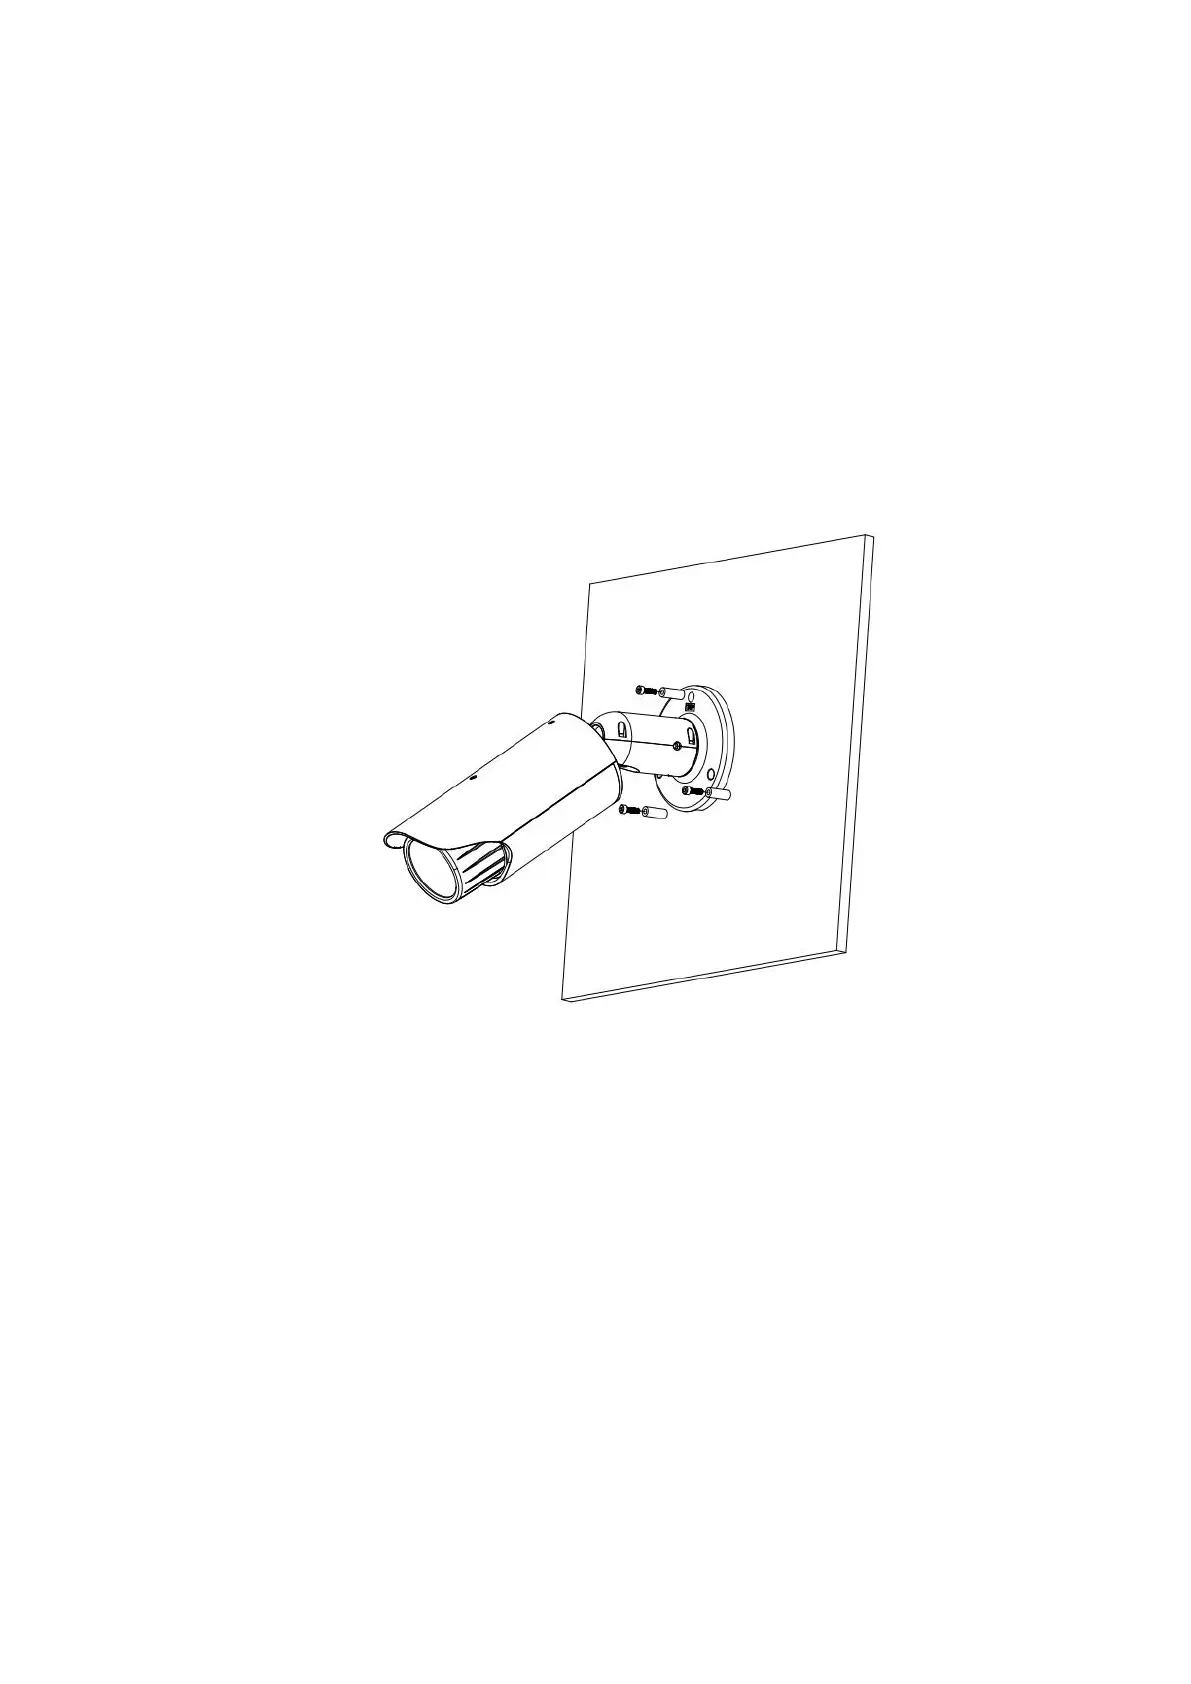
3.1 Device Installation
Please refer to Figure 3-1 or Figure 3-2 for installation information according to the actual product.
Please follow the steps listed below to install the device.
Please draw the installation holes in the installation surface and then mark three expansion
bolts holes in the surface. Insert three bolts in the hole and secure firmly.
Please line up the installation holes of the bottom of the pendant mount bracket to the
installation holes in the surface. Then insert the three bolts to the holes of the bottom of the
bracket. Finally fasten the device on the installation surface.
Figure 3-1 Device installation 1
 Loading...