
C
Charles BarnesSep 10, 2025
Why does my WaterBoss 700 Water Dispenser indicate flow when no water is being used?
- CcalderoncharlesSep 10, 2025
This usually means the household plumbing system has a leak. Repair the leak to resolve the issue.
Why does my WaterBoss 700 Water Dispenser indicate flow when no water is being used?
This usually means the household plumbing system has a leak. Repair the leak to resolve the issue.
Why is my WaterBoss 700 Water Dispenser dispensing salty water?
Several factors can lead to salty water. Here's what to check: * Plugged injector: Replace the injector screen, nozzle, and throat. * Low water pressure: Maintain a minimum pressure of 20 psi. * Restricted drain line or flow control: Remove any restrictions. * Restricted or crimped brine line: Remove any restrictions; replace the line if crimped. * Excessive water in brine cabinet: Verify the correct water level relative to the salt setting and check lines and fittings for loose connections. * Intermittent pressure drop: Install a check valve on the inlet water line to the appliance (check local plumbing codes first). * Brine valve drips water back to brine cabinet: Clean the brine valve housing and replace the piston assembly.
Why is there no read-out in the display of my WaterBoss 700?
Check the following: * Make sure the electric cord is plugged in. * Verify there is electric power at the outlet and ensure the outlet is not controlled by a switch. * Test the transformer with a volt meter for 12 VAC at the control. If it's less than 10 VAC or greater than 14 VAC, replace the transformer. * With 12 VAC present at the controller, replace the controller if there's still no display. * Note that high ambient room temperature can cause this, but no action is necessary.
Why is my WaterBoss Water Dispenser not regenerating in the proper sequence?
This could be due to: * A defective magnet disk: Replace the magnet disk. * A defective controller: Replace the controller.
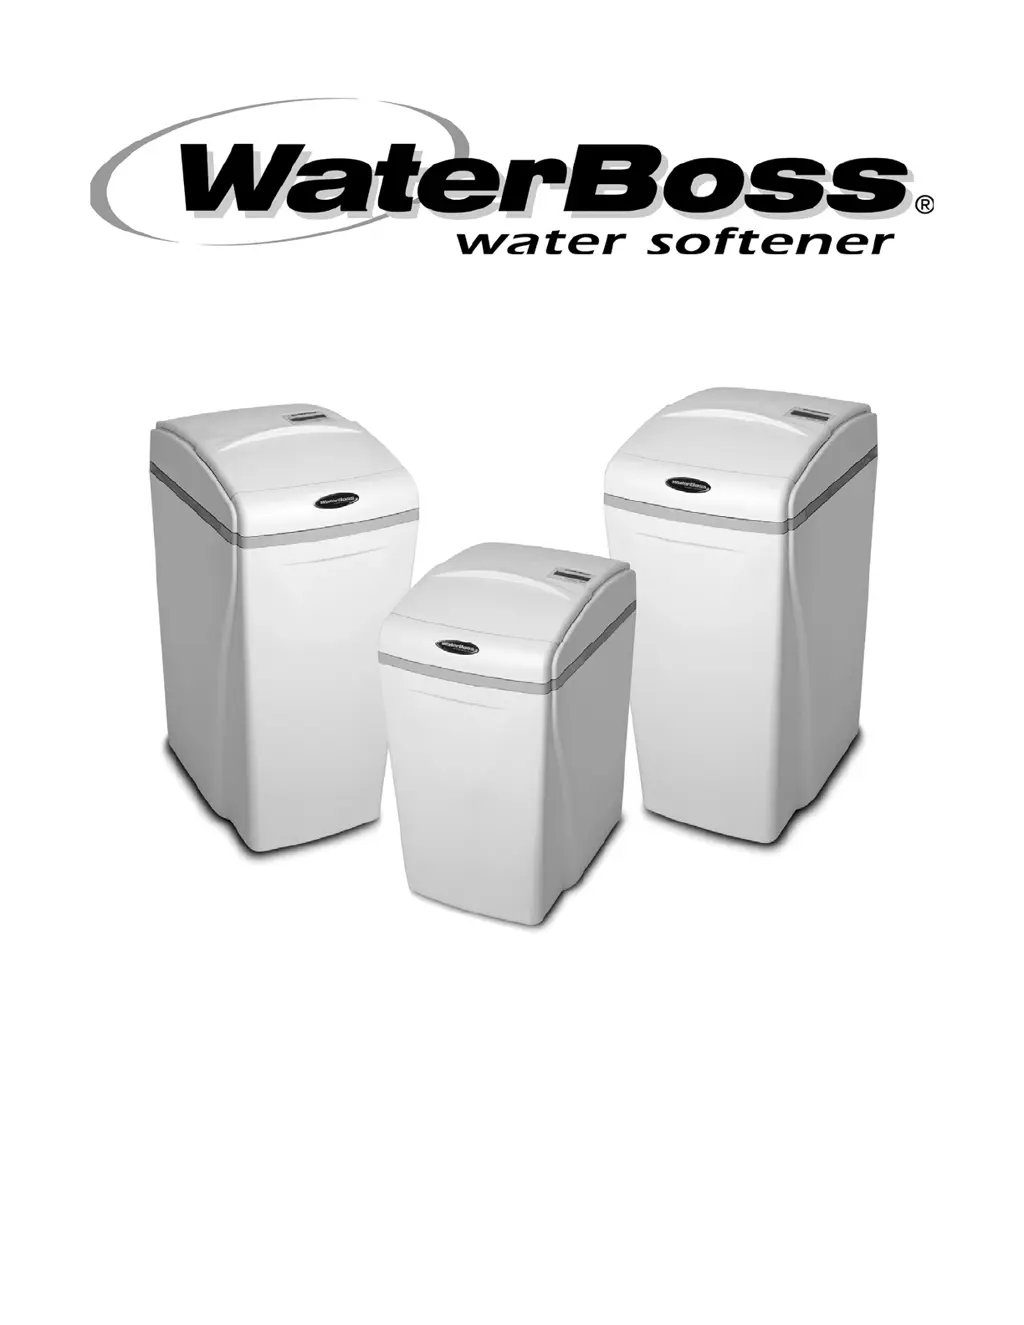
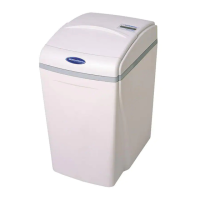
| Brand | WaterBoss |
|---|---|
| Model | 700 |
| Category | Water Dispenser |
| Language | English |
Details who is covered by the warranty, stating it is for the original owner at the original location.
Specifies that the limited warranty covers the system for personal, family, or household use.
Outlines repair/replacement terms for mechanical/electronic parts (3 years) and tanks/valve bodies (10 years).
Lists conditions not covered, such as service call costs, fire, freezing, abuse, or improper installation.
Explains how to file a warranty claim, including contact information and required details.
Provides performance ratings based on salt dosage, listing capacity and flow rates for models 700, 900, and 950.
Checks for contaminants like sand, sulfur, bacteria, iron, algae, oil, or acid in the water supply.
Identifies different types of iron (ferrous, ferric, organic, colloidal) and their impact on softeners.
Notes pH and iron level requirements for appliance function and filter compatibility.
Details hardness capacity for models 700, 900, 950 and verification with test strips.
Specifies required minimum (20 psi) and maximum (120 psi) water pressure.
Defines minimum flow rates (2.4-3.0 gpm) for proper appliance operation.
Lists required actions for safe and effective installation and operation, including code compliance and testing.
Lists actions to avoid, such as incorrect installation, freezing, or connecting to unsafe water sources.
Instructions for selecting and preparing the installation location, ensuring cleanliness and proper plumbing.
Guidance on testing water quality using provided strips or a laboratory before installation.
Procedure to safely shut off the main water supply and depressurize lines before connecting.
Instructions for attaching inlet and outlet water connections using provided Qest fittings.
How to connect the overflow line to a suitable drain, ensuring an air gap for safety.
Instructions for connecting the drain line to carry backwash water to a waste receptor.
Procedure to flush the system and remove debris after installation by placing the appliance in bypass mode.
Steps to identify and repair any leaks in the system after water supply is restored.
Connecting the power supply transformer to the controller and an appropriate outlet.
Initial programming of the appliance controller, referring to the 'Setting the Controller' section.
Instructions for filling the brine cabinet with the initial 2 gallons of water.
Guidance on adding clean, white pellet or solar salt to the brine cabinet.
Final steps including ensuring service mode, turning on utilities, and flushing the appliance.
Explains the LCD display, modes (Demand), status indicators (Soft Water Remaining, waterMizer), and features (powerClean).
Details the functions of the 'Set', 'Change', 'Power Clean', and 'Regenerate' buttons for operation and programming.
Guides on finding water hardness and pH for controller setup, including testing methods.
Steps to input the determined water hardness setting into the controller.
Options to program for High Capacity (HC) or High Efficiency (HE) to optimize regeneration.
Configuration for regeneration trigger: Delay Mode or Demand Mode (default).
Option to limit regeneration cycles to a maximum of 96 hours, recommended for iron water.
Setting the unit of measurement for water volume displayed on the controller.
Choosing between 12-hour (AM/PM) or 24-hour clock display for the controller.
Setting the current time on the controller, important after power outages.
Programming the preferred time for automatic regeneration cycles to occur.
Guidelines for connecting copper pipes to the bypass valve adapter, avoiding heat damage.
Steps for correctly joining plastic pipes using solvent cement to ensure joint integrity.
Details on the main unit's external components like lids, covers, and cabinets.
Information on the parts (throat, nozzle, cap) and function of the injector system.
Components and function of the water bypass system, including sensor and turbine.
Specifics on the fill plug and O-ring for the Model 950 media tank access.
Components and function of the drive end cap mechanism, including motor and gears.
Further details on drive end cap components like the drive motor and piston slide.
Parts and function of the brine valve system, including piston, housing, and flow control.
Components and function of the safety shutoff mechanism, including float and air check.
Specifics on installing the safety shutoff valve's elbow with compression fittings.
Troubleshooting steps for lack of soft water post-regeneration, covering salt, blockages, and plumbing.
Common causes and solutions for the appliance not producing soft water, including bypass and hardness.
Diagnosing issues when flow is detected but not indicated, checking bypass and sensor.
Troubleshooting flow detection during idle periods, checking for leaks in the household plumbing.
Steps for resolving display issues, checking power, transformer, and circuit board.
Causes and solutions for the appliance stuck in regeneration mode, checking controller attachment and valve body.
Troubleshooting excessive water in the brine tank, checking brine refill valve and flow control.
Diagnosing regeneration cycle errors, checking magnet disk and controller.
Identifying causes and solutions for hard water output, including injector, pressure, and drain line issues.
Explains specific error codes ('E1' to 'E5') displayed by the controller and their resolutions.
