1.Choose a diamond core bit for granite, and a carbide drill bit for stainless steel. Do not use a hammer dril on
natural stone, g assor ceramic;
2. Glue the sticker on your sink or countertop, and drill a hole referring to the size shown on the sticker (1
3. Make an indent with a center punch on a stainless steel sink before drilling to help guide the bit;
4. Be careful when drilling on a porcelain sink, as it can be easi y chipped. Apply downward pressure firm y to
the bit until breaking through the surface;
5 Starting at the lowest speed, ho d the drill straight with firm pressure to prevent the bit from walking on the
counter.
6 Once breaking through the surface, swirl the drill a little to apply pressure in a circle even y.
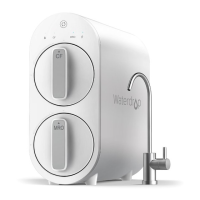
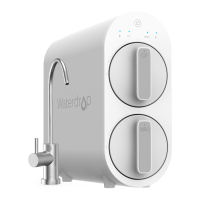
Installation Steps
NOTE:
•The RO system must be connected to the COLD water supply ONLY.
• Do not instal the systemin exposureto direct sunlight or harmful chemicals,nor any placewhere it may be
damaged.
• Do not instal the systemnear any heat source.
• Do not instal the systemoutdoors.
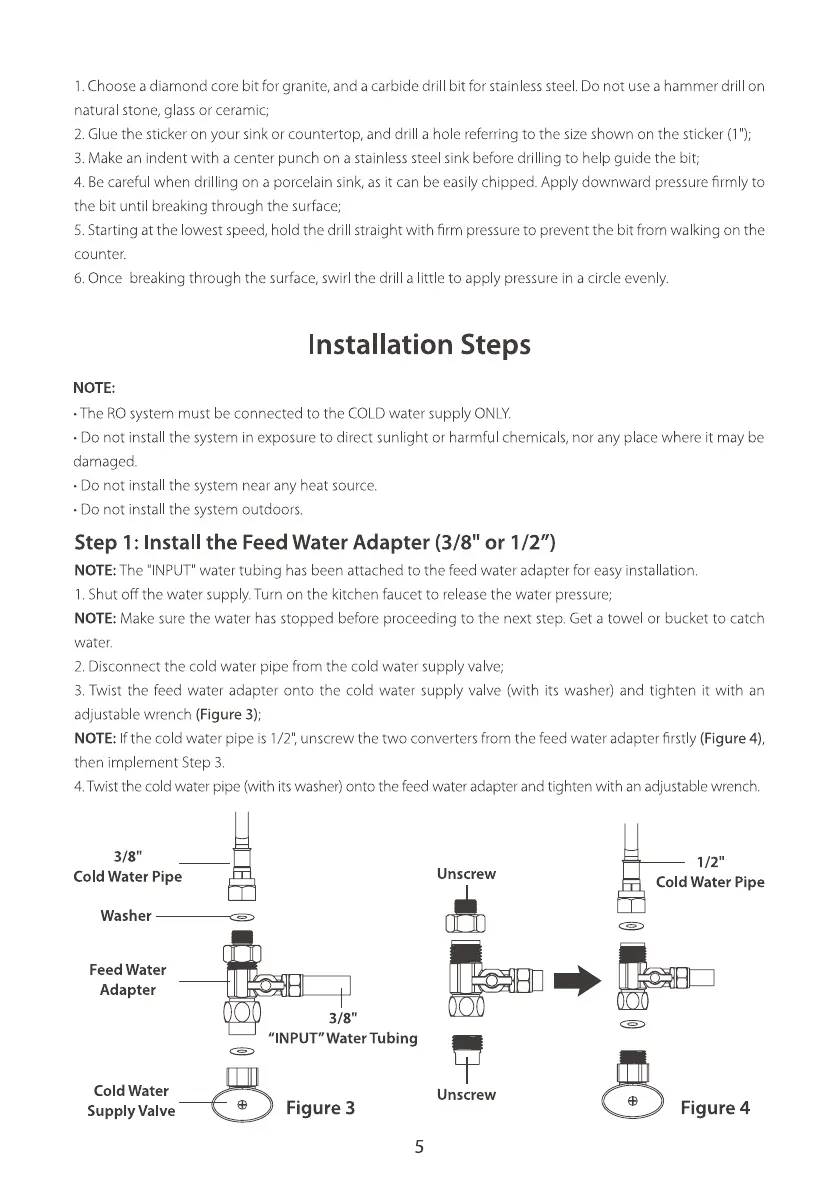
Step 1: Install the Feed Water Adapter (3/8" or 1/2")
NOTE:The "INPUT"water tubing hasbeen attached to the feed water adapter for easyinstallation.
. Shutoff the water supply.Turn on the kitchen faucet to releasethe water pressure;
NOTE:Makesure the water has stopped before proceeding to the next step.Get a towel or bucket to catch
water.
2. Disconnectthe co d water pipe from the co d water supplyva ve;
3. Twist the feed water adapter onto the cold water supply va ve (with its washer) and tighten it with an
adjustablewrench (Figure 3);
NOTE:Ifthe cold water pipe is /2", unscrew the two convertersfrom the feed water adapter firstly (Figure 4),
then implement Step 3.
4.Twistthe cold water pipe(with itswasher)onto the feed wateradapterandtighten with anadjustablewrench.
3/8"
Cold Water Pipe
Feed Water
Adapter
Cold Water
Supply Valve
Unscrew
3/8"
"INPUT"Water Tubing
Figure 3
Unscrew
5
Cold Water Pipe
Figure 4