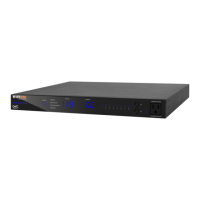
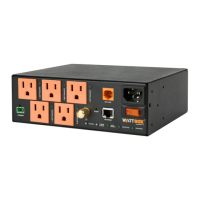
pg.4
WATTBOX™ WB-300VB-IP-5 Owners Manual
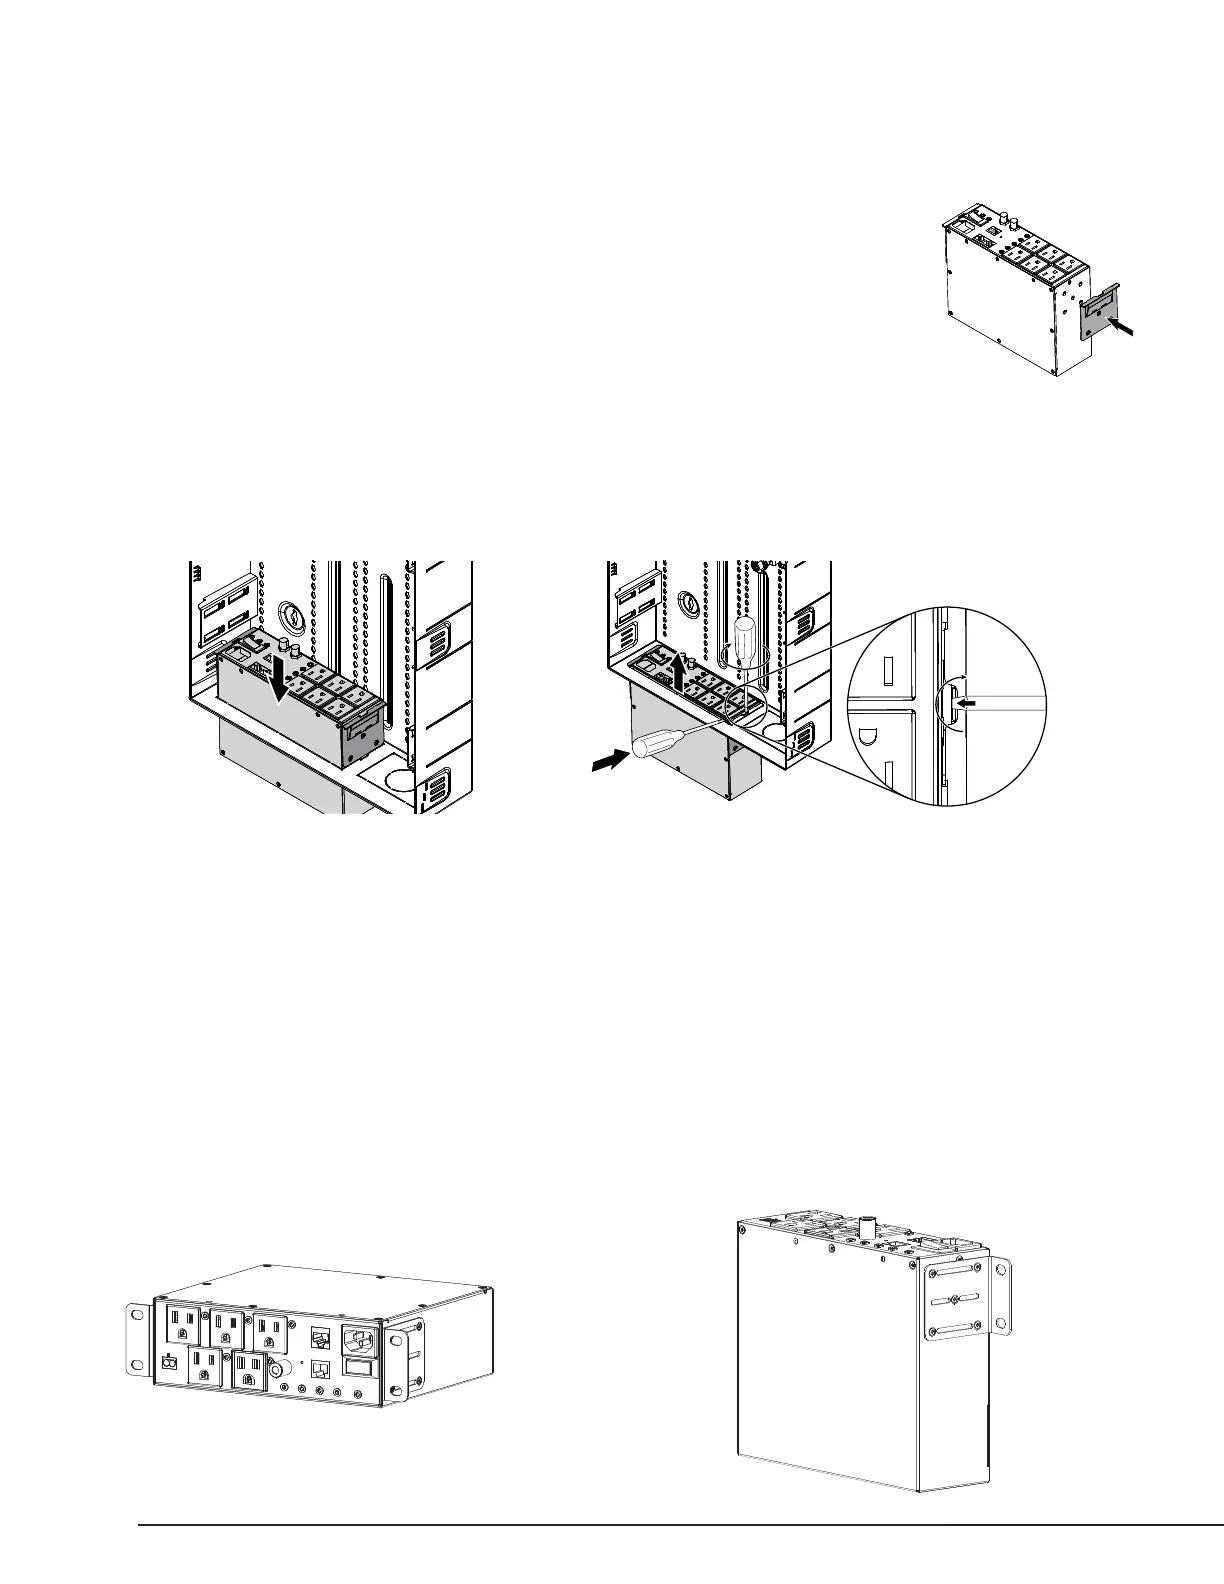
Wirepath™ Plastic Enclosures
The WB-300VB-IP-5 may be mounted into the cutout of the Wirepath Plastic Enclosure using the included
mounting brackets.
To install:
1. Attach the brackets to the WattBox in the desired fashion. Use 3 screws to secure each bracket.
2. Slide the WB-300VB-IP-5 into the cutout until the brackets seat into the keyholes of the Plastic enclosure.
To uninstall:
Note: Two athead screwdrivers are needed to remove the WB-300VB-IP-5 from the
plastic enclosure cutout.
1. On one side, insert one screwdriver between the tab and the ledge of the mounting bracket ear, then twist while prying upwards with
the second screwdriver to disengage the tab and lift that side out of the enclosure.
2. Repeat on the other side.
3. Use a second screwdriver to help lift the WB-300VB-ip-5 out of the cutout.
SURFACE MOUNTING
The WB-300VB-IP-5 may be mounted into a cutout or at on a wall using the included angle brackets.
1. For wall mounting, locate wall studs using a stud nder (not included).
2. For installation in a cutout, trace the outline of the back of the WattBox on the surface to be cut and cut out the opening.
3. Attach the brackets to the WattBox in the desired fashion. Use 5 screws to secure each bracket.
4. Position the WattBox in the desired mounting location and mark the locations for mounting hardware.
5. Secure the Wattbox
™
to the surface using the included screws and anchors.
Brackets Attached for Cutout Mounting
Install Uninstall
Brackets Attached for Wall Mounting
 Loading...