Your Drinking Water System has been tested to ensure it will operate correctly. The following periodic maintenance is recommended so your system
will provide years of trouble-free service:
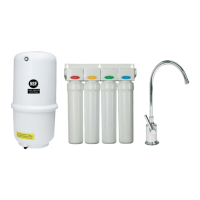
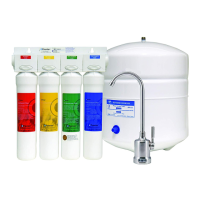
Replacement cartridges Replacement
Sediment Every 6 mo.
Carbon Filter Every 6 mo.
Membrane Filter Every 12 mo.
System location: Your drinking water system may be installed under a sink, in a basement or other location, depending on available space. Do not
install unit where temperatures fall below freezing.
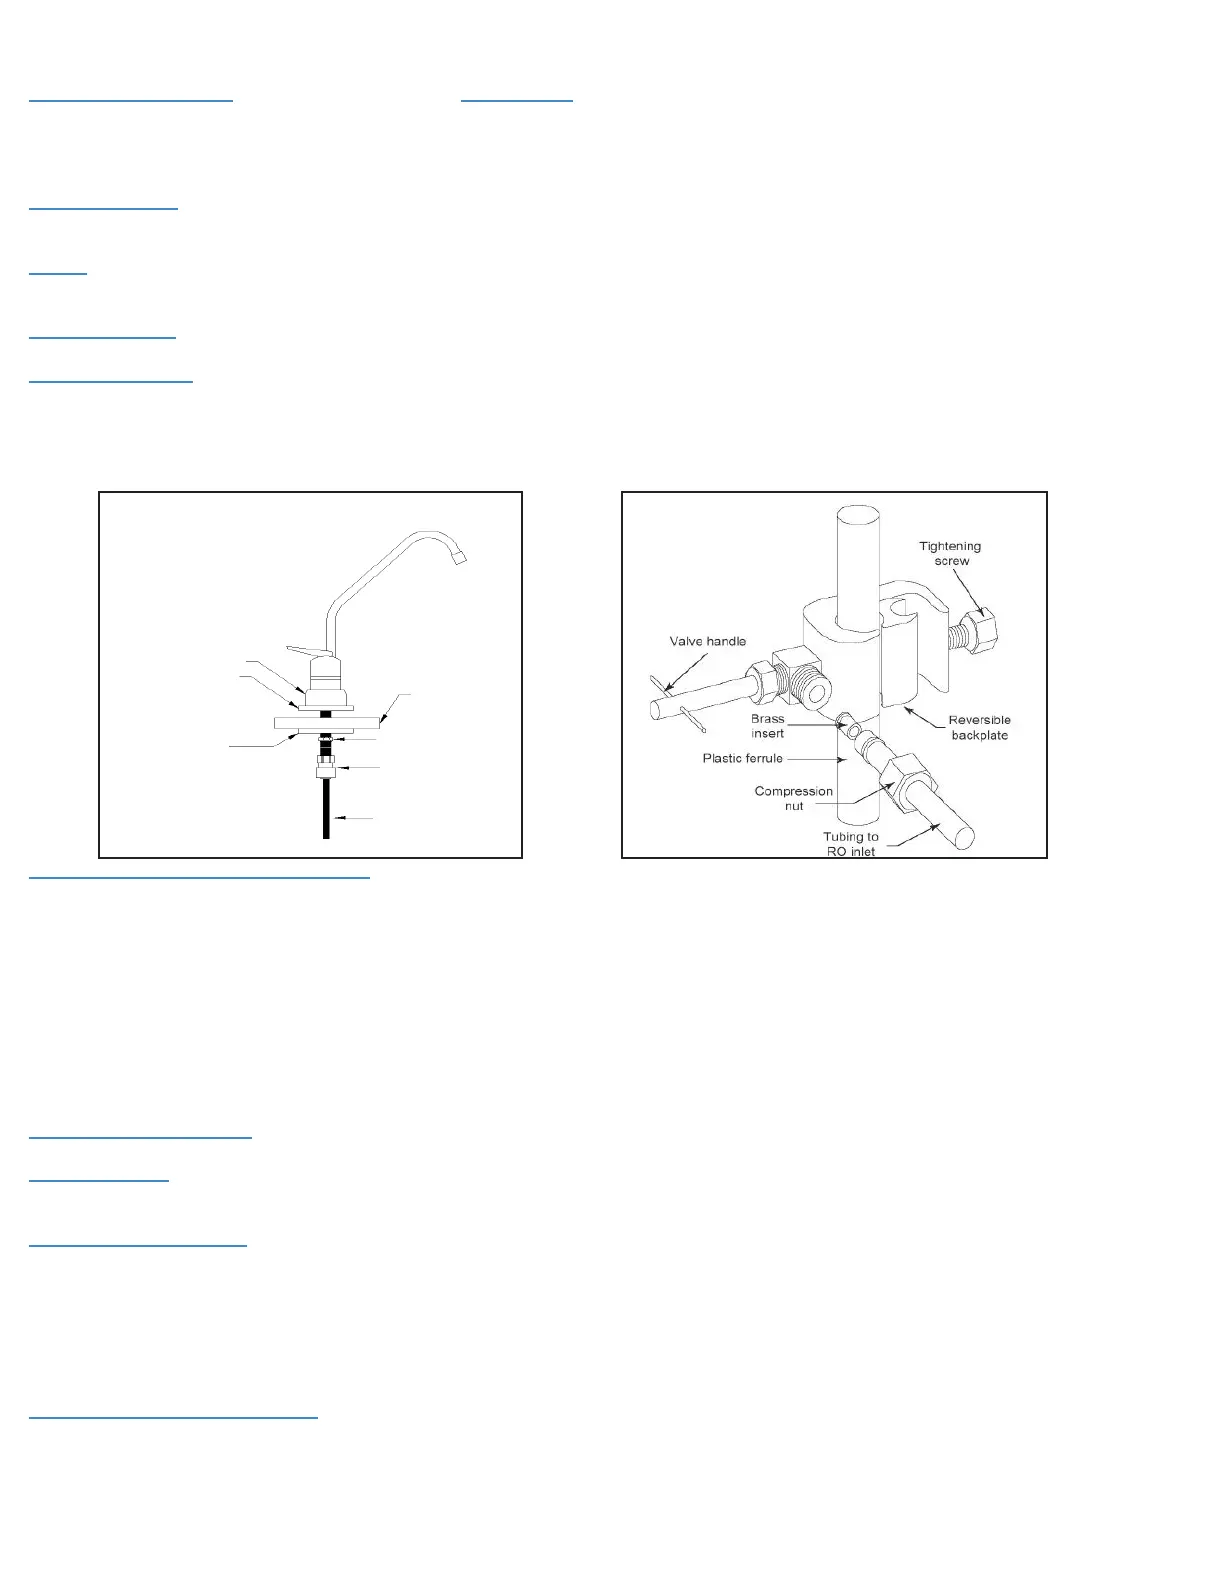
Faucet should be placed near the sink. A 2” fl at surface is required to mount the faucet, and the thickness of the mounting thickness should not
exceed 1-1/4”. Size hole required is 7/8” (or 9/16”).
Installation steps
Faucet installation: If the sprayer hole is not used and a hole must be provided, check below sink to be sure the drill does not interfere with any-
thing below. Position the faucet so it empties into the sink and the spout swivels freely for convenience.
Feed the threaded nipple through sink or counter mounting hole and orient the faucet. From below sink or counter, assemble the washer and hex
nut on threaded nipple and tighten by hand. Tighten with wrench until the faucet is secure.
Feed water valve and tubing installation
The self-tapping feed valve (supplied) is designed for use with 3/8” to 1/2” OD soft copper supply tubing
(plain or chromed) and rigid metal pipe. Do not use with fl exible ribbed supply tubing, which is too thin and
requires special hardware.
1. Turn off cold water valve from under sink or main water line valve for whole house.
2. Before installing self-tapping feed water valve, make sure piercing lance does not protrude beyond the rubber gasket.
3. Assemble saddle valve on copper tubing.
4. Turn handle clockwise to pierce soft copper tube until valve is fi rmly seated. (Valve is closed in this position.)
5. Turn on water supply to pressurize the cold water line.
6. Snug nut/seal with wrench around valve stem.
7. Connect tubing to feed water valve using brass compression nut, insert and plastic sleeve.
Initial tubing connections: For convenience, it may be advisable to complete under counter hose connections at this time.
Unit installation: To mount the drinking water unit, elevate it at least 2” off the fl oor and mark the location of mounting holes needed. Drill holes for
mounting screws and install screws, allowing the mounting bracket slots to slip over them.
Final tubing connections: With all components in place, complete fi nal tubing connections using these guidelines:
• Tubing should follow contour of the cabinets.
• Cut tubing to desired length using square cuts.
• Do not make sharp bends.
• Keep tubing from the unit to the faucet as short
as practical for good fl ow. Icemaker hookup (optional): The drinking water device can be
connected to any standard ice maker. (Extra fi ttings are required).
System start-up: Prior to start-up:
1. Check all connections so they are secure.
2. Turn valve handle counter clockwise to open the
feed water saddle valve and check for leaks.
3. Close faucet and wait to see if leaks result.
FAUCET INSTALLATION
FEED WATER VALVE
&
TUBING INSTALLATION
Escutcheon Plate
Black Rubber Washer
Black Locating Washer
(use where a 1/2" hole is available,
reverse when mounting on stainless
steel or when using drilled hole)
Counter Top /Sink
Lock Washer
1/4" Faucet Connector
1/4" Tubing from RO FAUCET

 Loading...