44
Wavin AS+ Technical Manual
Phone. +31(0)38 42 94 951
5. Installation
and jointing
Wavin has designed its low-noise systems to reduce noise
emissions in concealed and visible installations. However, to
achieve a high level of soundproofing it is strongly recommen-
ded to follow the instructions given below.
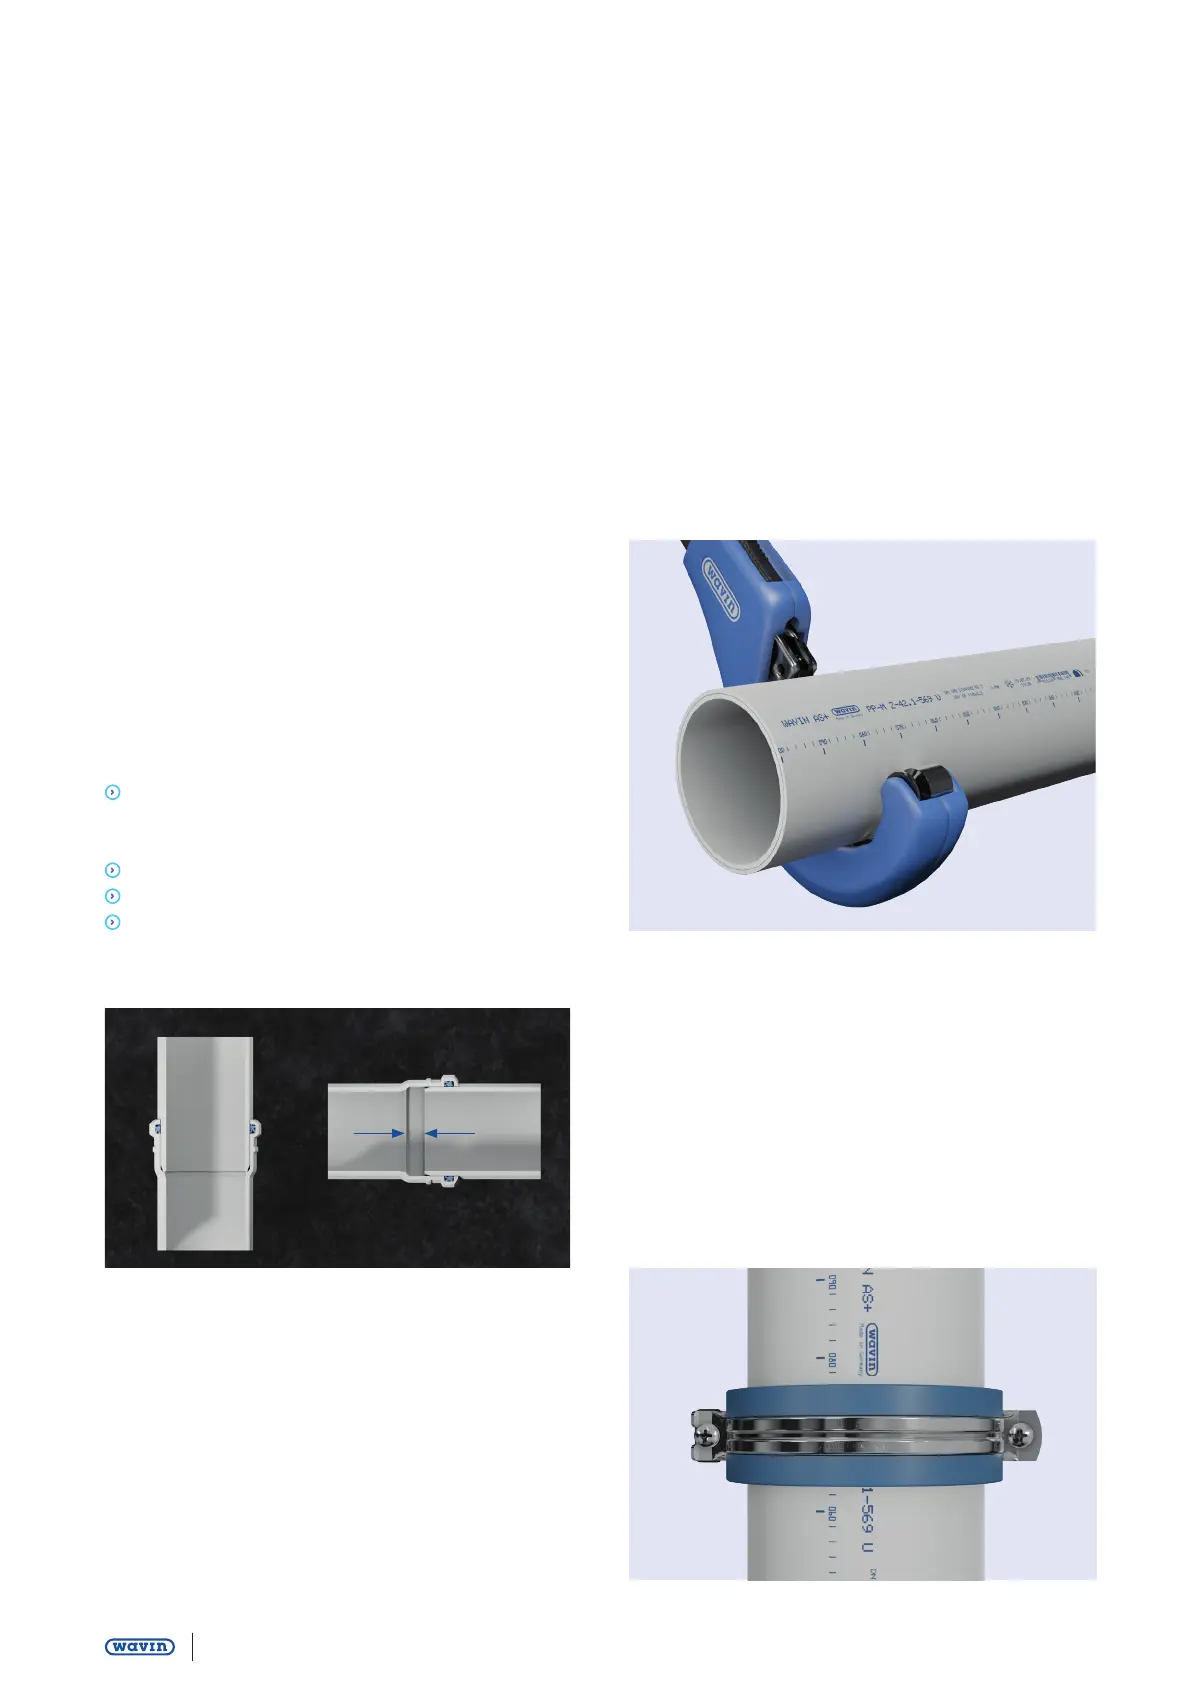
Push-fit connections between pipes and fittings must be able
to withstand thermal-related length changes of up to 10 mm
over a maximum length of 3 m. Pipes should therefore be pul-
led out of the coupling by 10 mm once the join is complete.
Push-fit connectors used to join fittings to each other are not
subject to changes in length, and can therefore be pushed
fully home.
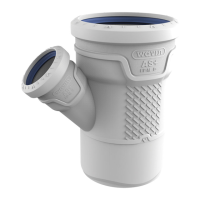
5.1. Connecting Wavin AS+ to fittings and pipes
Wavin AS+ connections are fitted as follows:
Check the position and condition of the lip seal in
the coupler channel. You may have to clean the fitting
and lip seal.
Clean the push-fit end of the pipe and/or fitting.
Push the end into the coupling so that it goes in fully.
Slide the pipe (not the fitting) back out of the push-fit
coupling by 10 mm
When positioning pipes vertically, secure the individual leng-
ths with brackets as soon as they have been fitted. This will
prevent them slipping out of place and eliminate the 10 mm
dilatation space.
Fixing
In principle, Wavin AS+ soil and waste water pipe systems
should be installed tension-free and able to withstand chan-
ges in length. The pipes should be secured with sound-absor-
bing brackets that are compatible with the external diameter
of the pipes and completely surround the circumference
of the pipes. We recommend the use of Wavin low noise brac-
kets, designed for securing to the brickwork with screws and
plastic wall plugs. Metal anchors may also be used, although
these do not favour sound insulation.
Fig. 28: 10 mm back outslide.
Cutting pipes to size
Pipes can be cut to size using standard pipe cutters. When
cutting pipes to length, do so at an angle of 90° to their axis.
Remove any burrs or unevenness from the cut ends and rub
down sharp edges.
10 mm