a
vin Temp Manifold Installation Manualower
E-MAIL
info@wavin.com
www.wavincom.
TELEPHONE
+31(38)429411
D
esign Manual
TELEPHONE
+31 (38) 4294911
4
E-MAIL
info@wavin.com
www.wavin.com
6
avin Temp Control Manualower
E-MAIL
info@wavin.com
www.wavincom.
TELEPHONE
+31(38)429411
44.. DDRRTT--220000 ddiiggiittaall rroooomm tthheerrmmoossttaatt
4
4
.
.
1
1
I
I
n
n
t
t
r
r
o
o
d
d
u
u
c
c
t
t
i
i
o
o
n
n
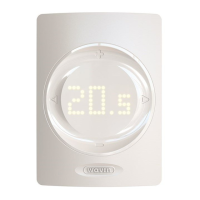
The Wavin DRT-200 is an aesthetically pleasing digital room
thermostat. It is designed for maximum comfort, with an accu-
rate temperature sensor and built in humidity sensor.
4
4
.
.
2
2
G
G
e
e
n
n
e
e
r
r
a
a
l
l
d
d
e
e
s
s
c
c
r
r
i
i
p
p
t
t
i
i
o
o
n
n
DRT-200 has a unique touch surface to set the
temperature and adjust between modes. The DRT-200
has a completely digital construction and does not
contain any moving parts, giving it significantly
incr
eased lifetime. The temperature and operation mode
settings are indicated by LEDs. The thermostat matches
the size of standard electric boxes, ensuring easy
installation and fit. The thermostat does not require a
separate power supply as it works via the communica
-
tion cable.
4.2.1. How to use the thermostat
1 DRT-200 is always in standby mode when is
connected.
2
First touch the dial sensor to switch on the setting
mode.
3
Change the setting as you want.
4 The thermostat will go back to Standby mode after
5 seconds.
4
4
.
.
3
3
I
I
n
n
s
s
t
t
a
a
l
l
l
l
a
a
t
t
i
i
o
o
n
n
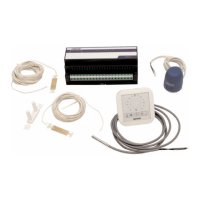
T
he thermostat consists of two parts, the mounting
p
late and the front panel. The mounting plate carries
the connecting terminals. This plate should be screwed
onto a standard 65 mm mounting box with the
connecting terminals at the bottom.
Connect the supply wires to the terminals at the
bottom of the plate.
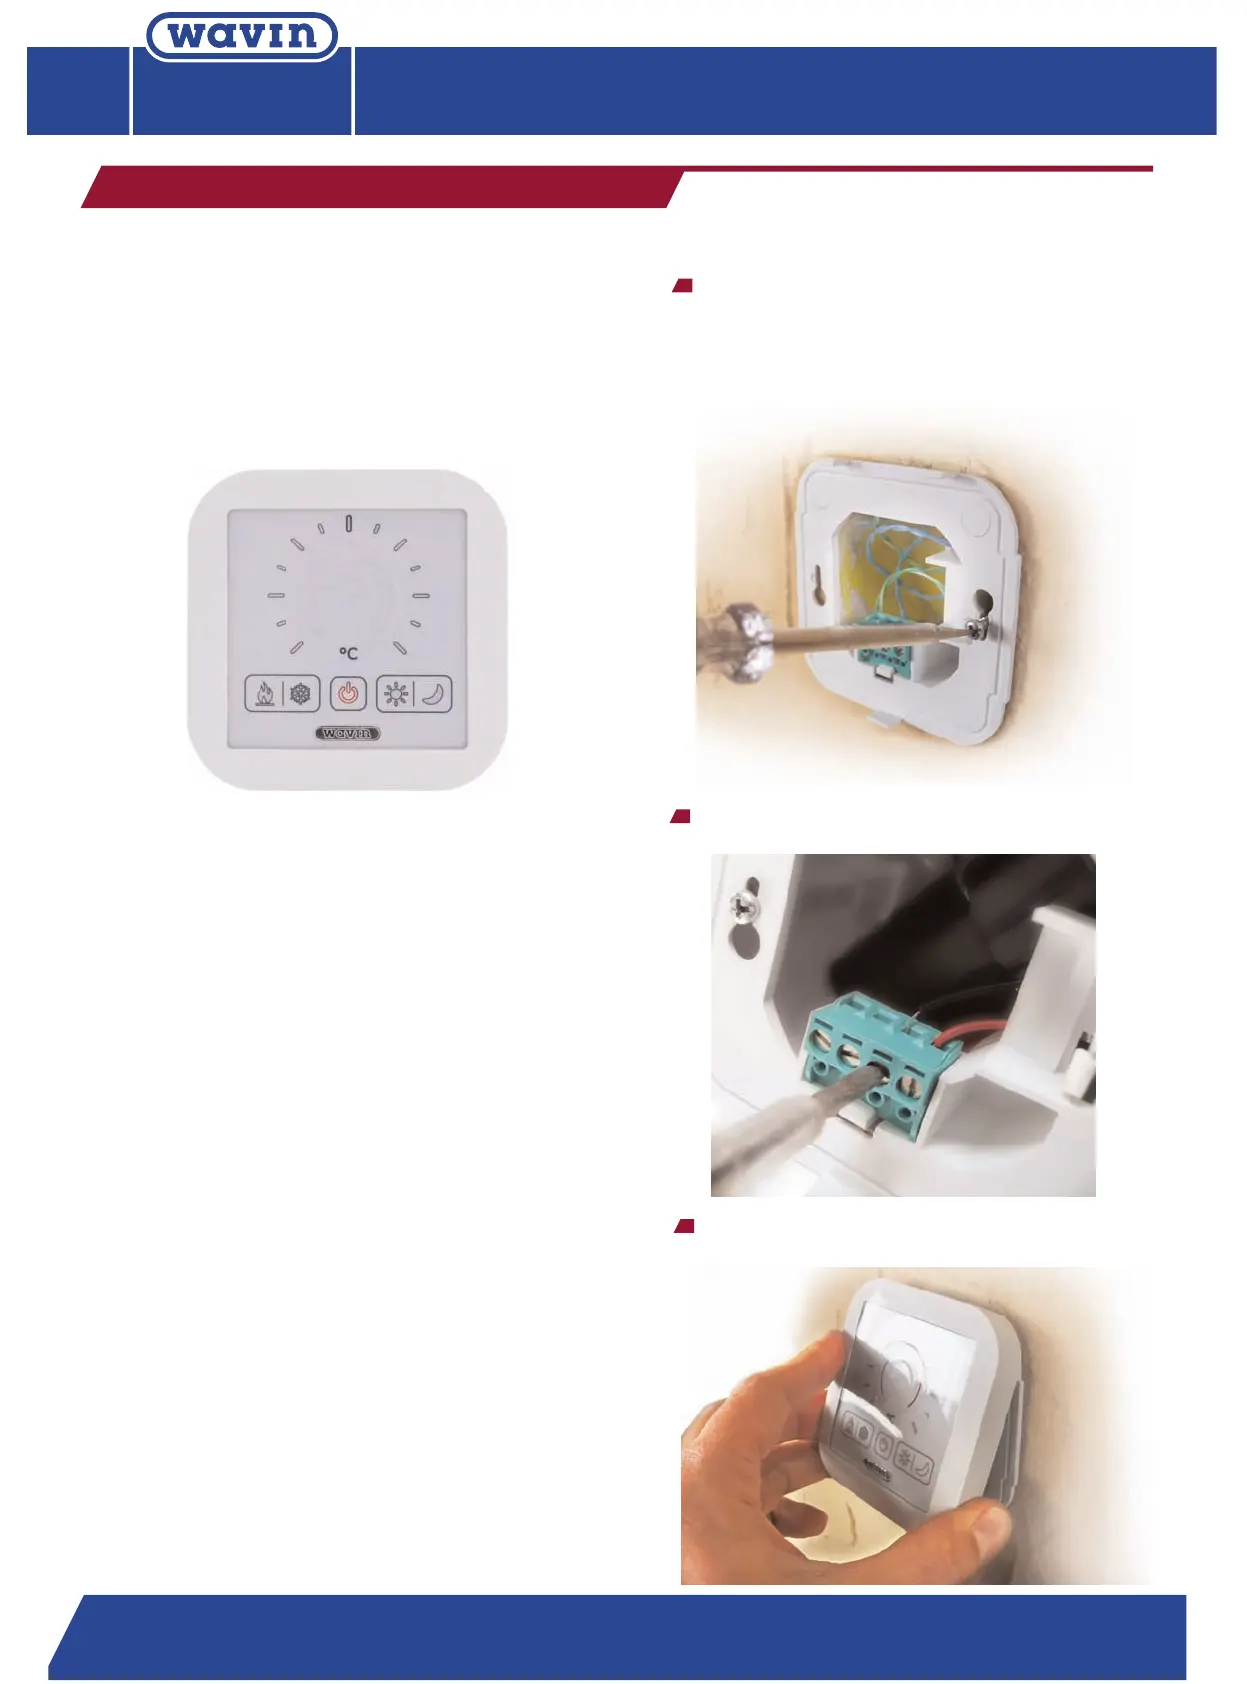
Click the front panel carefully onto the mounting
plate. T
op part first.
Design Manual
Heating and Cooling systems
Design Manual
Heating and Cooling systems
Design Manual
Heating and Cooling systems
 Loading...