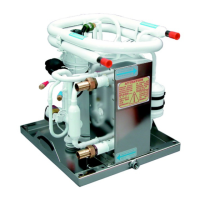
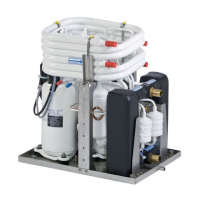
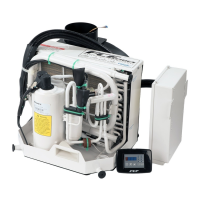
CC8 roof-top air-conditioning system 4 Installation instructions
409
4. Install the fittings
4.1 General notes on the installation process
NOTE
Fit the hose lines with the following connections:
– Intake line: Refrigerant hose NW 16
– 90° screw fitting with flange O-ring ZSB (on expansion valve),
Tightening torque at flange bolt 5 Nm*
– 90° screw fitting with O-ring ZSB with filler neck (on compressor),
Tightening torque 35 Nm*
– Discharge line: Refrigerant hose NW 12
– 90° screw fitting with O-ring ZSB (on condenser),
Tightening torque 36 Nm*
– 90° screw fitting with O-ring ZSB with filler neck (on compressor),
Tightening torque 26 Nm*
NOTE
As from August 2002, installation kits have been supplied with a clip system. In this
case refer to the installation instructions in 4.2.
If you wish to replace the hoses, a refrigerant hose of type FC 802 (fitted with a screw
system) may also be affected. In this case refer to the installation instructions in 4.3.
See also: 6.7 Maintenance work.
4.2 Install the clip fitting (Fig. 403A)
– Remove anti-corrosive coatings from metal components (nipples and fitting) using a cleaning product
(for example petroleum ether).
– Fit two clips of the appropriate size to the cut end of the hose (1). The direction of the clips has no effect
on the performance of the connection. To make the installation work easier, both clips should face in the
same direction.
– Coat the nipple with plenty of refrigerant (2). This must be done to reduce the force required to insert the
nipple.
– Fit the nipple into the hose (3). To ensure that the nipple has been fitted properly, check the gap between
the end of the hose and the nipple collar. Do not kink or otherwise damage the hose as you fit the nipple.
Remove any excess oil from the nipple and hose.
– Engage the bar in the nipple groove, leave the arms of the bar pointing in the same direction as the hose
(4). If the bar is correctly installed it can be rotated relative to the nipple. The bar ensures that the clips are
positioned over the O-rings and that the connection will satisfy the pressure requirements, that is why the
bar must be fitted.
– Position the clips over the arms of the bar in the ducts provided (5).
– Close the clips with the clip pliers (7). Hold the pliers at right-angles to the clip connection points as you
do so (6). They should also be at a right-angle when you close the clips.
– Position the jaws of the pliers under the raised section of the clip of the interlock. To make them easier to
install, the clips should be closed between the arms of the bar.
* See table of tightening torques for spare parts on page 801