4 Installation instructions CC8 roof-top air-conditioning system
420
Oil must be topped up via the oil filler plug on the compressor or via the high pressure port.
The final amount of refrigerant depends on the installation and must be determined using the inspection window as
described in the installation instructions.
Please note that the compressors are prefilled with refrigerator oil by the manufacturer. The prefilled amount of
refrigerator oil can be found in the compressor drawing and is specified on the compressor label.
NOTE
Refrigerator oil is highly hygroscopic and must therefore be exposed to air for as short
a time as possible. The compressor and oil tank must therefore be resealed as quickly
as possible.
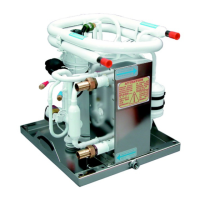
1. Mount the compressor on the engine (see 4.8) (see installation position in Fig. 402).
2. Fit the V-belt and tension it.
3. Check the installation position.
WARNING
Keep hands, long hair and other objects well clear of all rotating parts.
4. Start the engine and check that the V-belt pulley runs smoothly and correctly.
4.12 Make the electrical connections
NOTE
Plug connections can be protected against moisture with a suitable wax.
1. Disconnect the vehicle battery.
CAUTION
– Follow the vehicle manufacturer's instructions for connecting the power supply for
the air-conditioning system.
– Only use cables approved for use in motor vehicles with an adequate cross-section
(see Figs. 701, 702 and 703).
– Work on the electrical system may only be carried out by authorised personnel.
– Use rubber grommets for routing cables through sheet metal cut-outs.
2. Route and connect the cables as shown in Figs 701, 702 and 703.
– Whenever possible, place cables in protective sheaths and secure them properly with cable ties.
– Thread the positive and negative leads for the power supply of the air-conditioning system and the cable for the
compressor connection through the cable grommet in the system.
– Use strain-relief clamps.
NOTE
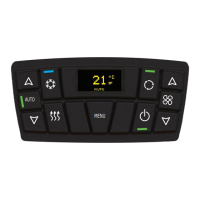
If the controls are not to be installed in the air distribution panel, a wiring harness for
the external installation of the controls is available from Webasto to extend the
electrical wiring to the controls in the dashboard.