Do you have a question about the Weber Jumbo Joe and is the answer not in the manual?
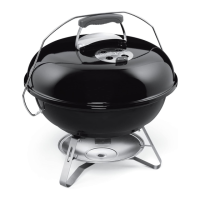
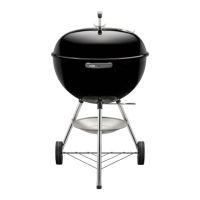
Diagram showing all components of the Jumbo Joe Charcoal Grill with numbered parts for identification.
Detailed illustrations of various grill components, including fasteners and specific parts like handles and grates.
Instruction for attaching the main handle to the grill lid using specified hardware.
Procedure for attaching the air vent control mechanism to the bottom bowl of the grill.
Detailing the installation of internal parts for the air vent control system.
Connecting the leg support brackets to the main grill bowl.
Fastening the complete leg structure to the base of the grill.
Securing the main carry handle to the sides of the grill bowl.
Installing the support rod for the warming rack assembly.
Securing the support structure for the charcoal grate.
Completing the attachment of the lid handle for proper function.
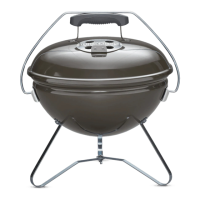
Placing the primary cooking grate and warming rack into the assembled grill.
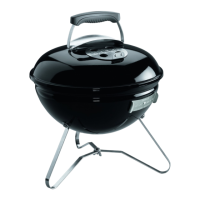
Positioning the main lid onto the assembled grill body.
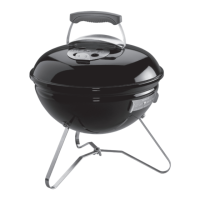
Ensuring the lid handle is correctly secured for lid operation.
Illustrating the correct method for opening and closing the grill lid using the handle.
| Type | Charcoal Grill |
|---|---|
| Diameter | 18 inches |
| Cooking Area | 240 square inches |
| Material | Porcelain-enameled bowl and lid |
| Dampers | Yes |
| Handle | Glass-reinforced nylon handle |
| Rust-resistant aluminum damper | Yes |
| Fuel Type | Charcoal |
| Lid Holder | Lid lock doubles as lid holder |