QUICK START GUIDE
6 800092-02 Rev. C www.wegener.com
Warning
Amber blink = 2 Marginal Eb/No
Amber blink = 5 RF too low
Amber blink = 6 RF too high
Amber blink = 7 Application download failed
Normal
Green Normal operation
LCD Menu Navigation
Operate the iPump 562 from the front panel using the arrow buttons and the LCD as shown above. The LCD single line
display will display the current OSD line. The up/down arrows will navigate from line to line. The left/right arrows will navigate
through fields.
OSD (On-Screen Display)
You may control or monitor the unit using the OSD and front-panel buttons. With a video monitor attached to the iPump 562
through any of the video output ports of the unit, press any button to activate the OSD. You may use the push buttons to
navigate through the menus displayed to view the existing settings.
OSD Menus
The
OSD information displays white text on a blue background overlying 80% of the video output from the iPump 562 server.
View the
OSD from a monitor connected to any of the video output ports of the iPump 562 server.
Navigating OSD Menus
Use the arrow and
Enter buttons on the iPump 562’s front panel to navigate and edit the fields on the OSD menus.
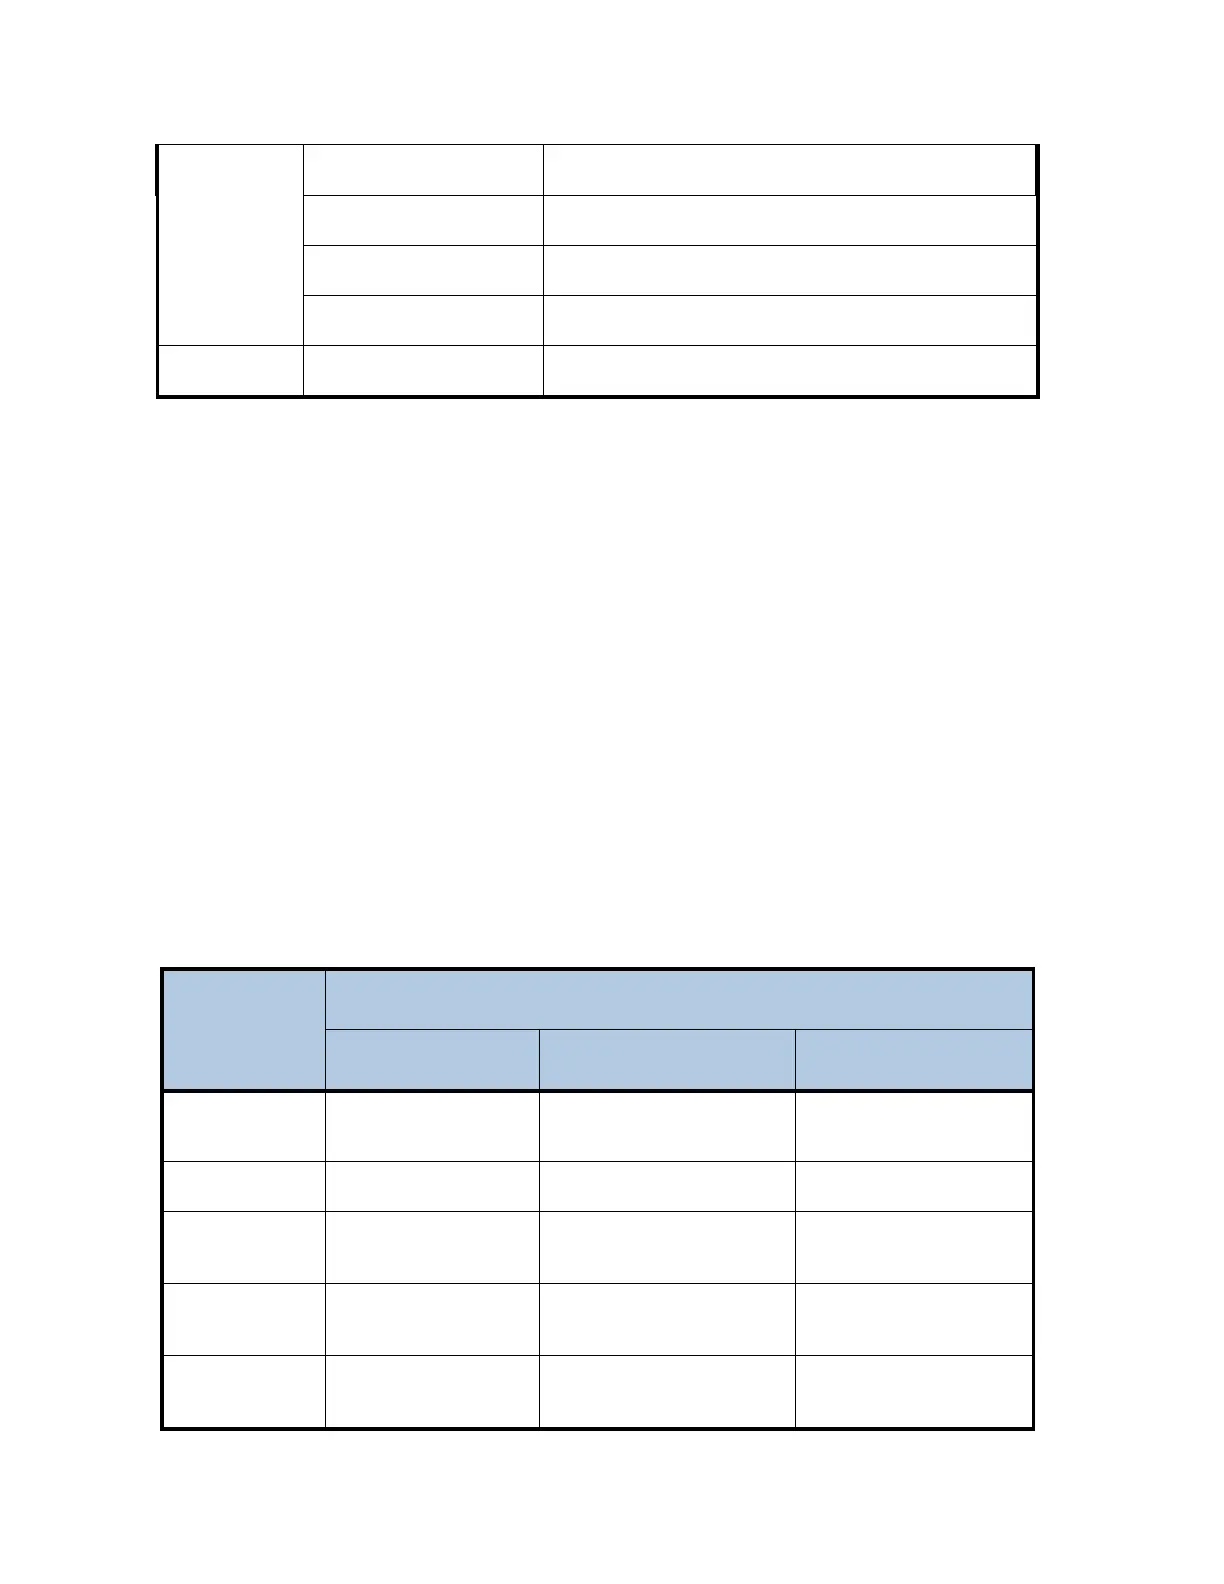
iPump 562 Types of OSD Action Fields
Button
Actions
Main Menu Submenu Edit Mode
Enter
selects submenu or
dropdown list
goes to editable field accepts changes
right arrow
no action no action moves cursor to right
left arrow exits OSD
goes to previous menu level moves cursor to left or
abandon changes
up arrow
goes to next or previous
menu item
goes to next or previous
menu item
increases value of
highlighted item
down arrow
goes to next or previous
menu item
goes to next or previous
menu item
decreases value of
highlighted item
 Loading...