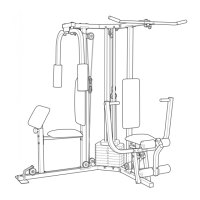
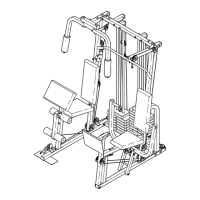
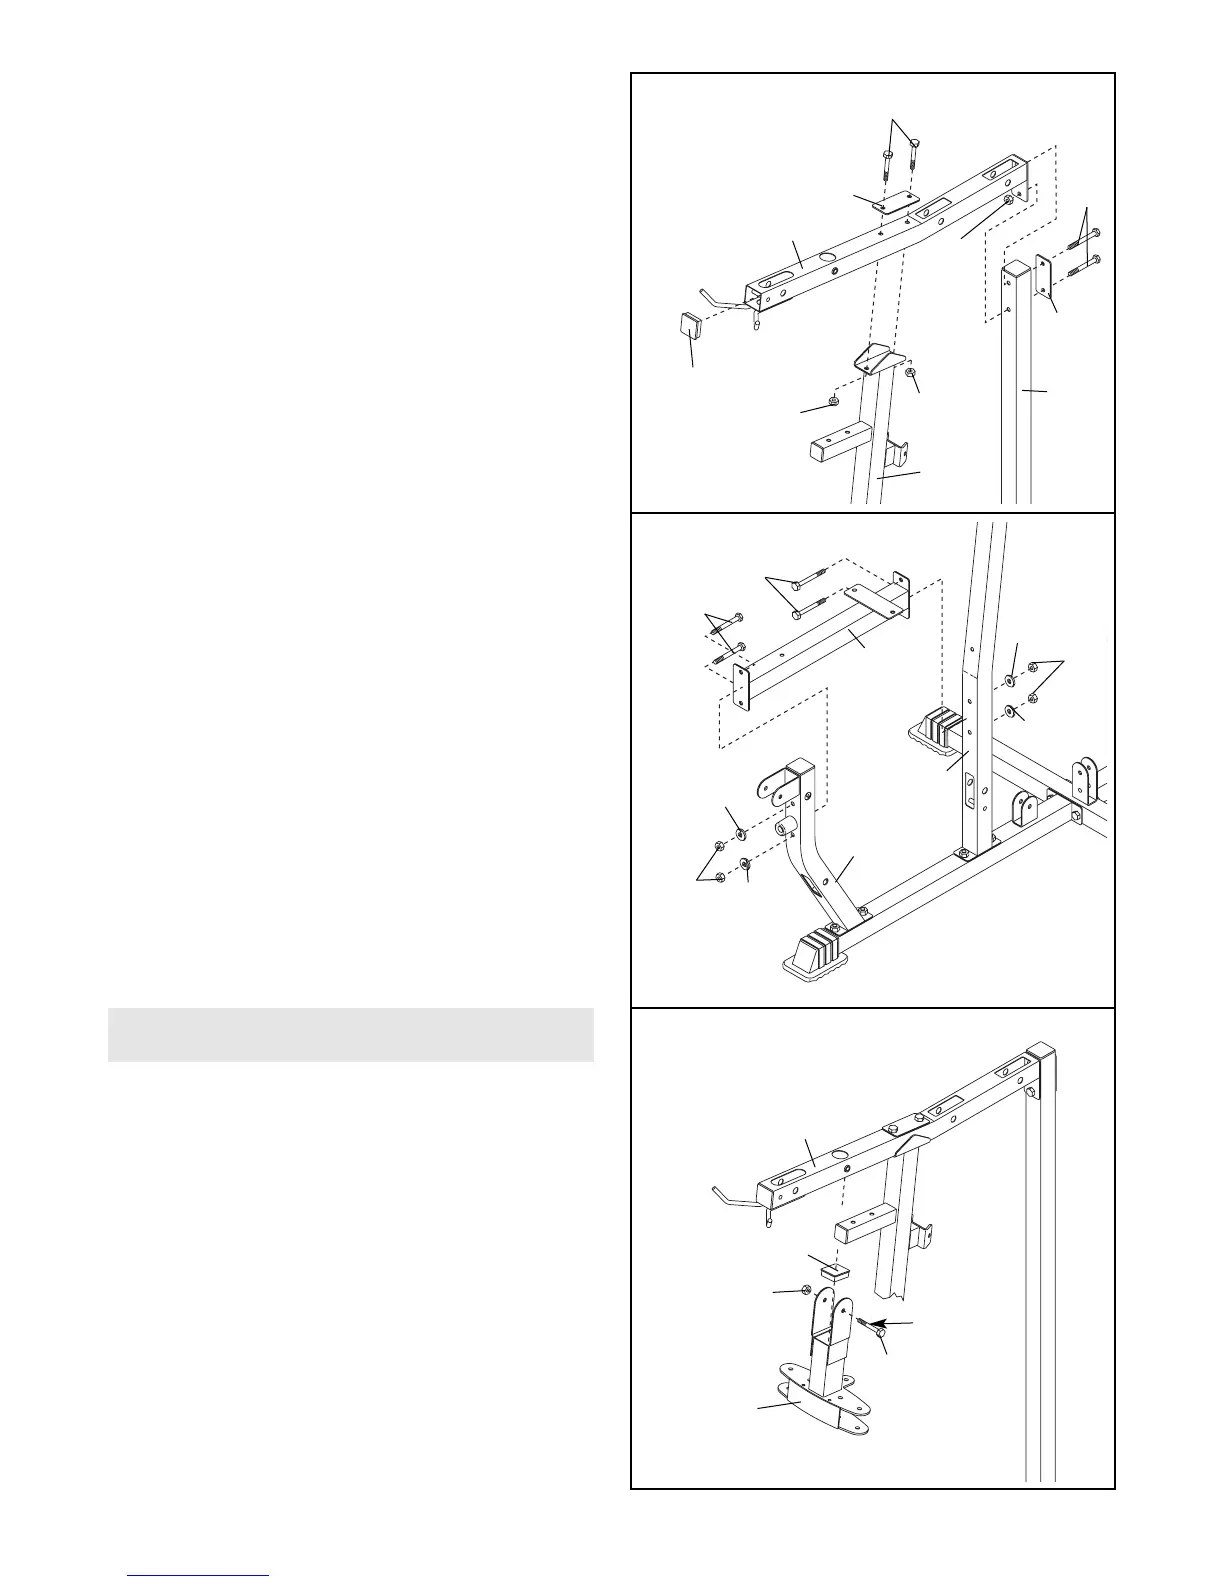
7
6. Press a 50mm Square Inner Cap (22) into the
end of the Top Frame (8).
Attach the Top Frame (8) to the Front Upright (6)
with two M10 x 70mm Bolts (58), the 90mm
Space Support Plate (21), and two M10 Nylon
Locknuts (71).
Attach the Top Frame (8) to the Rear Upright (7)
with two M10 x 70mm Bolts (58), the 70mm
Space Support Plate (56), and an M10 Nylon
Locknut (71).
Do not tighten the M10 Nylon Locknuts (71)
yet.
8. Press a 50mm Square Inner Cap (22) into the
Butterfly Frame (9).
Lubricate the M10 x 75mm Bolt (60) with grease.
Attach the Butterfly Frame (9) to the Top Frame
(8) with the Bolt and an M10 Nylon Locknut (71).
Do not overtighten the Locknut; the Butterfly
Frame must be able to pivot easily.
7
22
6
71
71
71
56
21
8
58
58
6
71
9
22
Lubricate
60
8
8
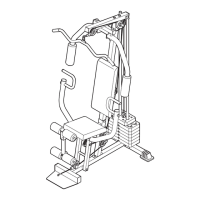
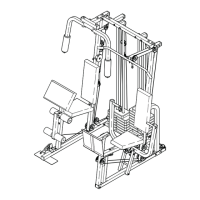
7. Attach the Seat Frame (5) to the Front Upright (6)
with two M10 x 70mm Bolts (58), two M10
Washers (26), and two M10 Nylon Locknuts (71).
Attach the Seat Frame (5) to the Seat Upright
(73) with two M10 x 70mm Bolts (58), two M10
Washers (26), and two M10 Nylon Locknuts (71).
Tighten the M10 Nylon Locknuts (71) used in
steps 2–7.
26
26
26
73
6
5
26
71
58
58
7
71
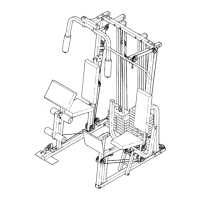
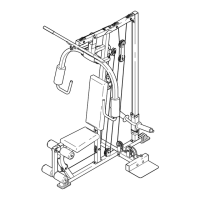
ARM ASSEMBLY