6
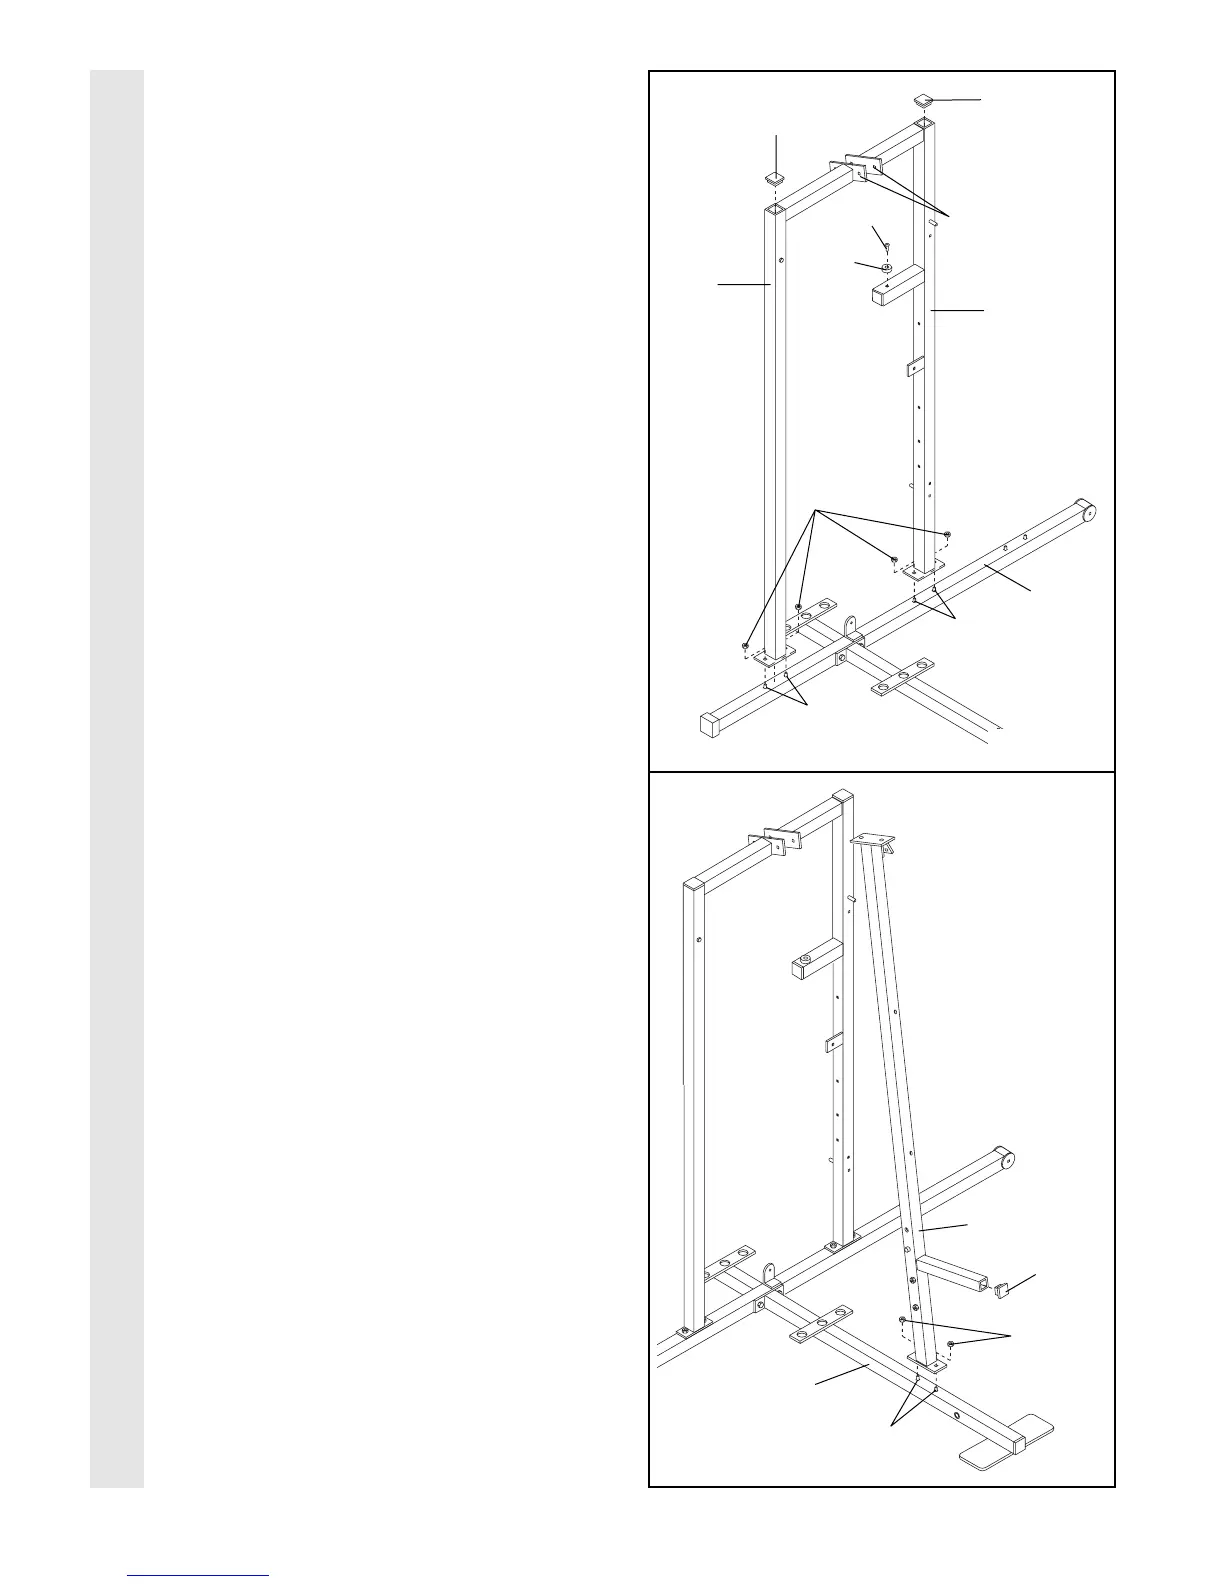
2. Slide the Rear Upright (74) and the Leg Press
Upright (56) onto the indicated 5/16Ó x 2 1/2Ó
Carriage Bolts (1) in the Stabilizer (5). The
high side of the brackets on the Rear
Upright and Leg Press Upright should be
on the side shown. Hand tighten four 5/16Ó
Nylon Locknuts (3) onto the Carriage Bolts.
Do not tighten the Nylon Locknuts yet.
Press a 2Ó Square Inner Cap (27) into the Leg
Press Upright (56). Press a 2Ó Square Inner
Cap into the Rear Upright (74).
Attach the Rubber Bumper (91) to the Leg
Press Upright (56) with the #8 x 1/2Ó Self-tap-
ping Screw (87).
3. Slide the Front Upright (42) onto the 5/16Ó x
2 1/2Ó Carriage Bolts (1) in the Base (4).
Hand tighten a 5/16Ó Nylon Locknut (3) onto
each Carriage Bolt. Do not tighten the
Nylon Locknuts yet.
Press a 1Ó Square Inner Cap (6) into the
Front Upright (42).
2
27
27
1
1
56
74
3
5
High Sides
of Brackets
3
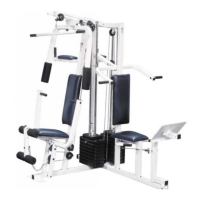
FRAME ASSEMBLY
42
6
4
1
3
87
91