Directions for use Maintenance and troubleshooting 55
Functional Checks
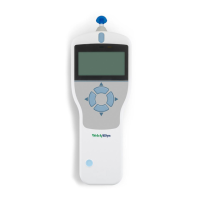
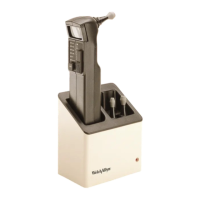
Check the handle
A MicroTest Cavity is included with the Handle. The cavity provides a functional test of the
Handle to determine if it is working properly. The 0.5 cc cavity is used to test the Low
Range of ear canal volume (Vea). The 2.0 cc cavity is used to test the High Range of the
ear canal volume (Vea).
Check the Handle with the MicroTest Cavity at least once a month and whenever the
operation of the Handle is questioned.
226-Hz check
1. Make sure the Handle is in 226-Hz mode.
2. Using any size probe tip, place the probe tip against the 0.5 cc cavity as if it were an
ear. Hold the handle and MicroTest Cavity carefully to prevent movement. Depress
the TEST button and test the cavity as you would an ear.
3. Store the information using either the right or left memory buttons.
4. Repeat Steps 2 and 3 using the 2.0 cc cavity. Store the information in the opposite
memory location used in Step 2.
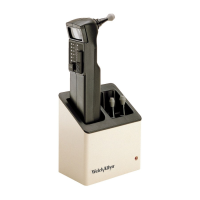
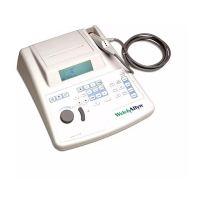
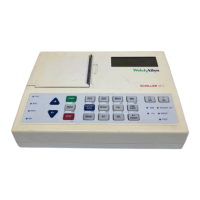
5. Print the information using the Printer/Charger.
Functional testing must be done in both the 226-Hz mode and the 1000-Hz mode.
To switch the frequency, simultaneously press and .
After completing both tests, you can toggle back to desired frequency by pressing
the same buttons.
R
L
M
ic
roTest
CA
VITY
2.0
cc
0.
5
c
c
R
-400
-200
0
200
2
0.5
0
1
.
0
1
GR
A
GR
B
PRE
S
S
U
R
E
-
DaPa
Ya -
m
m
h
o
+
2
0
0
V
e
a
-
cc

 Loading...