1
1
4
4
S
S
o
o
l
l
d
d
e
e
r
r
i
i
n
n
g
g
T
T
i
i
p
p
s
s
1
1
2
2
.
.
W
W
e
e
l
l
l
l
e
e
r
r
W
W
M
M
P
P
S
S
o
o
l
l
d
d
e
e
r
r
i
i
n
n
g
g
I
I
r
r
o
o
n
n
1
1
2
2
.
.
1
1
.
.
D
D
e
e
s
s
c
c
r
r
i
i
p
p
t
t
i
i
o
o
n
n
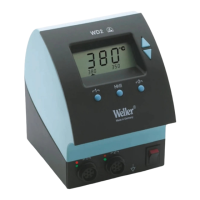
Due to its handy design, the Weller WMP micro solder-
ing iron is suitable for work on professional SMD elec-
tronics. The short distance between the soldering tip
and handle, “tip-to-grip” ensures precise handling of
the soldering iron while performing the most detailed of
soldering tasks. A high-quality sensor and heat transfer
technology provides precise temperature control at the
soldering tip. Due to straightforward tip changing and
the extremely fast heat up time, various types of tips
can be used for multiple applications.
Tip grounding is designed into the soldering iron. With
an ESD safe, anti-static handle and cordset, the WMP
satisfies all EOS and ESD requirements.
1
1
2
2
.
.
2
2
.
.
P
P
l
l
a
a
c
c
i
i
n
n
g
g
i
i
n
n
t
t
o
o
O
O
p
p
e
e
r
r
a
a
t
t
i
i
o
o
n
n
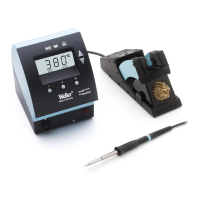
Place the soldering iron in the tool holder. Remove all
combustible objects away from the soldering iron and
the work area. Insert the connector (4) into the power
supply receptacle and lock it by turning clockwise. Turn
the station power switch “On” and set the required
temperature on the control. Once the tool has reached
the desired temperature, tin the soldering tip with sol-
der.
1
1
2
2
.
.
3
3
.
.
O
O
p
p
e
e
r
r
a
a
t
t
i
i
n
n
g
g
I
I
n
n
f
f
o
o
r
r
m
m
a
a
t
t
i
i
o
o
n
n
W
W
a
a
r
r
n
n
i
i
n
n
g
g
:
:
O
O
n
n
c
c
e
e
l
l
o
o
o
o
s
s
e
e
n
n
e
e
d
d
,
,
t
t
h
h
e
e
h
h
o
o
t
t
s
s
o
o
l
l
d
d
e
e
r
r
i
i
n
n
g
g
t
t
i
i
p
p
i
i
s
s
n
n
o
o
l
l
o
o
n
n
g
g
e
e
r
r
s
s
e
e
c
c
u
u
r
r
e
e
d
d
.
.
T
T
h
h
e
e
G
G
u
u
i
i
d
d
e
e
H
H
e
e
x
x
T
T
o
o
o
o
l
l
a
a
n
n
d
d
t
t
i
i
p
p
m
m
u
u
s
s
t
t
b
b
e
e
m
m
a
a
i
i
n
n
t
t
a
a
i
i
n
n
e
e
d
d
i
i
n
n
a
a
h
h
o
o
r
r
i
i
z
z
o
o
n
n
t
t
a
a
l
l
o
o
r
r
u
u
p
p
w
w
a
a
r
r
d
d
p
p
o
o
s
s
i
i
t
t
i
i
o
o
n
n
t
t
o
o
p
p
r
r
e
e
-
-
v
v
e
e
n
n
t
t
t
t
h
h
e
e
l
l
o
o
o
o
s
s
e
e
t
t
i
i
p
p
f
f
r
r
o
o
m
m
f
f
a
a
l
l
l
l
i
i
n
n
g
g
o
o
u
u
t
t
o
o
f
f
t
t
h
h
e
e
H
H
e
e
x
x
T
T
o
o
o
o
l
l
.
.
C
C
h
h
a
a
n
n
g
g
i
i
n
n
g
g
s
s
o
o
l
l
d
d
e
e
r
r
i
i
n
n
g
g
t
t
i
i
p
p
s
s
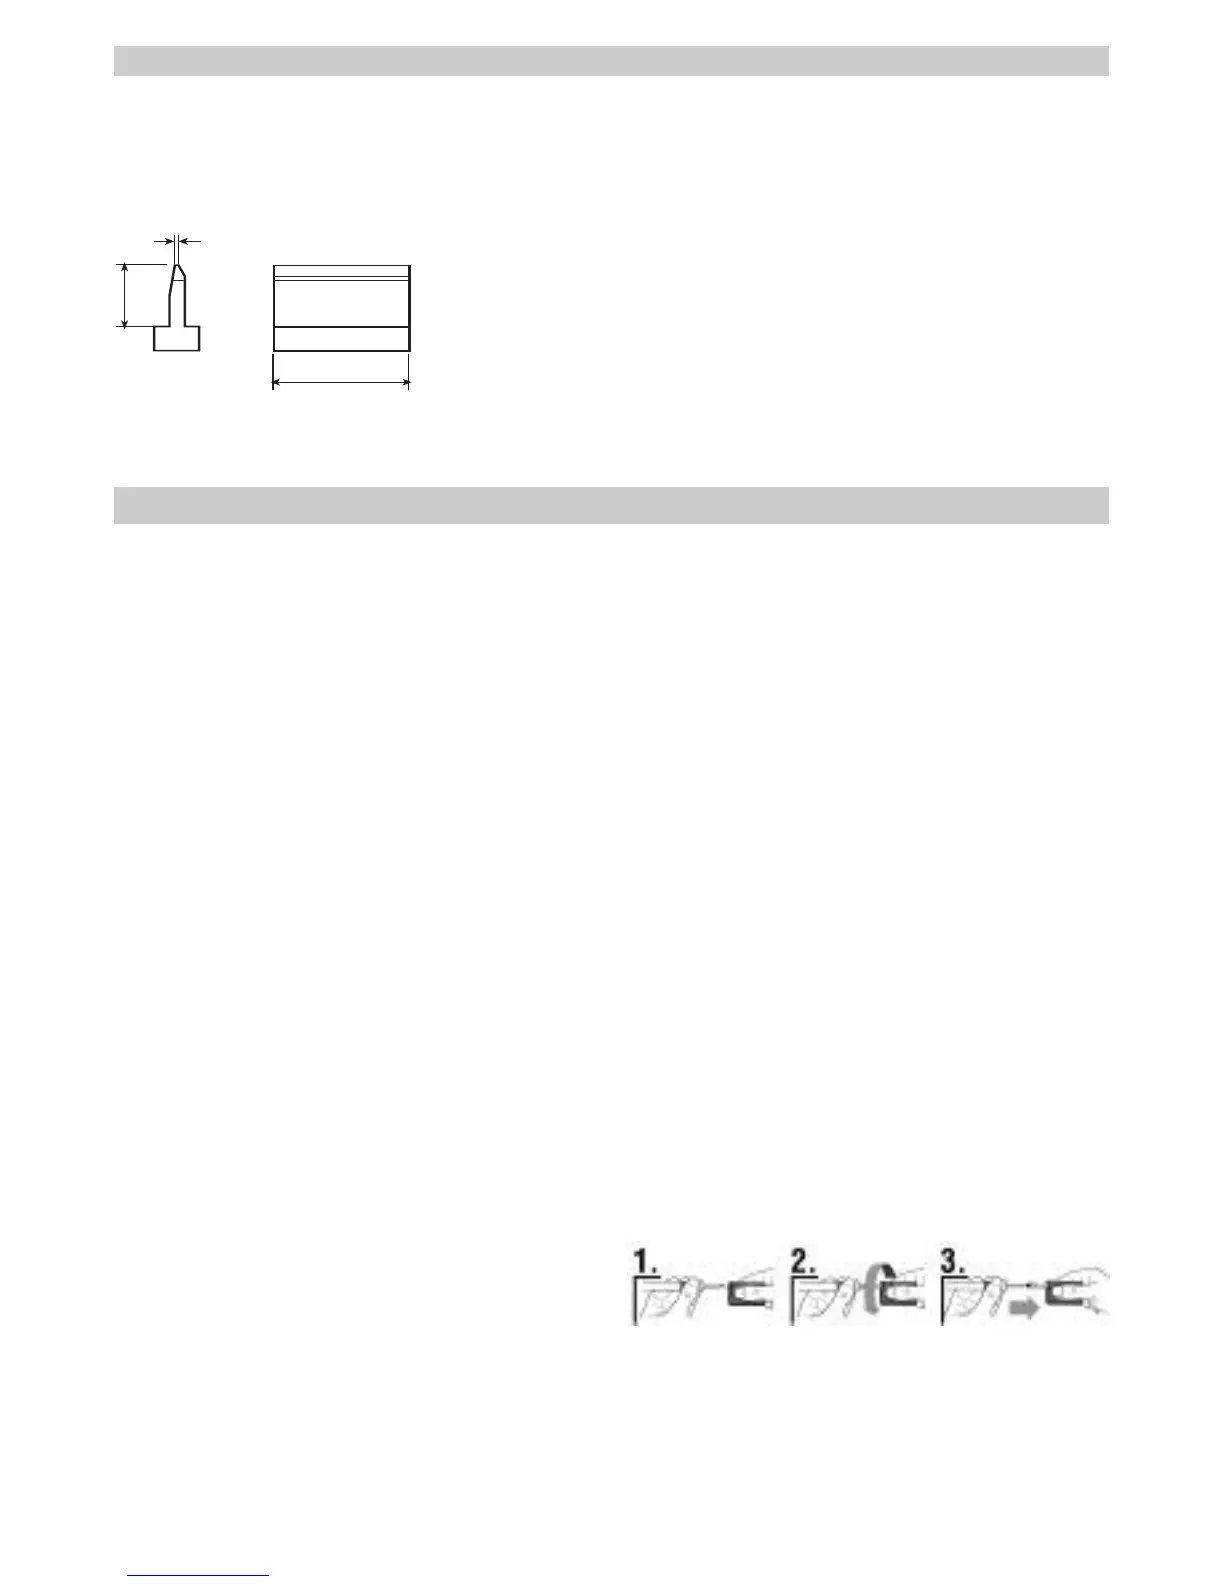
S
S
t
t
r
r
a
a
i
i
g
g
h
h
t
t
s
s
o
o
l
l
d
d
e
e
r
r
i
i
n
n
g
g
t
t
i
i
p
p
s
s
– Hold soldering iron horizontally or a slight downward
angle.
– Guide hex tool for changing the tip over the heater
element to the stop on the handle.
– Undo soldering iron tip and remove it from the front.
Ensure that you do not touch the hot soldering tip or the
heating element, as this could result in serious injuries.
C
C
u
u
r
r
v
v
e
e
d
d
s
s
o
o
l
l
d
d
e
e
r
r
i
i
n
n
g
g
t
t
i
i
p
p
s
s
a
a
n
n
d
d
S
S
M
M
T
T
s
s
o
o
l
l
d
d
e
e
r
r
i
i
n
n
g
g
t
t
i
i
p
p
s
s
Use a heat resistant silicone pad to unscrew the solder-
ing tip and to pull it out to the front. Hold the silicone
pad in your hand in such a way that prevents direct
contact with the soldering tip from occurring.
Ensure that you do not touch the hot soldering tip or the
heating element, as this could result in serious injuries.
W
W
M
M
P
P
I
I
r
r
o
o
n
n
LTSMT01P SMT Blade 10,4 mm 0,6 mm 7,1 mm
0.410 in 0.022 in 0.280 in
LTSMT02P SMT Blade 16,8 mm 0,6 mm 7,1 mm
0.620 in 0.022 in 0.280 in
LTSMT03P SMT Blade 20,8 mm 0,6 mm 7,1 mm
0.820 in 0.022 in 0.280 in
S
S
M
M
D
D
S
S
o
o
l
l
d
d
e
e
r
r
i
i
n
n
g
g
T
T
i
i
p
p
s
s
f
f
o
o
r
r
W
W
P
P
8
8
0
0
/
/
W
W
S
S
P
P
8
8
0
0
 Loading...